
You want to build a stunning pergola without emptying your wallet. With careful planning and material selection, you'll transform your outdoor space for under $500.
The secret lies in choosing cost-effective designs and potentially using reclaimed materials, which can cut costs considerably. Whether you have a spacious backyard or a compact patio, the right pergola plan exists for your budget and skill level. The journey to your perfect outdoor retreat begins with the first cut.
On this page
Simple Cedar Pergola Design Under $500
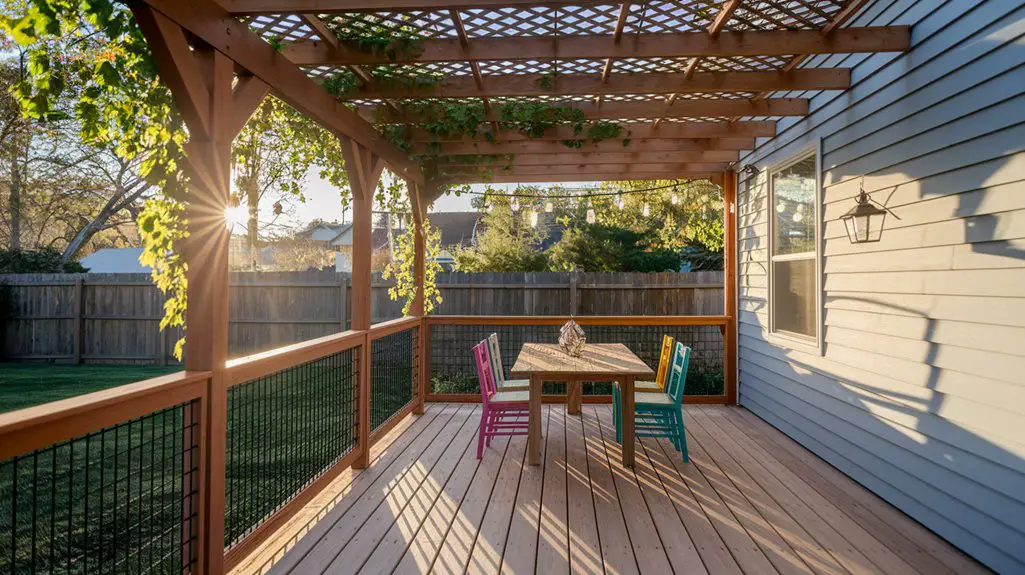
Building a cedar pergola doesn't have to strain your budget. This simple design uses 4×4 cedar posts for vertical supports and 2×6 beams for the horizontal structure. You'll need approximately 80 board feet of cedar, plus concrete, hardware, and stain.
Begin by setting four post anchors in concrete at 8'×8' spacing. Once cured, attach the cedar posts and verify they're perfectly plumb.
Mount the primary beams across opposite posts using galvanized carriage bolts. Next, install secondary crossbeams at 12" intervals with joist hangers.
Sand all visible surfaces with 120-grit sandpaper before applying exterior-grade stain. This design's simplicity eliminates complex joinery while maintaining structural integrity. Additionally, incorporating edible plants into your landscaping can enhance the beauty and functionality of your pergola area.
The total material cost ranges from $425-$475 depending on your location and current lumber prices.
Reclaimed Wood Pergola Projects for Tight Budgets
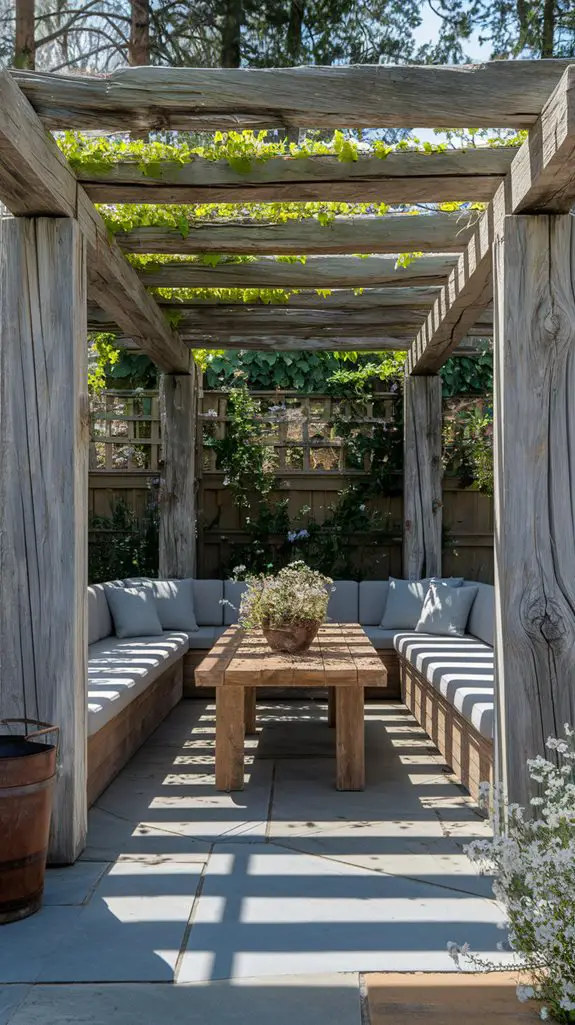
Crafting a pergola from reclaimed materials can cut your project costs while adding unique character that new lumber simply can't match. Source barn wood, pallets, or salvaged timbers from demolition sites, with 6×6 posts being ideal for structural integrity.
When selecting reclaimed pieces, inspect for structural soundness—avoid wood with extensive rot, splitting, or pest damage. Remove all nails and hardware before cutting.
Apply a borate solution to eliminate any lingering insects, then seal with exterior-grade polyurethane to preserve weathered patina. For joinery, use metal brackets and galvanized hardware rather than traditional woodworking joints, as reclaimed wood's inconsistent dimensions require flexible connection methods.
Plan simpler designs with fewer cross beams to accommodate material limitations while maintaining stability. Additionally, using suitable materials can enhance the longevity of your project.
Weekend Warrior: 2-Day Pergola Building Guide

A well-organized 2-day pergola build requires meticulous preparation and efficient execution to transform your outdoor space without consuming endless weekends.
Begin with site preparation and foundation work on Saturday morning, setting your post anchors precisely at 96" intervals. Drill pilot holes to prevent wood splitting, and secure all brackets with galvanized fasteners.
Dedicate Saturday afternoon to post installation and beam placement. Verify plumb positioning using a 4' level before securing.
On Sunday, install crossbeams at 16" on-center spacing, followed by rafters. Apply a quality exterior sealant to all surfaces before the weekend concludes. Incorporating modern outdoor kitchen concepts can enhance your pergola's functionality and aesthetic appeal.
Pre-cut all lumber Friday evening using a cut list derived from your measurements. This strategic preparation guarantees you'll complete the project within your 48-hour timeframe.
Space-Saving Pergola Designs for Small Backyards

Limited outdoor square footage shouldn't restrict your pergola aspirations, as even the most compact urban spaces can accommodate thoughtfully designed structures that maximize functionality. Focus on vertical growth with wall-mounted pergolas that project outward while maintaining ground clearance.
Consider L-shaped corner designs that utilize often neglected yard areas. Additionally, integrating retractable awnings can enhance the usability of your pergola by providing adjustable sun protection.
| Design Type | Space Required | Key Benefit |
|---|---|---|
| Wall-Mounted | 4-6 ft depth | Zero footprint |
| Corner L-Shape | 6×6 ft | Maximizes dead space |
| Multipurpose | 8×8 ft | Storage integration |
Select materials strategically—aluminum offers strength without visual bulk, while slender cedar posts provide natural durability. Incorporate built-in seating along perimeter walls to eliminate the need for additional furniture. Retractable canopy systems allow for adaptable shade coverage without permanent overhead bulk.
Tools and Materials Checklist for First-Time Pergola Builders
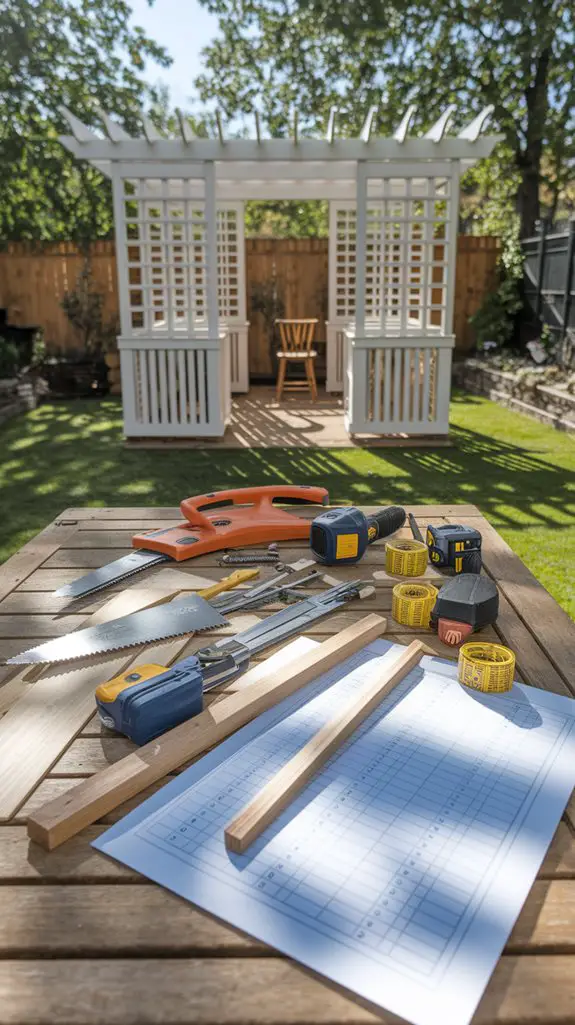
Building your first pergola requires nine essential tools and carefully selected materials to guarantee structural integrity and construction efficiency.
You'll need a circular saw, drill/driver with bits, level, tape measure, speed square, post hole digger, hammer, shovel, and safety gear (gloves, goggles).
For materials, select pressure-treated 6×6 lumber for posts, 2×8 beams, and 2×6 rafters—all rated for outdoor use. Additionally, consider using eco-friendly options for your decking materials to enhance sustainability.
Calculate quantities based on your design dimensions. You'll also need concrete mix (80 lb bags), 3-inch deck screws, galvanized carriage bolts with washers and nuts, post anchors, joist hangers, and wood sealer.
Don't compromise on hardware quality; corrosion-resistant fasteners extend your pergola's lifespan considerably. Purchase 10% extra lumber to account for mistakes or defects.
Weather-Resistant Finishing Options for Long-Lasting Results
Protecting your newly constructed pergola from weather elements requires selecting appropriate finishes that penetrate wood fibers and create durable barriers against moisture, UV damage, and temperature fluctuations.
Apply treatments before assembly for thorough coverage, particularly on end-grain sections where moisture infiltration commonly occurs.
Choose from these high-performance finishing options:
- Oil-based semi-transparent stains containing fungicides and UV inhibitors that highlight natural wood grain while providing 3-5 year protection
- Marine-grade spar urethane with flexible resins that expand and contract with seasonal temperature variations
- Water-repellent preservatives with copper compounds that prevent rot and insect infestation
- Penetrating epoxy sealers that harden wood fibers and create impermeable moisture barriers in vulnerable joints
Incorporating eco-friendly materials for your pergola can further enhance its durability and sustainability.
Reapply finishes according to manufacturer specifications, typically every 2-4 years depending on your climate conditions and sun exposure.
Conclusion
You'll find that building your own pergola offers significant savings—labor is a big part of what a professional installation costs. By selecting the right materials, using appropriate tools, and following weather-resistant finishing procedures, you're creating more than just shade; you're adding lasting value to your property. Plan carefully, measure twice, and execute with precision to guarantee your budget-friendly pergola stands as a reflection of your craftsmanship for years to come.
