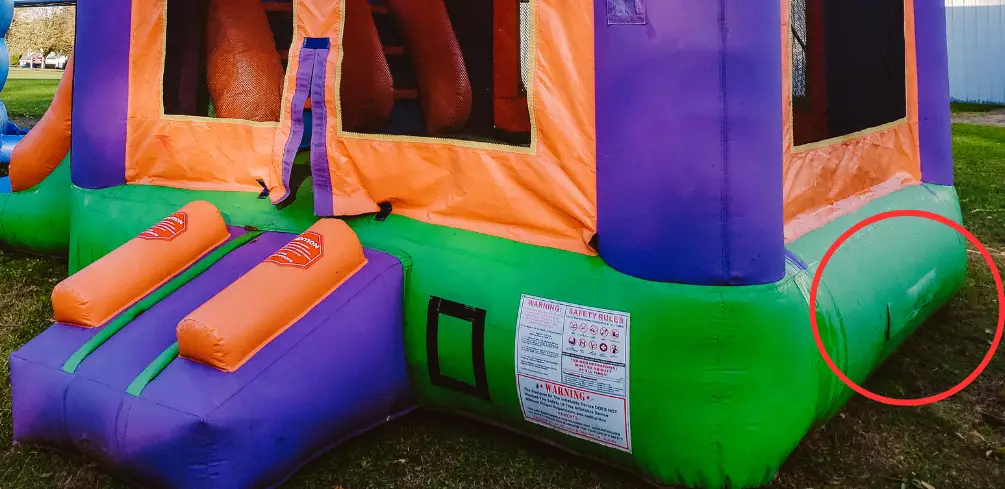
If a bounce house is leaking the best way to find it is to spray soapy water where you suspect the leaks to be. When you find the leak on the inflatable you will see bubbles.
Mark the area and continue testing for more leaks. Next, use cement glue which dries quickly, and add the patch.
Bounce houses are a great way to keep your kids entertained. Whether they’re having birthday parties, or just playing in the backyard on a sunny day, it’s always fun to jump around in them.
Until one of these inflatable structures is losing air quickly and has an obvious leak, then you need to find and repair it as soon as possible. Here we will show you 6 simple steps for finding and fixing the hole in a bounce house!
Looking for a Bounce House?
Here is a list of our recommendations for the Best Indoor Bounce Houses and Best Commercial Bounce Houses.
How to Find a Leak in a Bounce House
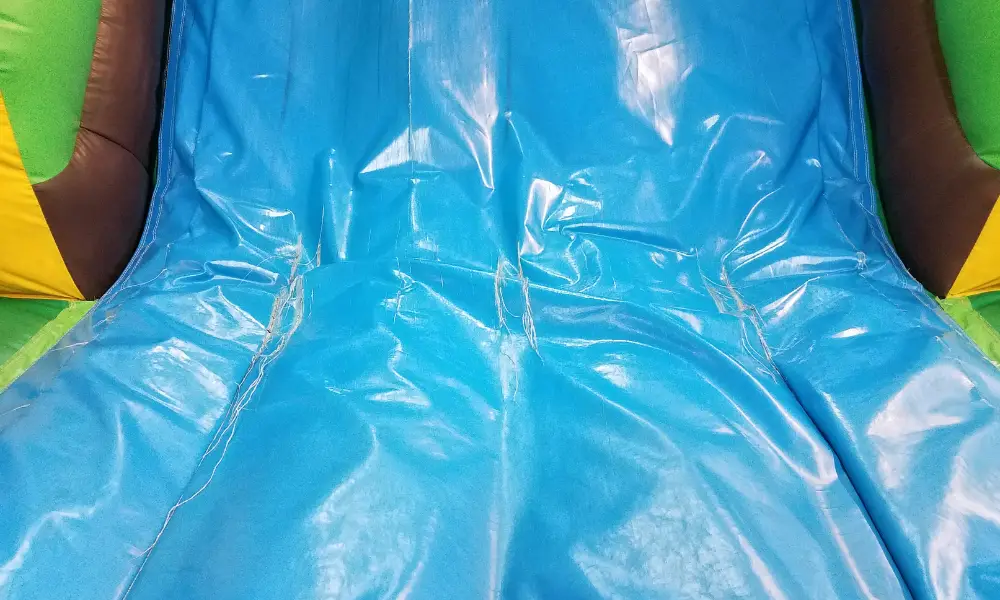
Step 1: Materials Needed
Make sure you have the proper materials for the job. It’s best to have a spray bottle filled with soapy water and a spare rag is also nice to have. For soapy water, you can just use plain dish soap.
Step 2: Spray Area
Point the spray bottle with the soapy water at the bounce house and start spraying. Make sure you start on the outside and work your way in, as this will allow for any tear to be found easier. Spray until an area is completely wet.
Step 3: Soapy Water Technique
If the soapy water (dish soap) is not mixed up very well you may need to use your spare rag or hand to rub the inspected area. Make sure you do this gently and use a circular motion for the best results.
All your trying to do is make sure the soap and the water are mixed well enough so the air coming out of the inflatable will blow bubbles. Replace the soapy rag with a clean one if necessary.
Step 4: Inspect the Surface
Next, you will look at the area sprayed till you see bubbles that are appearing this may take a few seconds to appear depending on how big the leak is. The larger the leak the quicker and more bubbles you should see.
Make sure to mark the hole, use a marker or something to mark the location so you know where to patch it as it’s easy to lose this from sight when you get the patch and glue ready.
Step 5: Patch the Leak
Once you have found a spot make sure to patch the tear. Some people try to do it themself with duct tape or glue but they never seem to hold. Make sure to do it properly so the leak stays sealed as this is a process you don’t want to have to keep repeating.
Before we start deflate the bounce house and make sure all the blowers are turned off. We recommend these vinyl patches [Amazon Link] with this vinyl cement glue [Amazon Link].
Deluxe Pro Vinyl Repair Patch Kit for Inflatables
Product Benefits:
- High-quality, professional-grade vinyl repair kit designed for durability and effectiveness.
- The versatile kit contains a diverse assortment of 8″ x 8″ colored vinyl patches in Red, Orange, Yellow, Blue, Green, Indigo, Violet, White, and Black (please note: sizes may vary slightly).
- Easy-to-use, cost-effective solution for quick repairs, suitable for both homeowners and professionals.
First clean the area that has the leak, next apply the cement glue to the area that was marked with the marker.
This cement glue is fast drying so once you apply it quickly put the patch on. These vinyl patches fix tears easily and come in multiple colors, trying to match the current color.
Once the patch is applied the cement will dry within 2 – 5 minutes on the bounce house hole. Repairing damaged areas is not difficult and you won’t need a professional.
Step 6: Rinse and Repeat
If there is still air leaking you will want to continue to do this until the air stops escaping. At that point, you can try to inflate the bounce house again to see if it stays inflated. If the bounce house is still not staying inflated it could be another issue if all leaks are patched.
Now that the bonus house is fixed fill the inflatable with air and have the kids jump on the inflatable to make sure no more air escapes.
Bonus! Not only did you go through and look for holes and tears but using the soapy water to find them also cleaned the bounce house as you went.
How to Find an Air Leak in an Inflatable Toy

If you have a smaller inflatable toy that has a leak, you can often just see the air escaping. An easy way to find it is to dunk the inflatable toy into the water and see where the air bubbles come up.
Then you will be able to patch the hole we recommend these patches they are Tear-Aid 3×5″ [Amazon Link].
The air should stop escaping. If the inflatable toy is still not staying inflated it could be another leak, check the seams as that can be an area that will leak over time as it wears out more.
If you did apply a patch make sure it is firmly attached so it doesn’t get pulled off.
If the inflatable is larger then you would apply the instructions above. To find an air leak, use a soapy water solution and spray it on all of the seams and folds where there could be a hole or tear in the toy.
If bubbles form at any point, mark that spot with a marker to show you found one area of concern.
How Long Will a Patch Hold on A Bounce House
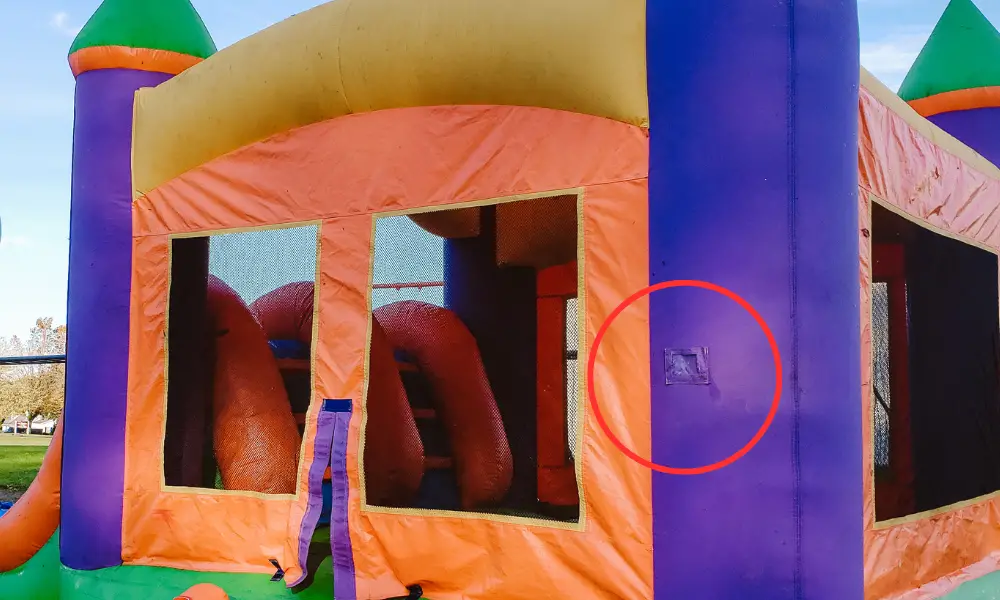
The repair of the patch will depend on the patch kit, mainly the patch itself and the glue.
If you use the material we recommend on the inflatables it should hold as long if not longer than the bounce house material itself.
The cement glue can break down over time but will cover you for at least 18 months. After that search the area related to where the repair took place.
Make sure the patch is holding, if you find it is not, remove the patch and add a new vinyl patch with new glue after you clean the content of the old glue area.
How to Avoid Holes in a Bounce House

The best way to repair a leak is to never have one in the first place. Make sure the weight limit is appropriate for the size and age of children that will be playing in the bounce house.
To avoid holes, make sure to inspect all seams for any signs of wear or damage before each use. Don’t forget if you are worried about tears from being outside you can also put a bounce house indoors.
If you do go with the outside bounce house make sure you do not get it wet.
To ensure no punctures happen have the children empty their pockets, and take off any jewelry, and shoes. We always recommend inflating the bounce house at least an hour before it’s going to be used, this way if you do find the air leaving you can do the repairs above before it’s party time.
How Long Do the Repairs Take
The repairs do not take long at all if you have the material to do them at home. The longest part is usually finding the leaks and that shouldn’t be hard unless the bounce house is very large.
Once the holes are found, it only takes about 6-8 minutes to patch and dry. If the inflatable has too many holes to patch here are our recommended bouncy inflatables.
Conclusion
It’s not difficult to repair a vinyl hole as long as you don’t try to do it with regular tape. Using the proper materials and following the steps above will save you time and any stress.
Now that everything is fixed the kids will be able to play safe and sound. They will have so much fun bouncing around playing with their friends and it’s an amazing exercise.
After patching, if it still isn’t fully inflating the bounce house there are more steps that can be taken.
Please be careful and use at your own risk
None of the authors, contributors, administrators, or anyone else connected with BestPlaygroundSets, in any way whatsoever, can be responsible for your use of the information contained in or linked from these web pages.

