
To make a climbing cargo net you will want to purchase high-quality materials such as ½ nylon ropes cut into 10-20 strings about 30 inches long.
Hang a beam between two trees and have the ropes hang down towards the ground through drilled holes in the beam. Tie knots on the vertical rope and then connect horizontal ropes.
Do you want to have a climbing cargo net in your backyard?
It’s time to get started on the process of building one.
There are many advantages that come with making your own, including being able to customize it and save money too! These tips will help you learn how to make a climbing cargo net so that you can enjoy having yours in no time at all.
Is it Expensive to Make a Climbing Cargo Net?
No, not at all climbing cargo nets are cheap to make, so if you don’t have the money to buy one or just want a new project for yourself and your kids then this is perfect.
We recommend doing the project outside with the family and making it a game. The process is simple and easy to do.
All you need are some basic materials that can be found at your local hardware store, a ladder or step stool for reaching high places (optional), scissors/knife if needed as well an outdoor space where the cargo net will have room enough so it doesn’t touch any other objects while hanging.
The rest of the materials are listed down below.
Advantages of Hanging a Kids Climbing Cargo Net Outside

Climbing cargo nets can also be used to have something to grab hold of if you start slipping on a surface that’s wet or slippery.
People might start slipping on surfaces such as those made of metal or wood because then climbing up will help them get back onto the stable ground again instead of being stuck with no way out when one foot has slipped off from below.
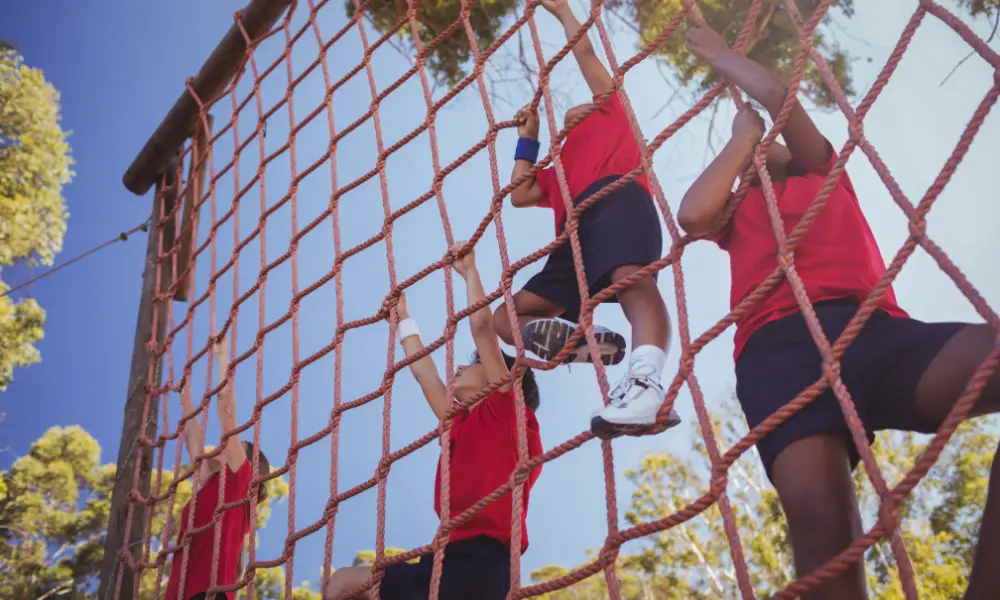
A climbing cargo net is also an excellent way to get your heart rate up. It is a great form of exercise for children and adults. Kids can climb and play on it anytime they want.
It is a great way to get kids out of the house during the summer months. They will be outside in fresh air, getting exercise as well!
There are many other benefits: It’s amazing for physical activity that doesn’t require much space or equipment; children learn balance and gain strength.
Finally: Climbing cargo nets also provide hours upon hours worth of fun that won’t cost anything other than time spent building one yourself- which isn’t hard either– just follow these easy steps below.
How to Make a Climbing Cargo Net
You can make your climbing cargo net with materials from your local store or Amazon. You can make a durable cargo net if you select high-quality materials.
It would be best if you made a high-weight-load cargo net for the safety of your little one. You will need:
- ½ inch nylon ropes – 10 to 20 pieces
- Tape measure
- Marker
- Tape
- Wooden Beam
- Drill
- Marker
- Scissors
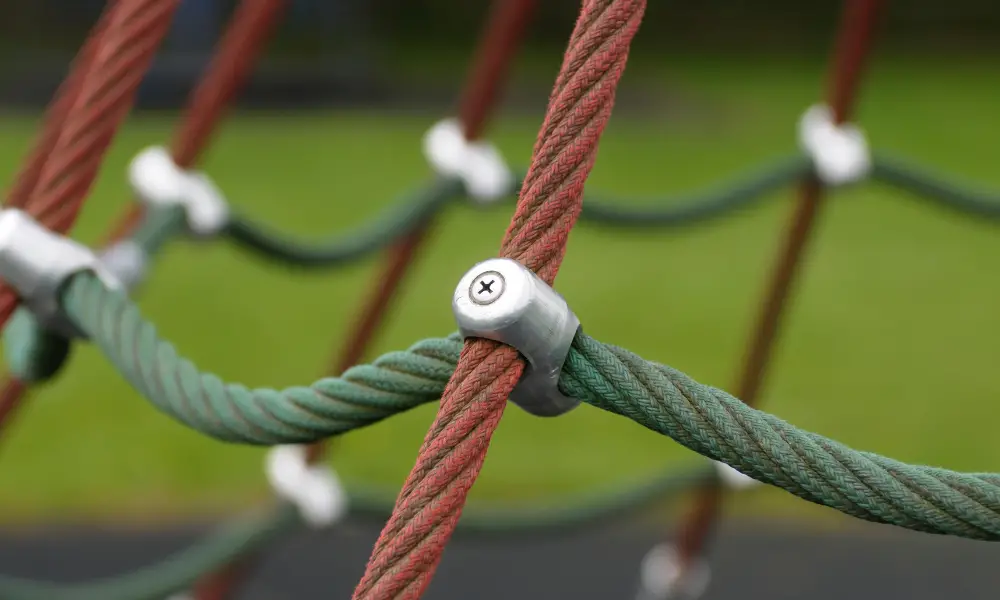
It would help if you learned how to tie durable knots for cargo nets. Learn how to tie a Carrick bend or a crown knot before you start making the knot.
There are many websites and online videos that teach people how to make cargo net knots. The crown knot is square and ideal for cargo nets because it creates straight squares on the cargo net.
Step 1: Mark out the Ropes
Ensure all your ropes are the same size by measuring them and making the necessary adjustments. The number of ropes you need will depend on the size of your cargo net. Most parents need about 10-20 ropes for a cargo net.
Take one rope and make a mark 30 inches from the end. Make consequential marks 12 inches apart until the end of the rope. Repeat the process with the other ropes.
The markings will guide you in making knots so that all the openings on your cargo net are equal. Tie the ends of the ropes with tape to make them neat.
Step 2: Prepare the Beam
Make marks on the wood 12 inches apart, depending on the number of vertical ropes you have. Drill holes at the areas with marks and mount the beam between two trees or posts.
Attach the vertical ropes through the holes and tie a hole at about 12 inches. It would help if you had ropes hanging downwards from the beam, ready to add the horizontal ropes.
Step 3: Make the Net
Take one of the loose ropes in your work area and make a knot on the first rope. The first knot should be at the 30-inch mark of each rope.
The horizontal rope will be the active rope, and you have to make a knot on each of the vertical ropes until you reach the other end.
All knots from the second should be at the 12-inch make of the horizontal rope. You will make a knot on the first mark of each of the vertical ropes.
In the end, you should have equal spacing between each rope horizontally.
Take another rope and repeat the process. Add more horizontal ropes until you reach the ideal size of your climbing cargo net.
Step 4: Hang and Test the Net
It would be best if you hung the cargo net using the instructions above. Once it is secured, climb on it to ensure that it is safe for your kids. If nothing breaks, you can allow your child to use the climbing cargo net.
It would be best to ask a built person to climb on the net if you have a petite body. The test should verify that the net won’t break when a child is on top of it.
Conclusion
Do you want to have a climbing cargo net in your backyard? We offer tips that will help you make it easier on yourself. These tips are convenient and also save money too!
Climbing cargo nets are great for core strength and balance. It is a great way to exercise and have fun with the family. They are also easy for children, adults, or seniors who may not be able-bodied enough to climb on their own!
Climbing cargo nets can provide hours of entertainment while improving your health at home too!
Please be careful and use at your own risk
None of the authors, contributors, administrators, or anyone else connected with BestPlaygroundSets, in any way whatsoever, can be responsible for your use of the information contained in or linked from these web pages.


