To make a bean bag board slippery, you first need to clean the boards and put something underneath them to catch the mess.
Apply polyurethane or polyacrylic with a foam brush in vertical strokes. Let it air dry for a few hours. Next, gently sand the board’s surface with sandpaper and repeat these steps depending on your smoothness preference.
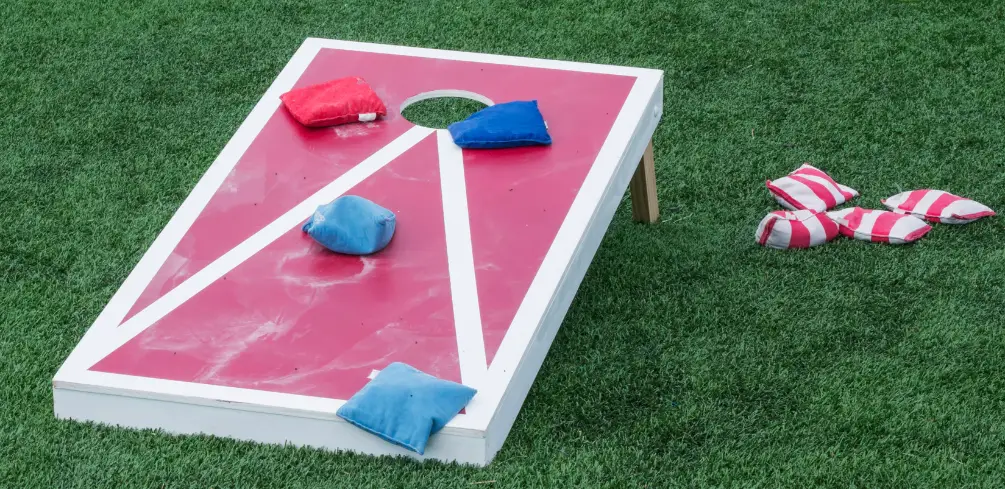
Bean bags and cornhole boards tend to get rough over the years and lose their original smoothness. There are a few things we can do depending on how much work you want to put in to help make their slipperiness levels increase. Let’s jump in and begin.
What Do I Need to Make My Bean Bag Boards Slippery Again?
You will need some supplies to get started depending on which method you will want to take. We go over the different methods in the next section, so you can base your final thoughts on that.
- tarp or sheets
- 320 grit fine sandpaper
- 3″ foam brush
- Polyurethane or Polyacrylic
Polyurethane VS Polyacrylic
These finishes are perfect for unfinished cornhole boards or any old boards that need a refresh. Cornhole boards are known to have a slick surface, and if they don’t, you have two options.
Polyurethane is used more often, but it usually takes about five to ten coats (some even recommend up to fifteen), whereas Polyacrylic will be less work and require 3-5 coats. We will go over all the steps.
Just know this basic difference, and you will also need to allow a few hours between each coat for air-drying time.
Polyurethane
Polyurethane comes in oil-based polyurethane and water-based polyurethane.
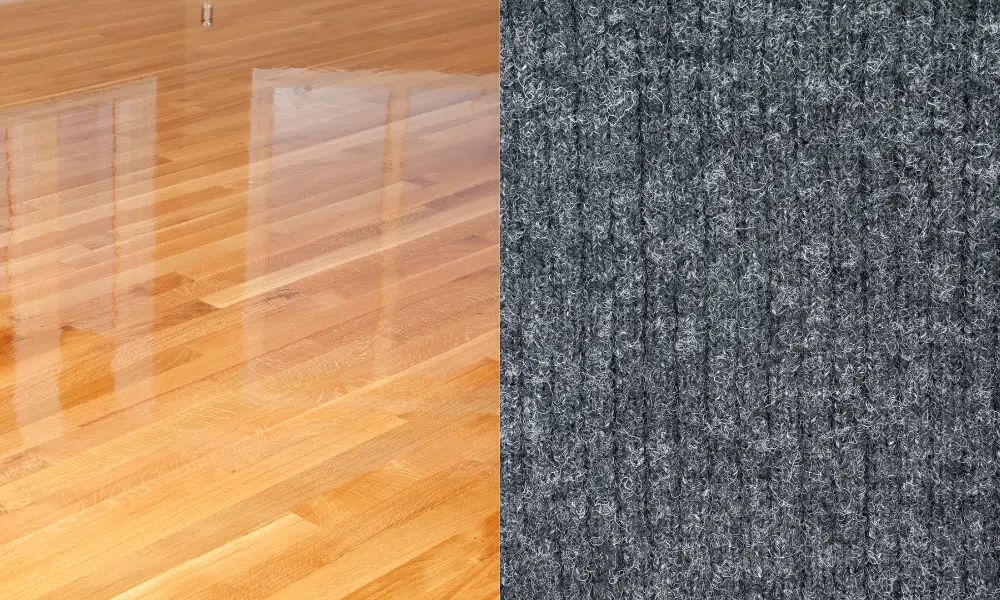
The oil-based polyurethane will have a yellowish amber glow to the finishing of the cornhole boards, where the water will look more like a clear coat.
Quick Breakdown:
- Oil-based polyurethane dries amber/yellow
- Water-based polyurethane dries clear
- Very durable, can stand high temperatures
- Takes hours to dry
- Toxic (Not the water-based solution, though)
- Requires 5-10 coats
- Best overall as a finish
Polyacrylic
Polyacrylic is more of a glossier and shiny finish on the cheaper side, and it is water-based poly. This means it’s safer than the oil-based poly and has a high gloss which could take the fun out of the game.
If the sun is shining, it can reflect off the gloss, making the cornhole board hard to see and stopping you from getting the bag in the hole.
This may only affect one side, so the other cornhole players will have an advantage.
Quick Breakdown:
- Water based Polyacrylic dries glossy/shiny/reflect
- Since it’s glossy can show glares on the board
- Dries fast
- Requires about 3 coats
- Environmentally safe
- Cheap
- Weaker finish
Making Bean Bag Boards Slippery
Step 1: Prepare the boards
The first thing you want to do is prepare the cornhole board one at a time. Make sure there is something under the board so you don’t get poly all over and make a mess.
You also want to make sure not to shake any of the poly finish you are using. This can cause air bubbles, mainly in polyurethane, as the bubbles in polyacrylic finish usually disappear as this is a fast-drying poly.
We need to clean the boards and make sure they are dirt and dust free. This is important as we don’t want to add a layer and have it not be a smooth finish because of some dust on the board.
Step 2: Applying poly
Let’s use the foam brush and apply the poly of choice. At times you can get a polyacrylic finish in a spray can, so you may not even need the foam brush.
Next, we want to do vertical strokes with the brush or sprayer. We want to get all the spots on each cornhole board.
At this point, we are just concerned with the main area of the board and the edges, but later, towards our final coat, it’s best to get all the interior wood surfaces and the legs. I recommend two to three coats for that.
Step 3: Drying time
Let the board dry. This will take some time but keep in mind the polyacrylic finish will fully dry much faster.
I do not recommend using any heat to speed up the process as it could cause issues with the smooth surface in the end. Make sure the layer is dry before moving on.
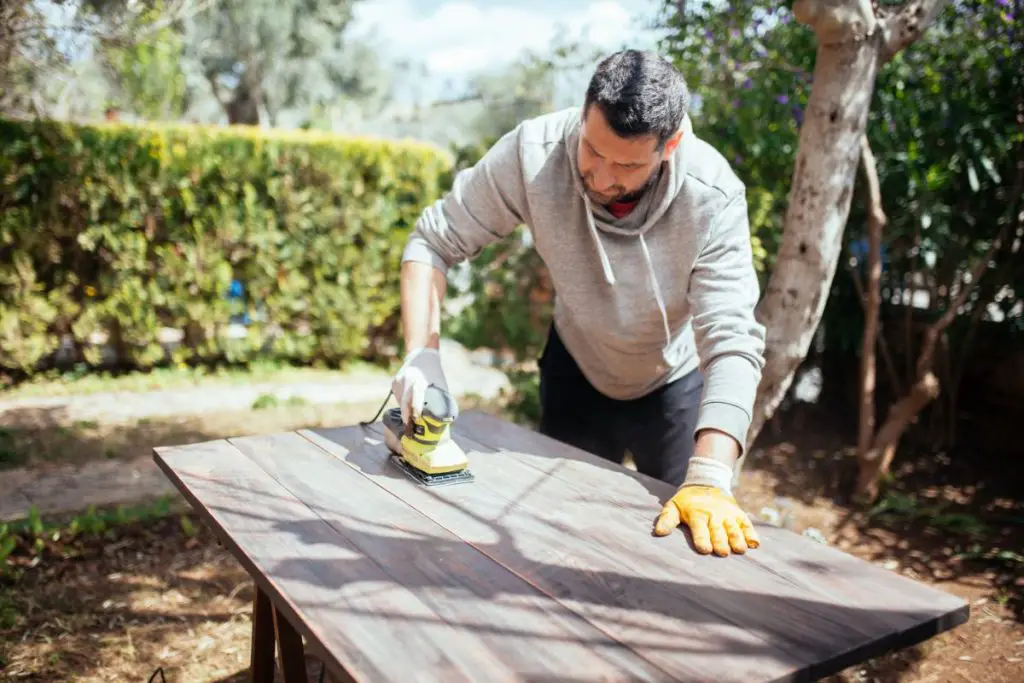
Step 4: Sand the finish
Get out the 320-grit sandpaper mentioned and gently sand the cornhole boards. Some even use higher grit sandpaper on the cornhole board, but I feel 320 should get the job done.
Remove any wood dust and foreign material so the board is clean again. This will help it be semi-slick, and the slicker you want it, the more you should repeat the process laid out here till the last coat.
Continue applying the poly, letting it dry, and then lightly sand till you have multiple layers built up. Once you have your desired smoothness, you are all done.
Step 5: Try it out
Once it’s dry, it’s time to try it out. See if it is to your liking; if not, you can always add more layers to gain even more smoothness.
This whole process can take time since you should give about two to three hours between each layer to wait for it to dry unless you are using the fast-drying method.
There’s also another trick that includes the bean bags themselves. Let’s talk about that next.
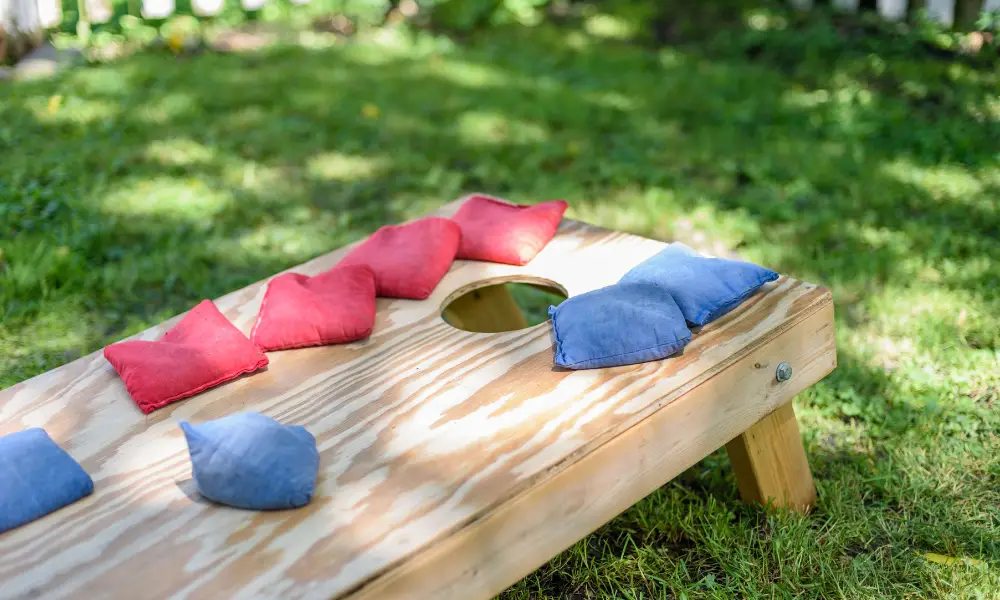
Bean Bag Slippery Hack
Bean bags can be made out of a lot of different materials. Some of these materials will help the bag slide easier.
The most common fill material is resin VS corn, as both are very popular. Not only that, the cloth itself that can help the most recommended is also duck cloth as it’s super soft and glides on the boards.
When it comes to what is inside the cornhole bags, nothing can compete with corn kernels. Corn rubs together as you throw the bag, and the corn breaks apart just a bit, creating corn dust.
This dust gets on the cornhole boards, and now you have cornhole boards slick without even adding any finishes. Of course, this does stack, so you can use corn bags with finishing cornhole boards, then the game will be slippery.
Many veteran cornhole players prefer these slick bags, but the corn-filled bags are harder to clean. They are also not as durable as the resin bags that you can throw into the washing machine.
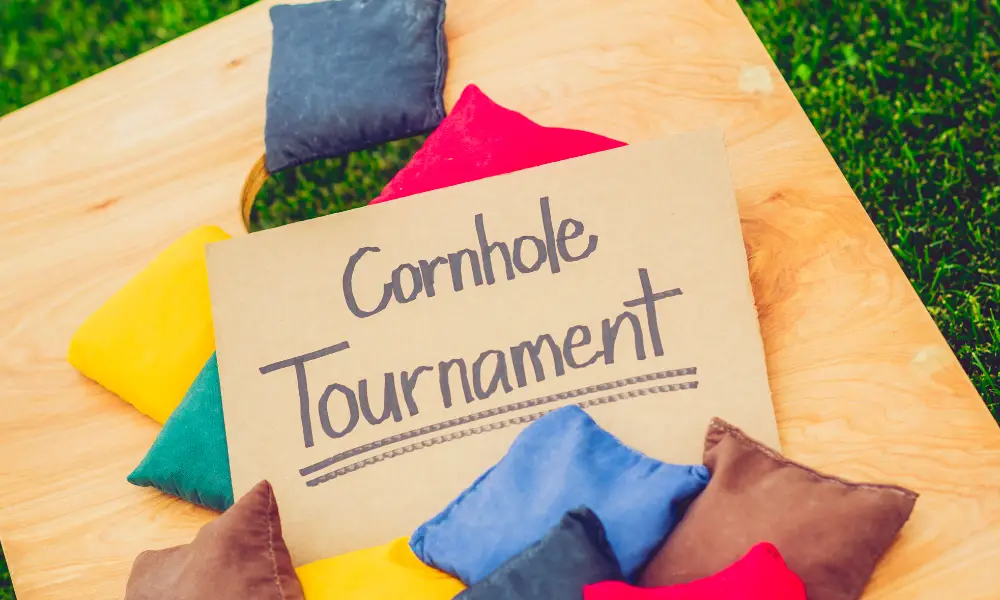
They will argue there is no replacement for having a smooth cornhole board in every game. One good thing is if anyone ever has questions, we have how-to-play cornhole rules available.
Why finish the cornhole board?
It’s a great idea to finish the wood as it protects the boards from moisture and UV rays.
I recommend sealing each cornhole board but not just the surface. Make sure to add some poly to all areas.
I would add 2 to 3 layers to these areas:
- Under the board
- On the side
- On the corners
- The inside of the hole
- The legs of the cornhole board.
Make sure to give time between each coat to completely dry and then move on to the next area. You may be able to do multiple parts at a time to help keep the duration of this DIY process down.
Make Your Bean Bags Board Fun
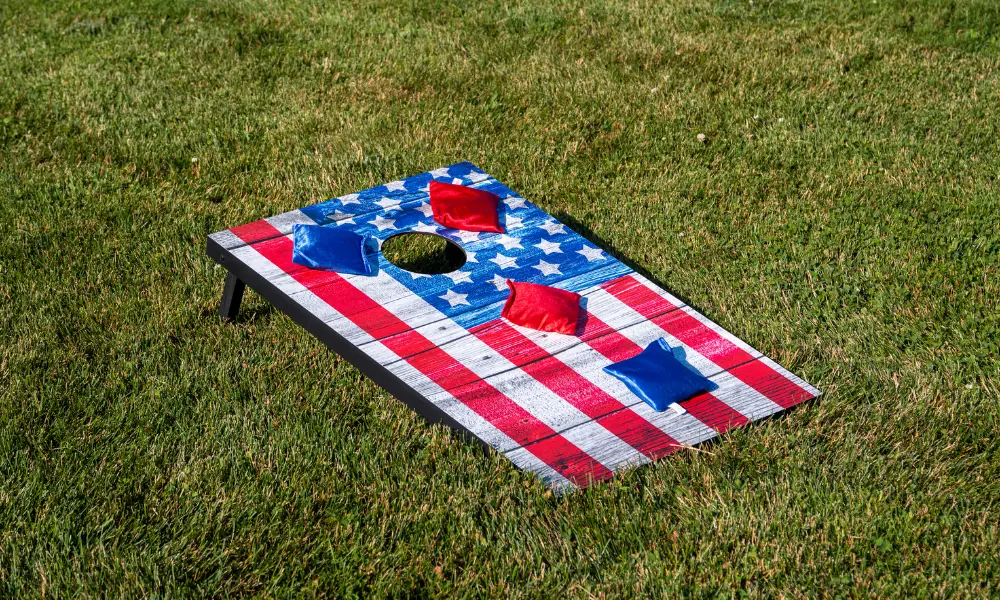
Keep in mind you can do even more, like adding some paint or other artwork to the top surface of the board before starting to refinish it.
This will give some cool character to your cornhole board. You can paint each cornhole board differently or do it to match.
Feel free to use a measuring tape and pencil to first sketch what you want on the boards. Then paint whatever designs you want.
Now, wait for it to dry and start the process above to make the boards slippery. It’s best when painting to paint directly onto the wood.
Of course, before starting this, you will want to lay something under them like a newspaper to catch the extra paint that may fall to the ground. This will really spice up the game.
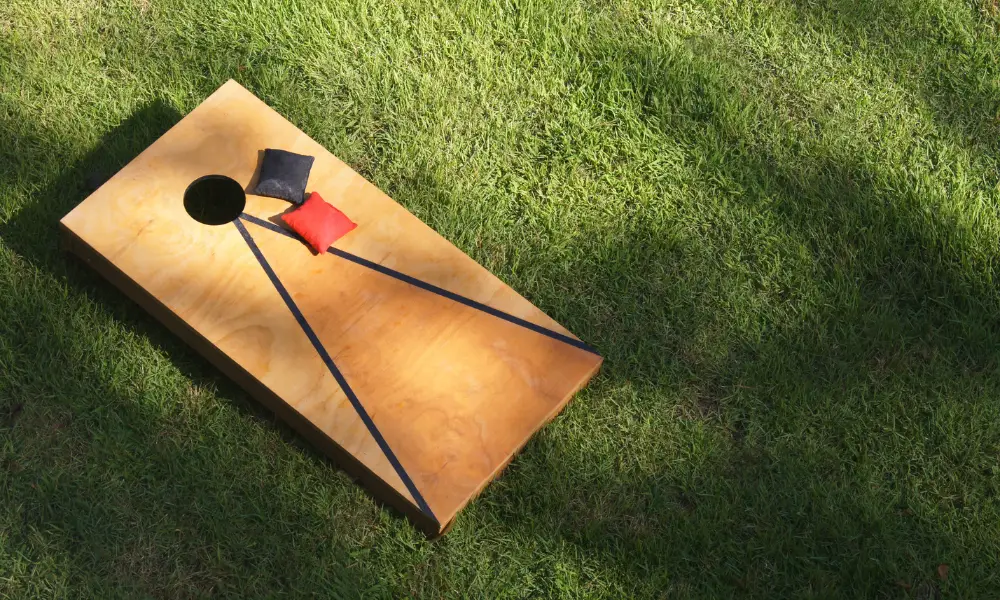
You could even make a cool design like a bullseye on the hole of the cornhole boards.
Keep in mind that adding paint to the board can cause imperfections with the finish though it’s not usually that noticeable on the cornhole board. I would personally make sure to paint the whole surface of the board to minimize this.
Conclusion
You know how to finish cornhole boards and make their surface slippery and smooth. Most cornhole boards are made out of wood, plywood usually.
Do the above and add the right amount of coats for the best finish, and you are all set.
This process is similar to a very interesting article on how to refinish a shuffleboard table.
Please be careful and use at your own risk
None of the authors, contributors, administrators, or anyone else connected with BestPlaygroundSets, in any way whatsoever, can be responsible for your use of the information contained in or linked from these web pages.


