Did you know that properly designed rain gardens can capture up to 90% of runoff from your property while reducing potential water pollution by 30%? You can transform an unsightly drainage area into a vibrant ecosystem that enhances your landscape’s beauty and functionality. By following these seven straightforward steps, you’ll create a sustainable solution that manages stormwater, supports local wildlife, and adds distinctive character to your outdoor space.
Selecting the Perfect Location for Your Rain Garden
When planning your rain garden, selecting an appropriate location is the most critical first step that determines its effectiveness. Choose a spot at least 10 feet from your home’s foundation to prevent water seepage issues. The area should have a natural depression or be positioned downslope from runoff sources like downspouts, driveways, or impervious surfaces.
Conduct a percolation test by digging a 12-inch hole, filling it with water, and monitoring drainage. Ideally, water should drain within 24-48 hours. Avoid utility lines, tree roots, and septic systems—call 811 before digging.
Consider sun exposure requirements for your chosen plants; most native rain garden species prefer full to partial sun. For peak functionality, position your garden where it will intercept the maximum volume of stormwater runoff. Additionally, implementing effective natural strategies for weed control will help maintain the health and aesthetics of your rain garden.
Evaluating Soil Quality and Drainage Patterns
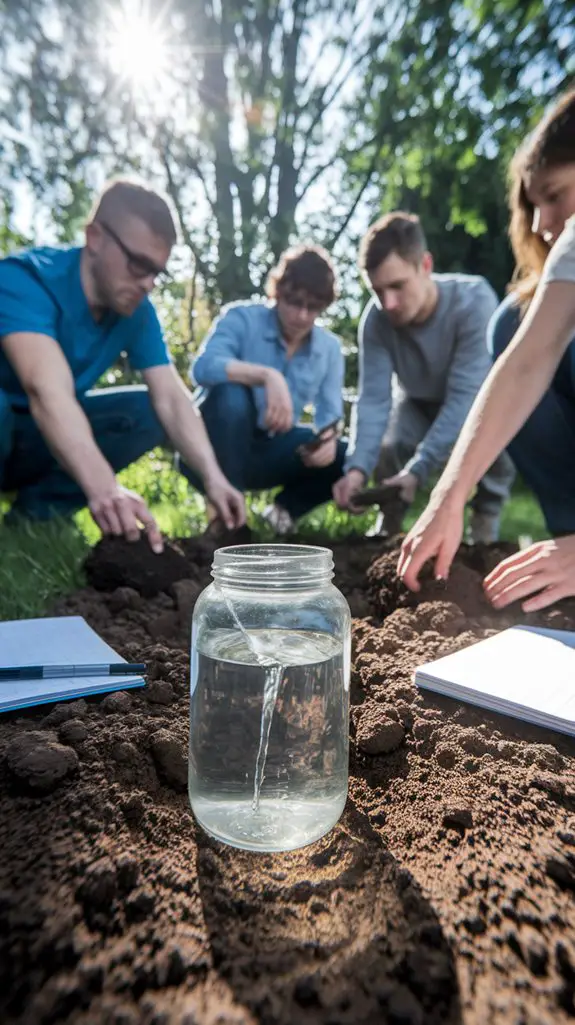
Understanding soil composition forms the foundation of a successful rain garden design, as it directly impacts water infiltration rates and plant health. You’ll need to conduct a simple percolation test by digging a 6-inch hole, filling it with water, and measuring drainage time.
| Soil Type | Drainage Rate | Infiltration Quality | Design Implications |
|---|---|---|---|
| Sandy | Fast (1-2″/hr) | Excellent | Smaller, shallow basin |
| Loamy | Moderate (½-1″/hr) | Good | Standard design |
| Clay | Slow (<½"/hr) | Poor | Larger area, amended soil |
| Compacted | Very slow | Very poor | Requires extensive remediation |
Document your yard’s natural water flow during rainfall. Identify low points, existing runoff patterns, and areas where water naturally collects. These observations will inform ideal placement and sizing of your rain garden basin. Additionally, incorporating composting techniques can enhance soil quality and water retention in your rain garden.
Calculating the Ideal Size and Depth for Water Retention

Three critical factors determine your rain garden’s ideal size and depth: catchment area, soil type, and expected rainfall volume.
Calculate your catchment area by measuring the impervious surfaces (roof, driveway, patios) that will direct water to your garden.
For clay soils, plan for 45-60% of the catchment area and depths of 6-8 inches. Sandy soils require only 20-30% of catchment area but depths of 8-12 inches for proper infiltration. Loamy soils fall between these ranges.
Factor in your region’s typical rainfall intensity—more frequent heavy rains demand larger capacity.
As a rule of thumb, design your garden to fully drain within 24-48 hours after rainfall to prevent mosquito breeding while maximizing filtration benefits.
Choosing Native Plants That Thrive in Wet Conditions
Native plant selection forms the foundation of any successful rain garden, as indigenous species have naturally adapted to your region’s precipitation patterns and soil conditions. When choosing plants, focus on those that can handle both periodic flooding and dry spells between rain events. Additionally, implementing effective pest control strategies can help protect your rain garden from harmful insects that may disrupt the balance of this ecosystem.
| Zone | Wet-Loving Species | Drought-Tolerant Options |
|---|---|---|
| Basin | Blue Flag Iris, Swamp Milkweed | Cardinal Flower, Tussock Sedge |
| Middle | Joe-Pye Weed, Fox Sedge | Black-Eyed Susan, Switchgrass |
| Edge | Little Bluestem, Prairie Dropseed | Purple Coneflower, Butterfly Weed |
Arrange your selections by moisture tolerance, placing the most water-tolerant varieties in the deepest part of your garden. You’ll create not only an effective stormwater management system but also a vibrant habitat that attracts beneficial insects and birds throughout the seasons.
Designing the Layout and Water Flow Path
With your native plants selected, the layout and water flow path now become your design focus.
Begin by mapping the natural drainage patterns on your property, identifying where water naturally flows during rainfall events.
Create a depression that’s 4-8 inches deep with gently sloped sides at a 3:1 ratio. Position the garden at least 10 feet from building foundations and establish a clear inlet where water enters and an overflow point for excess water during heavy storms.
Arrange plants strategically: place water-loving varieties in the deepest center areas, drought-tolerant species along the edges.
Consider creating a meandering flow path with strategically placed rocks to slow water movement, maximizing infiltration time. This creates a serpentine pattern that’s both functional and aesthetically pleasing. Additionally, incorporating rainwater harvesting techniques can enhance the efficiency of your rain garden by capturing and utilizing runoff.
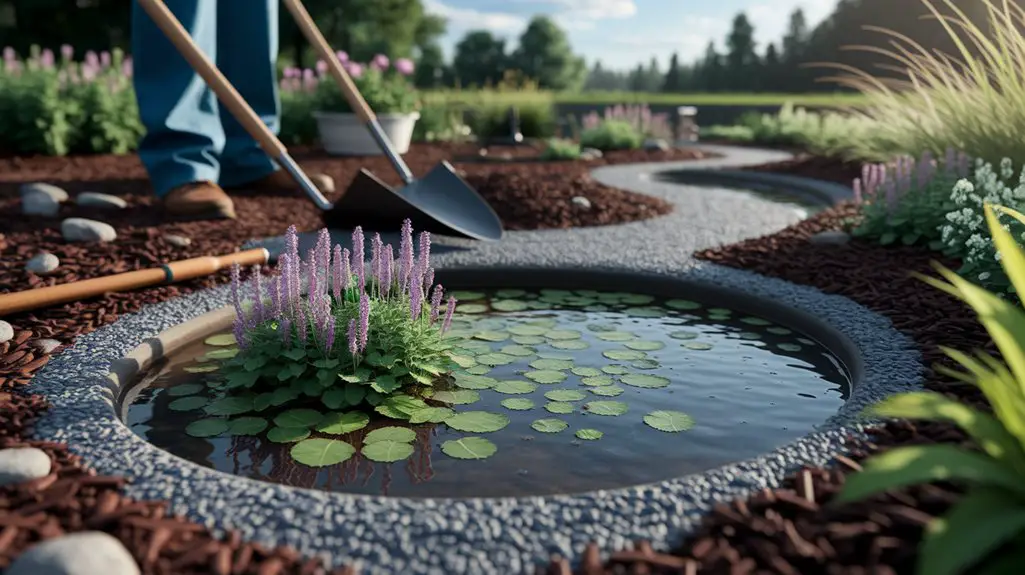
Excavating and Preparing the Rain Garden Basin
Proper excavation forms the foundation of a successful rain garden installation.
Begin by removing turf from your marked area, setting aside topsoil for later use. Dig the basin 6-8 inches deep, creating a flat bottom with gently sloped sides at a 3:1 ratio for stability.
For clay soils, excavate an additional 6 inches and backfill with a mixture of 60% sand, 20% compost, and 20% topsoil to improve drainage.
Install a 3-inch layer of mulch around the perimeter to prevent erosion during heavy rainfall. Create a defined inlet where water enters and an overflow outlet positioned 4-6 inches above the basin floor for excess water management.
Test your excavation by filling it with water and monitoring drainage—it should empty within 24-48 hours.
Maintaining Your Rain Garden Through the Seasons
Once established, your rain garden requires seasonal maintenance to remain functional and aesthetically pleasing. Different seasons demand specific attention to guarantee peak performance year-round.
1. Spring: Remove winter debris, divide overgrown perennials, and replenish mulch to a 2-3 inch depth.
Check for erosion at inlet points and regrade as necessary.
2. Summer: Water during extended dry periods until plants establish deep root systems.
Remove weeds before they set seed.
3. Fall: Prune dead vegetation selectively, leaving some intact for winter habitat.
Clear inflow areas of leaves to prevent clogging.
4. Winter: Monitor drainage during freeze-thaw cycles to guarantee water isn’t pooling longer than 48 hours.
Document plant performance for spring adjustments.
Conclusion
Your rain garden isn’t just a moisture management solution—it’s a vibrant ecosystem that enhances your property’s visual appeal while gently redirecting nature’s bounty. By following these seven technical steps, you’ve created a self-sustaining landscape feature that’ll serve your property for years. Remember to perform seasonal refreshes, and you’ll enjoy both the aesthetic benefits and the hydrological improvements your thoughtful installation provides.


