After six months of composting, Marilyn McKenzie transformed her sandy Florida soil into a rich, loamy garden bed that produced twice the tomatoes as the previous year. You'll find that proper composting techniques can revolutionize your growing results while reducing household waste. The secret lies in understanding the science behind decomposition, maintaining proper ratios, and troubleshooting common issues that often discourage new composters. Master these fundamentals, and your garden will thank you with abundant harvests.
Selecting the Ideal Location for Your Compost Bin
Setting up your compost bin in the right location sets the foundation for successful decomposition. Choose a level, well-drained area that's easily accessible year-round.
Position your bin where it receives partial shade—direct sun accelerates moisture loss while complete shade slows decomposition.
Maintain a 2-foot clearance from structures to prevent moisture damage and pest infiltration. Don't place bins directly against wooden fences or walls.
Verify proximity to a water source for maintaining ideal moisture levels (40-60%).
Consider convenience—you'll need regular access for adding materials and turning the pile. Place the bin within reasonable distance of your kitchen to facilitate scraps disposal.
Avoid low-lying areas that collect standing water, as overly saturated compost becomes anaerobic and produces odors. Additionally, managing backyard wildlife populations effectively can help minimize disturbances and enhance the overall health of your compost ecosystem.
Essential Materials to Include and Avoid in Your Compost
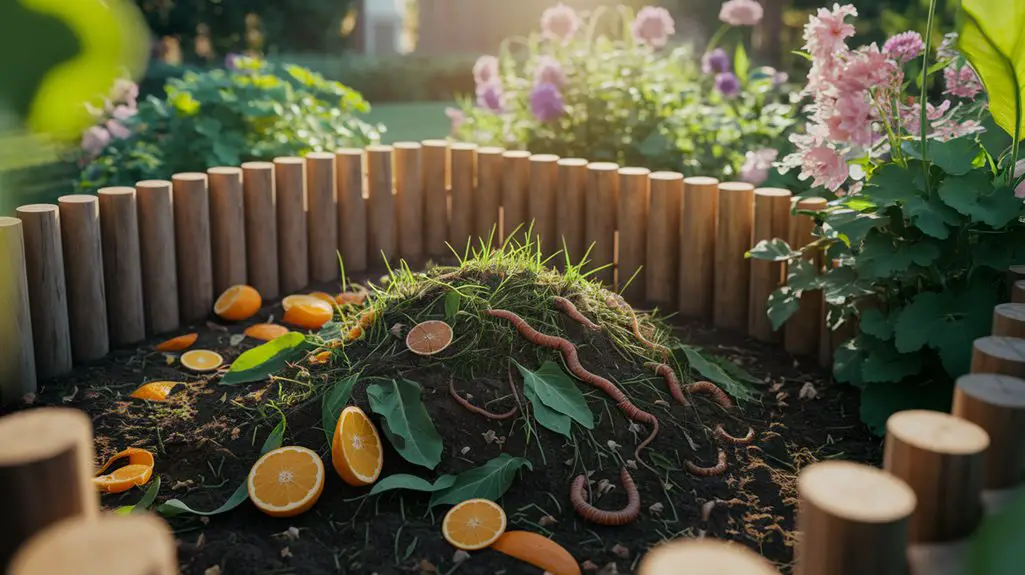
Successful composting requires balancing two essential categories of materials: "greens" and "browns."
Greens provide nitrogen and include fresh grass clippings, vegetable scraps, coffee grounds, and fresh plant trimmings, while browns contribute carbon through materials like dry leaves, shredded paper, cardboard, and wood chips.
Aim for a 3:1 ratio of browns to greens for ideal decomposition.
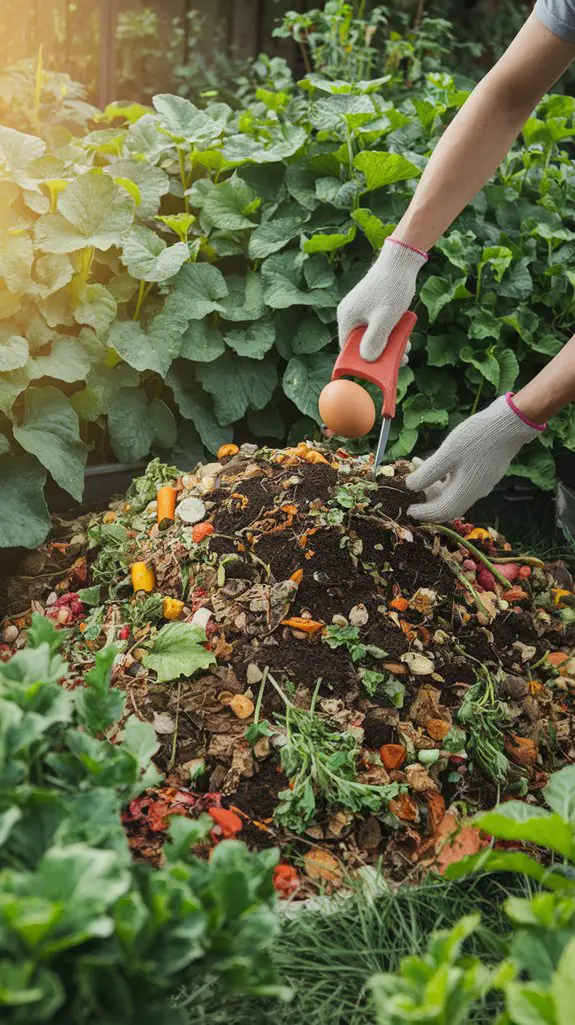
Never add meat, dairy, oils, diseased plants, or pet waste, as these attract pests and introduce pathogens. Avoid weed seeds and plants treated with herbicides that may persist through composting.
For faster breakdown, chop materials into smaller pieces before adding them to your bin.
This increases surface area for microbial activity, accelerating the decomposition process and producing nutrient-rich compost more quickly. Additionally, using eco-friendly practices in your composting approach can further enhance soil health and sustainability in your garden.
Maintaining the Perfect Carbon-to-Nitrogen Ratio
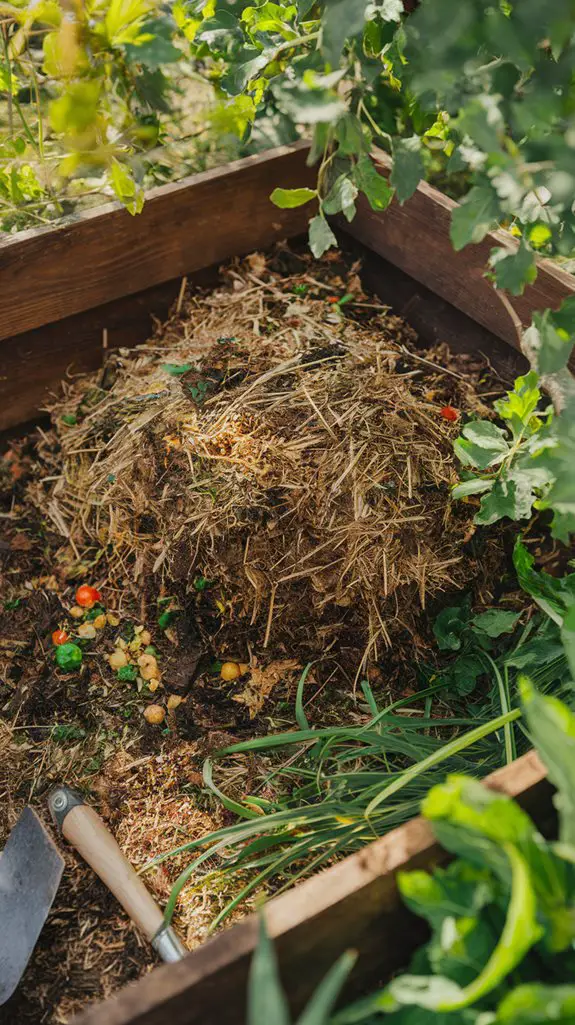
The perfect carbon-to-nitrogen ratio (C:N) stands at the core of effective composting, typically between 25:1 and 30:1 for ideal microbial decomposition.
To achieve this balance, you'll need to combine "browns" (carbon-rich materials) with "greens" (nitrogen-rich materials) in appropriate proportions.
Browns include dry leaves, cardboard, newspaper, wood chips, and straw, while greens encompass fresh grass clippings, kitchen scraps, coffee grounds, and fresh plant trimmings.
When your pile contains too much carbon, it'll decompose slowly; excessive nitrogen creates odor and attracts pests.
Monitor your pile's temperature and appearance—a properly balanced compost heats up quickly and breaks down efficiently.
If decomposition stalls, add nitrogen materials; if it smells ammonia-like, incorporate more carbon sources to recalibrate your C:N ratio.
Troubleshooting Common Composting Problems
Even experienced gardeners encounter setbacks with their compost piles, but most common problems have straightforward solutions once properly diagnosed. You'll need to identify specific symptoms and apply targeted interventions to restore your compost's productivity.
| Problem | Solution |
|---|---|
| Foul odor | Add carbon-rich materials (leaves, paper) and turn pile to increase aeration |
| Slow decomposition | Check moisture levels (should feel like wrung sponge) and guarantee proper particle size |
| Pest infestation | Bury food scraps thoroughly, eliminate meat/dairy, and cover with brown materials |
Monitor temperature regularly, as a properly functioning pile should reach 120-160°F during active decomposition. If your pile never heats up, you likely need more nitrogen-rich materials and adequate moisture to stimulate microbial activity.
Using Finished Compost to Maximize Garden Health
Once your compost has fully matured into dark, crumbly material resembling rich soil, you've created a versatile garden amendment with multiple applications for optimizing plant health.
Apply it strategically for maximum benefit.
- Mix 2-3 inches into garden beds before planting to enhance soil structure and provide slow-release nutrients.
- Apply 1/2 inch layer as top dressing around established plants, keeping it 2 inches from stems to prevent rot.
- Brew compost tea by steeping 1 part compost in 5 parts water for targeted foliar feeding.
- Create potting mix by combining equal parts compost, vermiculite, and peat moss.
- Use as mulch in 1-2 inch layers to suppress weeds, retain moisture, and gradually feed soil.
Conclusion
You'll transform your garden into a thriving paradise when you master these composting fundamentals. Position your bin strategically, maintain the essential 25:1 to 30:1 C:N ratio, and monitor moisture at 40-60%. When problems arise, adjust your materials and aeration methods accordingly. Apply your finished compost to enrich soil structure, supply nutrients, and suppress weeds. Your plants won't just grow—they'll flourish beyond imagination with this black gold.


