Did you know that the global toy market is expected to reach a staggering $120.9 billion by 2023?
With such a massive industry, it’s no wonder that many of us find ourselves with an abundance of plastic toys in our homes.
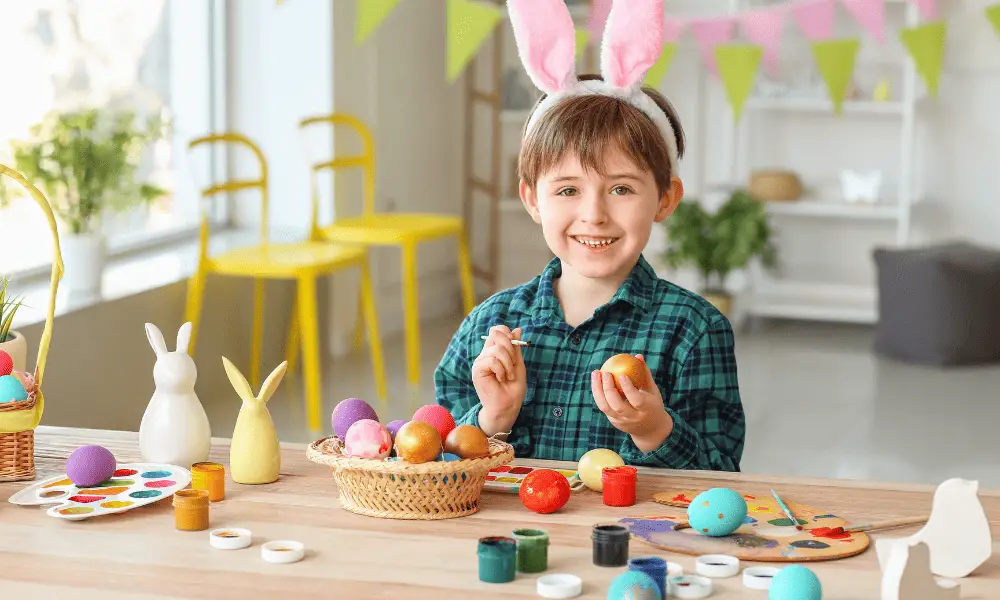
If you’re looking to breathe new life into those old action figures or give your child’s favorite doll a makeover, painting plastic toys can be a fun and rewarding project.
In this article, we’ll guide you through the process of transforming your plastic playthings into unique works of art. You might feel apprehensive about taking on such a task, but don’t worry! We’ve got your back.
Preparing the Toy for Painting
Before you dive into painting your plastic toy, it’s crucial that you properly prep the surface to ensure a smooth, long-lasting finish.
The first step in preparing your toy for painting is applying proper sanding techniques. Begin by washing the toy with warm soapy water to remove any dirt or residue.
Once it’s clean and dry, use fine-grit sandpaper to lightly sand the entire surface of the toy. This will create a slightly rough texture that will help the paint adhere better to the plastic. Be sure to sand evenly and avoid pressing too hard, as this could cause scratches or damage to the plastic.
Next, let’s focus on cleaning methods after sanding. Dust off any remaining particles from the sanding process using a soft brush or cloth. Afterward, wipe down the entire surface of the toy with rubbing alcohol or a plastic cleaner designed for removing oils and residues.
This step is essential because any leftover contaminants can prevent paint from adhering properly and may lead to an uneven finish or peeling paint over time. Allow the toy to air dry completely before moving on to painting.
Once your plastic toy is sanded and cleaned thoroughly, you’re ready for priming – an important part of ensuring a high-quality paint job.
Apply an even coat of primer specifically designed for plastics onto your toy’s surface; this creates a strong bond between the plastic and subsequent layers of paint while also providing additional protection against chipping or peeling once painted.
Remember, patience is key when prepping your item – taking extra care during these preparation stages will result in a more professional-looking outcome that lasts longer than if you were to rush through them.
Selecting the Appropriate Materials
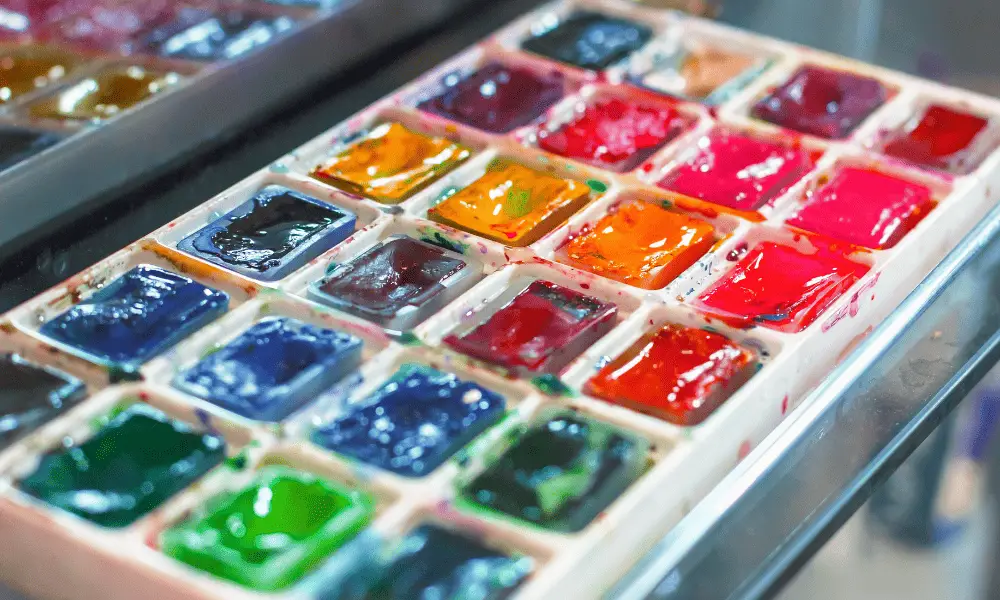
Choosing the right tools for your art project is like picking the perfect ingredients for a delicious meal – it’s essential and makes all the difference in the final result.
When painting plastic toys, you need to consider material durability and select appropriate paint types to ensure a professional finish that will last.
Here are some key materials to have on hand:
Material durability plays a crucial role when selecting paint types and other supplies. Acrylics and enamels are both excellent choices because they adhere well to plastic surfaces, ensuring lasting results.
Acrylics offer faster drying times, while enamels provide a more durable, glossy finish.
It’s important to test your chosen paint on an inconspicuous area of the toy before diving into your project. This will help you determine if further surface preparation is needed or if any compatibility issues exist between the paint and plastic.
As you gather your materials, remember that patience and attention to detail are just as important as quality supplies.
Start by thoroughly cleaning the toy with soap and water, then follow up with a light sanding using fine-grit sandpaper or a sanding sponge to create better adhesion between primer or paint layers.
Once dry, apply multiple thin coats of primer followed by your choice of acrylic or enamel paints, allowing each coat ample time to dry fully before applying additional layers.
After achieving the desired coverage, use clear sealant spray over painted areas. This will not only enhance material durability but also give a polished look that showcases your artistic talent!
Applying Primer for a Strong Foundation
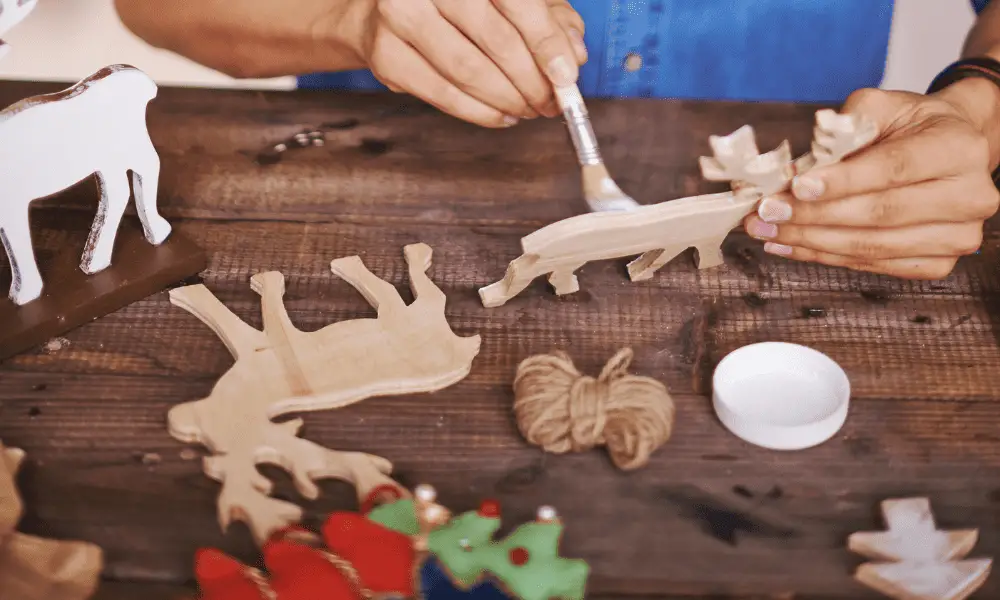
You’ll want to lay a strong foundation for your masterpiece by properly applying primer to the surface, ensuring a smooth and lasting finish. Primer importance can’t be overstated when it comes to painting plastic toys, as it helps improve adhesion between the paint and the toy’s surface.
This not only ensures that your paint job will last longer but also allows you to achieve an even, professional-looking result.
To begin with, make sure your plastic toy is thoroughly clean and dry.
Any dirt or grease on the surface can prevent the primer from adhering correctly. Once ready, choose a primer specifically designed for use on plastics – this will ensure optimal adhesion improvement.
Apply the primer in thin, even coats using either a brush or spray can, depending on your preference and desired finish. Give each coat ample time to dry before adding another layer; this may take anywhere from 15 minutes up to an hour, depending on temperature and humidity levels.
After you’ve applied enough coats of primer (typically two to three should suffice), allow it to cure completely before starting the actual painting process – this may take up to 24 hours, depending on the specific product used.
This step is crucial for ensuring both the durability and visual appeal of your final work since it guarantees proper bonding between paint layers and prevents peeling or chipping down the line.
With patience and attention to detail during priming, you’re setting yourself up for success in creating a stunning painted plastic toy that’s built to last!
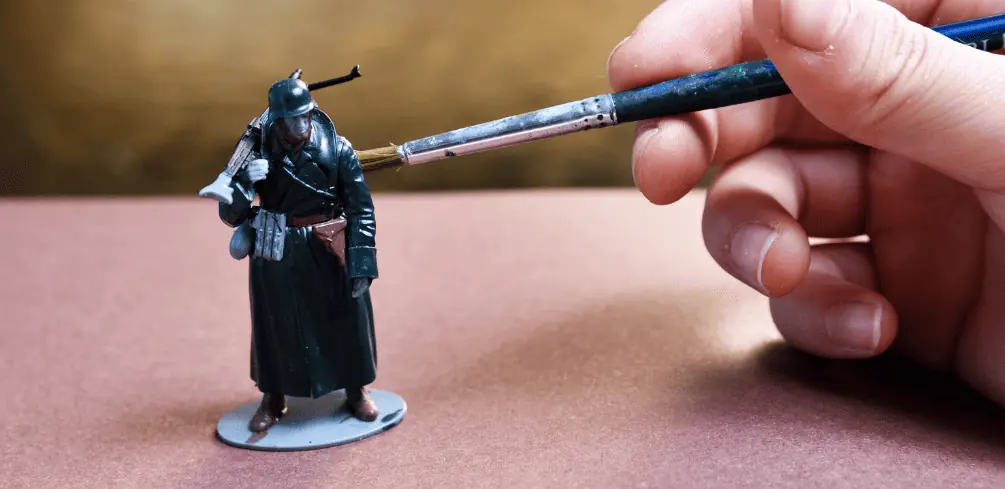
Techniques for Painting and Detailing
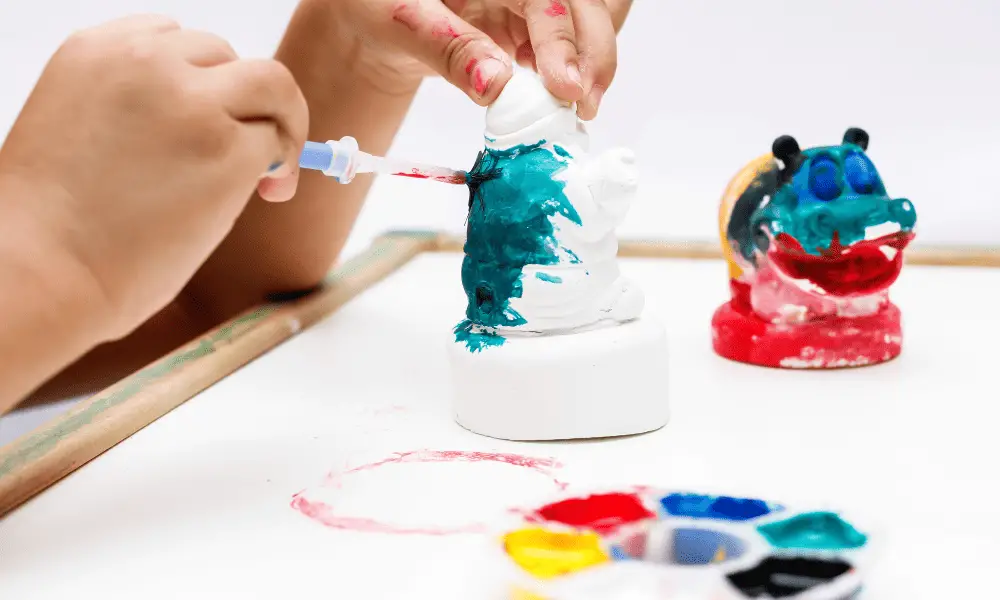
Mastering various techniques for painting and detailing is essential in bringing your creation to life and achieving a professional-looking result.
One key approach is layering techniques, which involve applying multiple thin layers of paint to create depth and dimension. Start with a base coat, then add shading by gradually building up darker colors in recessed areas or lighter colors on raised surfaces.
This method allows for better control over the intensity and opacity of the colors and helps avoid a thick, gloopy appearance.
Color blending is another vital skill that can elevate your plastic toy painting project. To achieve smooth transitions between different shades or colors, try wet blending or dry brushing methods.
Wet blending involves mixing two adjacent colors directly on the surface while both are still wet, creating a seamless blend. On the other hand, dry brushing consists of removing most of the paint from your brush before lightly sweeping it across raised details to highlight them subtly with minimal color transition.
By practicing these techniques and experimenting with different methods, you’ll soon develop your unique style for painting plastic toys. Don’t be afraid to make mistakes along the way – this is all part of the learning process!
As you gain experience and confidence in your abilities, you’ll find that combining layering techniques with color blending will produce stunning results that bring out every intricate detail of your toy masterpiece. Keep pushing yourself to improve as an artist; after all, practice makes perfect!
Sealing and Protecting Your Artwork

Once you’ve achieved the desired look for your creation, it’s crucial to seal and protect your artwork to ensure its longevity and maintain its vibrant colors.
A high-quality UV-resistant sealant will help preserve the paint from fading due to exposure to sunlight while also providing a protective layer against scratches, dust, and dirt.
There are various types of sealants available on the market, such as matte, satin, or glossy finishes – choose one that best complements the appearance of your painted plastic toy.
When applying a sealant, make sure the painted surface is clean and dry. You can use a soft brush or cloth to remove any lingering dust particles before sealing.
Apply thin layers of sealant evenly over the entire toy using either a brush or spray can (following the manufacturer’s instructions). It’s essential to allow each coat to dry thoroughly before applying another layer; this prevents any streaks or uneven coverage.
Depending on the chosen finish and thickness of coats applied, you may need two or three layers for optimal protection.
After completing these steps, give your sealed masterpiece adequate time to dry completely before handling it again – patience is key!
By investing in proper sealing techniques and using quality materials like UV-resistant sealants, you’ll help ensure artwork longevity and keep those bright colors looking fresh for years to come.
So go ahead and enjoy creating beautiful memories with your repainted plastic toys knowing they’re protected from wear and tear with just a few extra steps!
Conclusion
In conclusion, painting plastic toys is a fun and creative way to customize your favorite playthings. With the right preparation, materials, and techniques, you can transform any ordinary toy into a unique piece of art.
Did you know that around 36 billion toys are sold annually worldwide? By learning these painting skills, you can contribute to making those billions of toys even more special and personalized.
So go ahead, grab your brushes, and start creating your own masterpiece!


