Are you tired of the same old stepping stones available at your local garden center?
Do you want to add a personal touch to your garden or walkway that showcases your creativity and style?
Look no further!
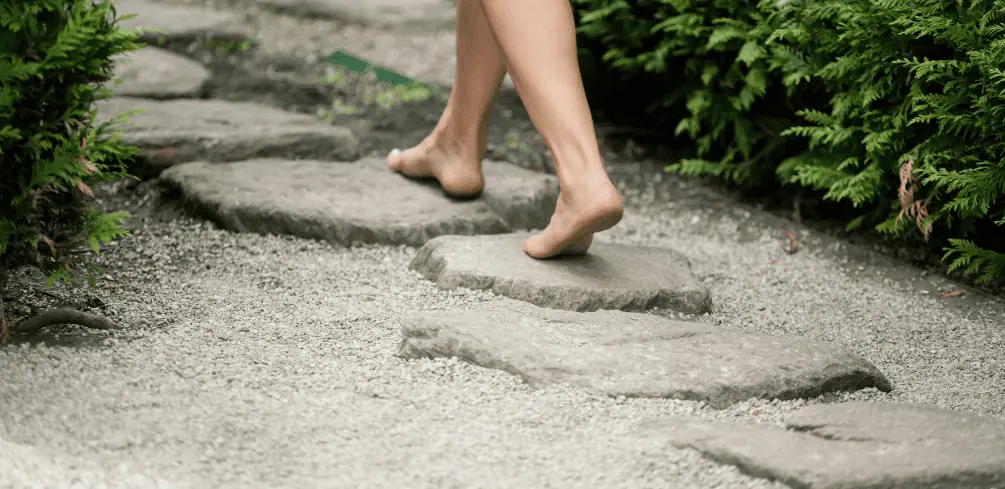
With some simple materials and a bit of imagination, you can create unique and eye-catching DIY stepping stones that will make your outdoor space truly one-of-a-kind.
Not only are these homemade treasures an excellent way to personalize your garden, but they also make fantastic gifts for friends and family who appreciate a thoughtful, handcrafted touch.
Next, we’ll provide instructions on preparing the stone molds before diving into mixing and pouring concrete. Finally, we’ll explore fun ways to add personal touches and finishing details that will make each stone uniquely yours.
Gathering the Necessary Materials
Now that you’ve decided to make your own stepping stones let’s gather the materials you’ll need for this DIY project.
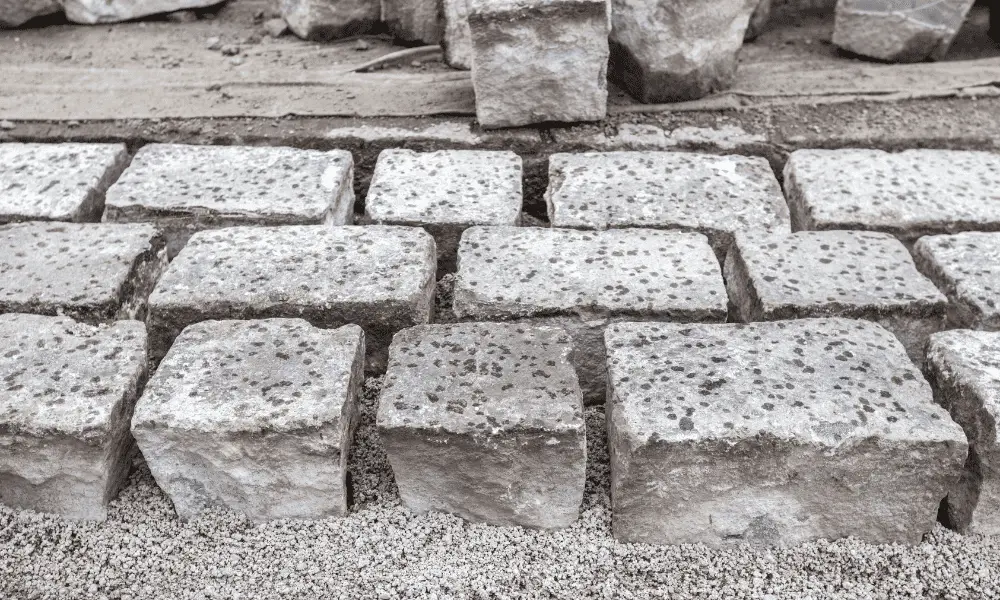
First and foremost, think about the material options available for creating stepping stones. Some popular choices include concrete, mosaic tiles, glass pebbles, and even broken pieces of pottery.
The right choice will depend on your personal preferences as well as what’s readily available in your area.
Sourcing materials can be done through various means. Visit local home improvement stores or garden centers to find bags of concrete mix and other supplies like molds or trowels.
For more unique embellishments like mosaic tiles or glass pebbles, check out craft stores or online marketplaces such as Etsy or eBay.
You might also consider repurposing old materials lying around your home – broken ceramic dishes can become beautiful accents in your stepping-stone design!
Once you have gathered all of your materials, it’s time to prepare a workspace where you can create your stepping stones. Choose a well-ventilated area with ample room for mixing concrete and setting up molds.
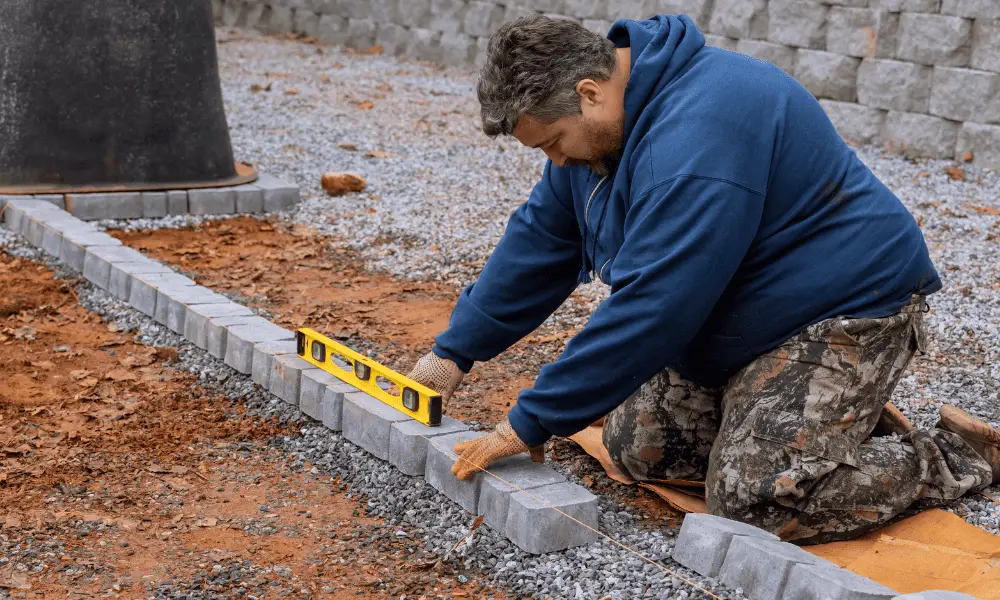
If you’re working outdoors, choose a day with good weather and ensure that the surface is level so that the stepping stones dry evenly.
Remember to wear gloves while handling cement mixtures and safety glasses when cutting tiles or breaking pottery pieces – safety should always come first during any DIY project!
Choosing a Design for Your Stones
Imagine the endless possibilities when it comes to selecting a design for your personalized garden pathway. Design inspiration can come from various sources, such as nature, art, or even your personal interests and hobbies.
When choosing a design for your stepping stones, consider the existing elements in your garden to create harmony and cohesion. For example, if you have a specific theme or color scheme in your garden space, think about how your stepping stones will complement those features.
Also, consider the level of detail and intricacy that you want to achieve; while simple designs are often more manageable for beginners, intricate patterns can add an extra layer of visual interest.
Creative patterns can range from geometric shapes like circles or hexagons to more organic forms like leaves or flowers. If you’re feeling particularly artistic, try incorporating images of animals or other motifs that hold personal significance for you.
It’s essential to keep in mind that whatever design you choose should be achievable using the materials at hand and within your skillset as a DIY enthusiast.
Before starting on the project itself, make sure to sketch out your chosen design on paper first so that you have a clear plan before diving into the actual crafting process.
One way to ensure a unique and visually appealing result is by experimenting with different techniques for creating texture and dimension on the surface of each stone.
You might use stamps or stencils for imprinting designs onto wet concrete mixtures before they harden or employ mosaic techniques with small tiles or broken pieces of glassware embedded into the material’s surface.
Alternatively, play with adding color by mixing pigments directly into concrete mixtures or painting finished stones once they have dried completely.
By exploring various methods and combining them creatively, you’ll develop one-of-a-kind stepping stones that not only enhance functionality but also elevate aesthetics within your garden sanctuary.
Preparing the Stone Molds
The anticipation of crafting personalized garden pathway stones is thrilling, but it’s crucial to prepare the molds properly for a seamless process and stunning results.
With a variety of mold shapes available, you can create stepping stones that reflect your unique style and complement your garden aesthetic. Reusable mold options are also available, making this DIY project eco-friendly and cost-effective.
Imagine the sense of pride and accomplishment when you see your custom-designed stepping stones enhancing your garden. Unleash your artistic side by choosing from an array of mold shapes or even creating your own design.
Opting for reusable molds contributes to environmental conservation and reduces waste. Save money by reusing the same mold multiple times, allowing you to expand or update your garden pathways without breaking the bank.
Create meaningful designs on each stone, incorporating family members’ initials, memorable dates, or symbols that hold special significance.
To prepare the stone molds, begin by selecting a flat surface where they’ll be placed during the entire drying process.
Make sure no dirt or debris is present in the molds, as this may cause imperfections in your final product.
Apply cooking spray or petroleum jelly to coat the inside of each mold evenly; this will make it easier to remove the cured concrete later on.
Once you’ve done all these steps diligently, you’re ready to proceed with mixing concrete and pouring it into these well-prepared molds – setting yourself up for success in both form and function with your stunning new stepping stones!
Mixing and Pouring the Concrete
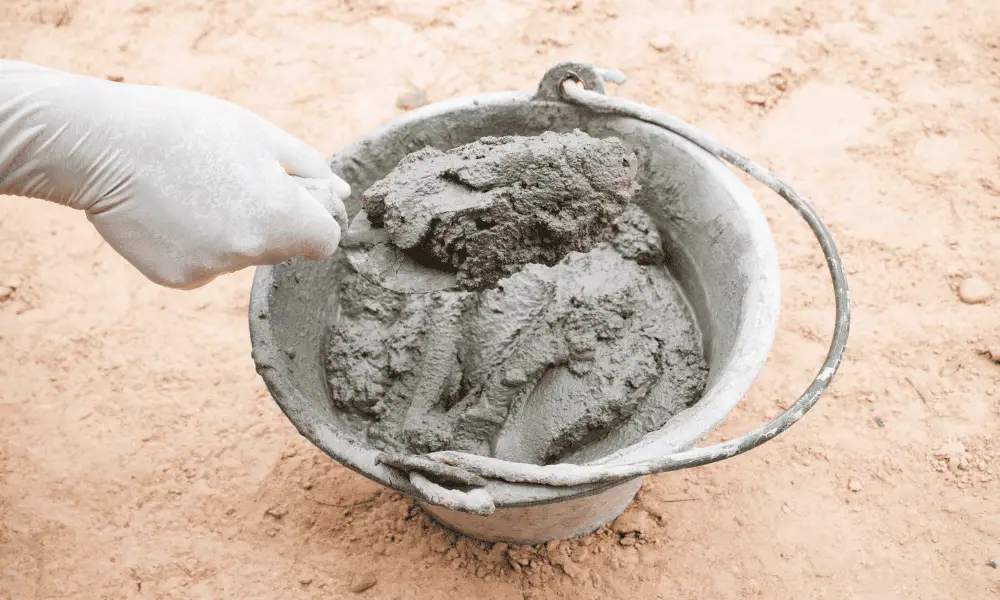
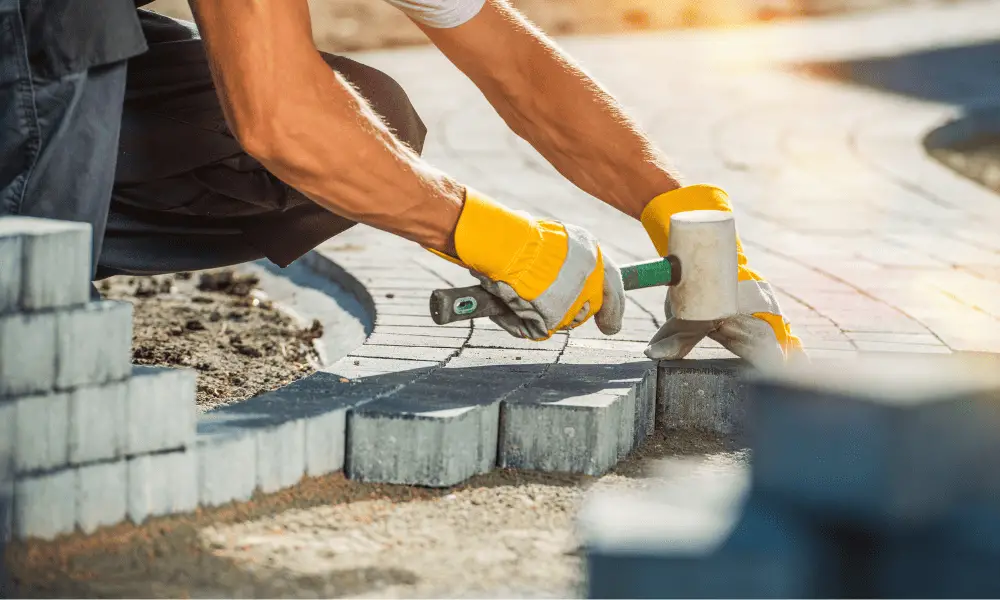
It’s time to get your hands dirty and dive into mixing and pouring concrete for those eye-catching garden pathway stones!
Start by gathering the necessary materials: a bag of concrete mix, a large bucket or wheelbarrow, water, a shovel or trowel, and some gloves.
Before you begin mixing, read the instructions on the concrete mix bag to determine how much water you’ll need. Generally, you’ll want to pour water into the container first and then add the dry concrete mix gradually while stirring with your shovel or trowel.
Aim for a consistency similar to thick brownie batter – not too runny but still easy to work with.
When your concrete reaches that ideal consistency, it’s time to fill your stone molds. Pour the mixture slowly into each mold cavity, making sure to spread it evenly for uniform thickness throughout.
Tap or shake the mold gently after filling it up entirely so any air bubbles can escape from within; this will help ensure a smooth surface on your finished stepping stone.
Use a flat-edged tool like a trowel or scraper to level off excess material from the top of each mold before beginning the curing process. Allowing ample time for curing is crucial in achieving strong and durable stepping stones.
The curing process typically takes about 24-48 hours, depending on factors like temperature and humidity levels in your area; however, it’s always best to follow specific guidelines provided by your chosen concrete mix brand.
During this period, avoid moving or disturbing the molds, as doing so could compromise their strength and appearance once they’re fully set.
Once cured, gently remove your DIY stepping stones from their molds and place them strategically along your garden path for an instant boost in curb appeal!
Adding Personal Touches and Finishing Details
So you think plain concrete garden pathway stones are enough to impress your neighbors?
Think again! It’s time to step up your game by adding some personalized textures and creative embellishments to your DIY stepping stones.
Not only will these unique touches make your garden pathway more visually appealing, but they will also showcase your artistic flair and attention to detail.
To begin with, consider imprinting interesting patterns or designs onto the wet concrete surface using various household items like leaves, twigs, shells, or even old doilies.
Gently press these objects into the wet mix before it dries, making sure not to push too hard as you don’t want them permanently embedded in the stone.
Once you’ve achieved the desired effect, carefully remove them and let the concrete dry completely.
Another option is to use mosaic tiles or small pieces of colored glass for a more intricate design. Simply arrange them on top of the wet concrete mix in any pattern that suits your fancy – from swirls and geometric shapes to initials or house numbers – then gently press them down so they’re slightly embedded.
As for finishing details, don’t underestimate the power of paint! Once your stepping stones are fully dried and cured, give free rein to your creativity with weather-resistant outdoor acrylic paints.
Add pops of color by painting simple motifs like flowers, butterflies, or birds; alternatively, go for a chic monochromatic look by using different shades of grey or white for an elegant stenciled pattern.
Don’t forget to seal everything with a clear waterproof sealer once you’re satisfied with your masterpiece!
With these personal touches in place, get ready for compliments aplenty on your one-of-a-kind garden pathway stepping stones!
Conclusion
So, you’ve reached the end of this exciting journey, and your DIY stepping stones are just waiting to shine.
With a sprinkle of creativity and a pinch of elbow grease, you’ve transformed simple materials into a picturesque garden path.
Now it’s time to sit back and admire your handiwork.
As each step takes you on a stroll through your enchanted garden, remember that it was your vision and hard work that brought these charming stepping stones to life.


