Are you ready to transform your outdoor space with artificial turf but unsure how to cut it for a perfect fit?
Don’t worry; we’ve got you covered!
In this article, we’ll guide you through the process of cutting artificial turf like a pro. Whether you’re installing it on your lawn or creating a unique design in your backyard, our step-by-step instructions will help you achieve professional results without any hassle.
We’ll start by discussing the essential tools required for the job and then move on to measuring and marking your lawn area accurately. Once that’s done, we’ll teach you various cutting techniques so that you can make clean and precise cuts.
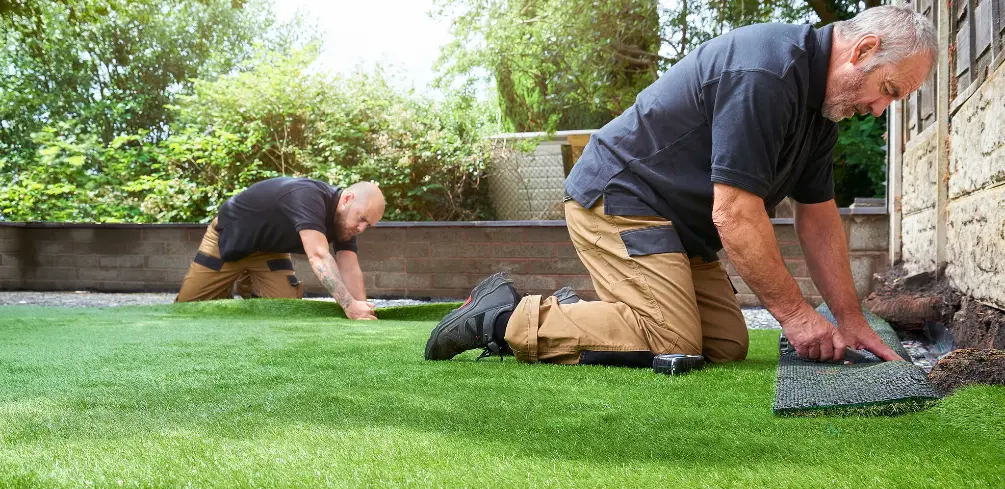
Gathering the Necessary Tools
Before you start cutting your artificial turf, make sure you’ve got all the necessary tools handy to ensure a smooth and efficient process.
Proper tool maintenance is essential for achieving precise cuts and prolonging the life of your equipment.
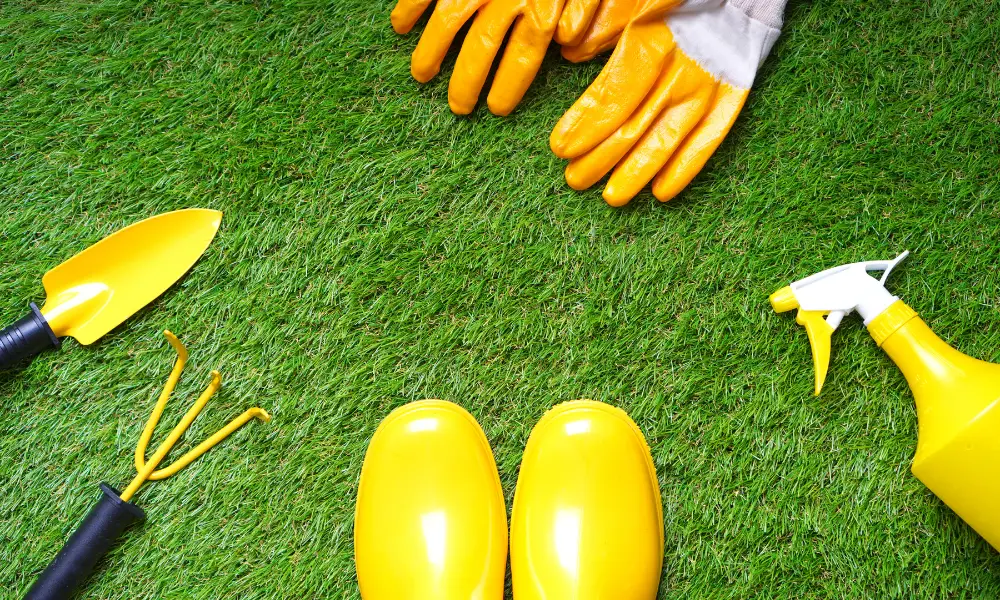
Some of the key tools you’ll need include a sharp utility knife or carpet cutter, a straight edge or T-square, measuring tape, chalk or marking pen, and heavy-duty gloves for safety.
When selecting your cutting tools, prioritize quality and durability to avoid any potential mishaps during the project.
For example, choosing a sturdy utility knife with replaceable blades can help maintain sharpness throughout the job while also providing better control as you cut.
Additionally, investing in a reliable straight edge will help ensure clean lines when trimming your artificial turf to size.
Don’t forget to follow safety precautions when using these tools – always wear heavy-duty gloves to protect your hands from accidental cuts, and be mindful of keeping your fingers away from the blade’s path while cutting.
Once you’ve gathered all of your essential tools, take some time to familiarize yourself with their proper usage before diving into the task at hand.
Plan out how you’ll approach each cut by measuring and marking guidelines on the turf with chalk or a marking pen; this will provide clear reference points as you work through each section.
And always remember that patience is key – rushing through cuts may lead to mistakes that could ultimately impact the overall appearance and longevity of your artificial turf installation.
By taking care in preparation and following best practices while cutting, you’ll achieve professional-looking results that enhance both beauty and functionality in your outdoor space.
Measuring and Marking Your Lawn Area
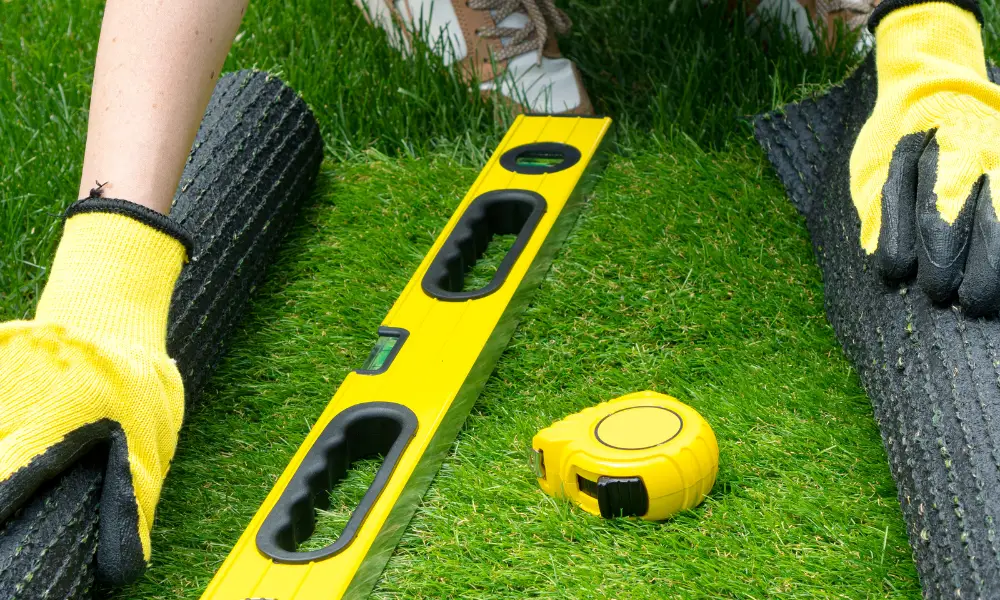
You’ll need to accurately measure and mark your lawn area to ensure a perfect fit for your synthetic grass installation.
Lawn customization starts with a thorough area assessment, taking into account the shape, size, and any obstructions or unique features in your yard.
Measure the length and width of the space where you plan to install artificial turf using a measuring tape or wheel. Be sure to add about 2-3 inches extra on each side for cutting adjustments later on.
If you have irregularly shaped areas, consider dividing them into sections and measuring each one individually before adding up the total square footage.
When marking out the boundaries, use bright-colored spray paint or lawn-safe marking chalk so that it’s easily visible while you’re working on the project.
For curved edges or irregular shapes, use flexible landscaping edging or even rope as a guide around these areas to give yourself an accurate representation of their shape.
Once you’ve marked out your desired turf area, double-check all measurements and adjust if necessary – remember that precision is key for seamless installation.
With your lawn area measured and marked correctly, you can now move forward confidently with cutting and installing your artificial turf.
This step-by-step approach will make it easier for you to visualize how the final product will look in your outdoor space while minimizing errors caused by improper measurements during installation.
By investing time in this crucial step of properly measuring and marking your lawn area, you’ll be well-prepared for successful synthetic grass installation that enhances both beauty and functionality of your yard.
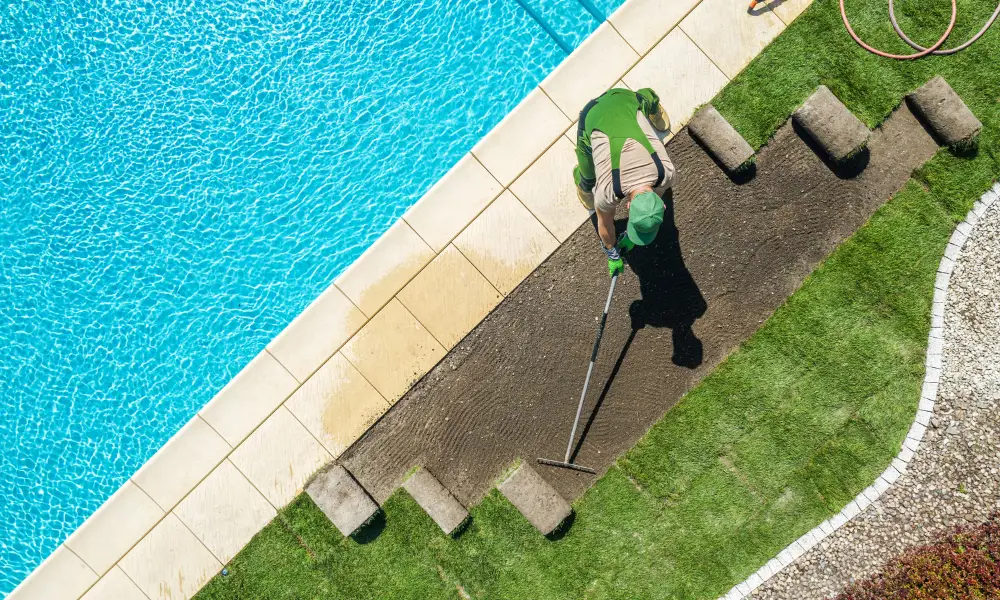
Mastering the Cutting Techniques
Once you’ve measured and marked your lawn area, it’s time to master the cutting techniques that’ll ensure a flawless synthetic grass installation.
Precision cuts are essential for achieving a seamless appearance and preventing visible seams between turf sections.
To begin, make sure you have a sharp utility knife or heavy-duty scissors specifically designed for cutting artificial turf. Blade maintenance is crucial; working with dull blades can result in jagged edges and uneven cuts, which will impact the overall look of your finished project.
When making cuts, it’s important to follow the markings you made during the measuring phase closely. Start by cutting from the backside of the turf where there are no fibers to avoid damaging them.
Hold the blade at a slight angle for better control and smoother cutting action, making sure not to cut too deep or too shallow.
Take your time during this process, as rushing may lead to mistakes that could be difficult to correct later on. If possible, use long continuous strokes rather than short chopping motions for more precise results.
As you work through your artificial turf project, remember to frequently check your blades’ sharpness and replace them as needed. A well-maintained blade ensures clean cuts every time and contributes significantly to a professional-looking installation.
Keep practicing these techniques until you’re confident in achieving smooth edges without visible seams—the mark of an expertly installed synthetic lawn!
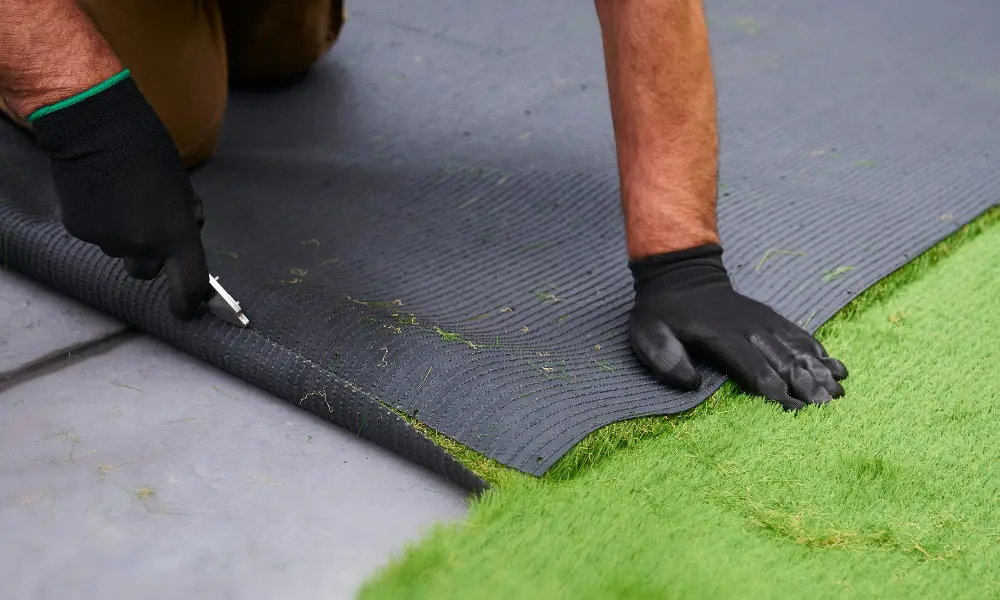
Securing and Seaming the Edges
Nailing down the art of securing and seaming the edges is crucial for a flawless synthetic lawn, as it’s at this stage where your patience and precision truly pay off.
Edge maintenance plays a significant role in ensuring that your artificial grass remains intact and looks professional. To begin with, you’ll need to trim any excess turf from the edges while being careful not to cut too much, as it may create gaps.
Once trimmed, fold the edge back over itself and secure it using either nails or landscape staples every 4-6 inches along the perimeter.
When it comes to seam protection, having a strong bond between each section of turf ensures that your lawn appears seamless and natural-looking. Start by aligning two pieces of artificial grass together so that their fibers match in direction and height.
Place seam tape under the joint where both ends meet; make sure to select an appropriate adhesive specifically designed for synthetic turf applications. Apply a generous amount of adhesive on the seam tape, covering its entire width.
Press down firmly on both edges of the artificial grass onto the glue-coated tape, ensuring even pressure throughout.
Once you’ve properly secured and seamed your synthetic lawn’s edges, take some time to inspect your work closely. If necessary, use a soft-bristle brush or broom to blend any visible seams gently into one another for an even more natural appearance.
By paying close attention to edge maintenance and seam protection during installation, you can achieve an aesthetically pleasing result that will provide lasting enjoyment for years to come.
Your effort put into mastering these techniques will be rewarded with an impressive synthetic lawn that mimics real grass without all the upkeep hassles!
Adding Finishing Touches for a Natural Look
To truly bring your synthetic lawn to life, it’s essential to add those finishing touches that evoke the look and feel of natural grass.
With a few well-placed adjustments, your artificial turf can be transformed into a lush, realistic landscape.
By incorporating some creative landscaping and natural appearance tips into your turf installation process, you’ll achieve an outdoor space that looks as good as the real thing.
Consider these five key elements for enhancing the visual appeal of your artificial turf:
- Integrate a variety of plants and shrubs around the edges of your lawn to create depth and dimension.
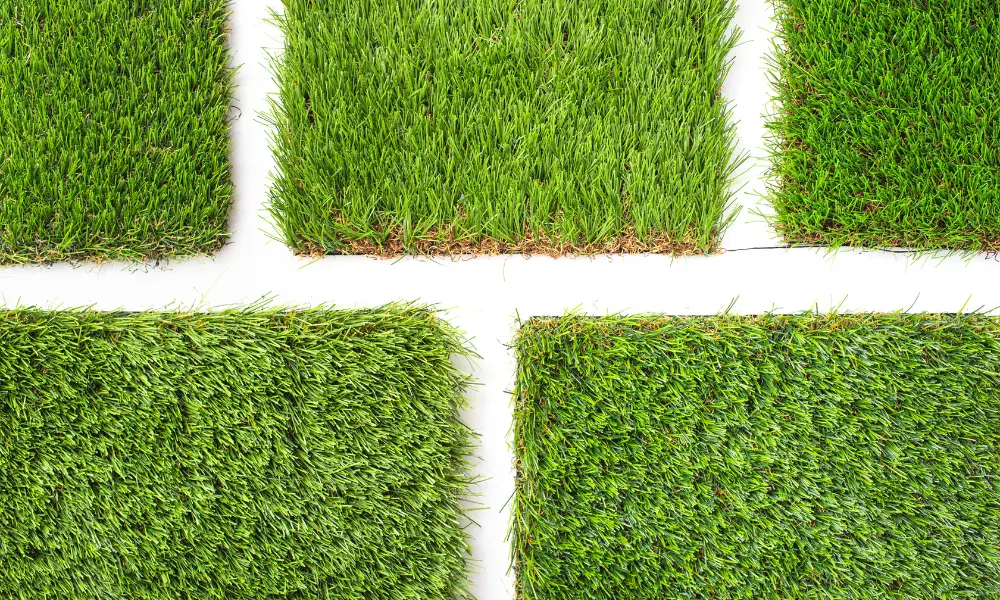
- Use different shades or textures of artificial grass to mimic the variations found in natural lawns.
- Strategically place garden ornaments or furniture on your synthetic grass for added interest and functionality.
- Rake in an infill material like sand or rubber granules to provide a more authentic feel underfoot.
- Regularly brush and maintain your artificial turf to keep it looking fresh and vibrant.
As you make these changes, remember that even small details can have a significant impact on the overall aesthetic.
For example, consider adding decorative rocks or mulch to garden beds surrounding your artificial grass – this will enhance its beauty and promote better drainage for plant roots.
Don’t forget about lighting, either! Installing soft landscape lighting around walkways or seating areas can give both practical illumination and an inviting atmosphere when night falls.
Ultimately, these finishing touches will help transform your synthetic lawn into an attractive outdoor living space that complements its surroundings while requiring minimal maintenance compared to traditional lawns.
Conclusion
As the sun sets on your freshly cut artificial turf, you can’t help but admire the fruits of your labor. The green blades shimmer like a sea of emeralds, symbolizing the triumph of meticulous effort and precision over chaos.
So, take a step back and bask in the glory of your perfectly tailored lawn. You’ve earned it!
And as you enjoy this personal oasis, remember that attention to detail and accurate techniques have transformed an ordinary space into a verdant paradise.


