Imagine transforming your yard into a lush, green oasis that requires minimal maintenance and stays picture-perfect all year round. Artificial grass is the magic carpet that can make this dream come true for you.
You’re probably wondering how this wonder turf is installed and what steps are involved in creating an evergreen paradise in your own backyard.
In this article, you’ll learn everything from preparing the ground for installation to selecting the right tools and materials needed for the job. We’ll guide you through laying the turf, securing and seaming it seamlessly, as well as adding those finishing touches that will make your lawn stand out from the rest.
And since we know keeping things pristine is just as important as getting them set up correctly, we’ll also share some essential maintenance tips to keep your new synthetic lawn looking its best.
Preparing the Ground for Installation
Before you can lay down your artificial turf, it’s crucial to prep the ground so it’ll be ready for installation. Ground leveling is an essential step in creating a smooth and even surface that will support the artificial grass and promote proper drainage.
Start by removing any existing grass or vegetation, as well as rocks, debris, and other obstacles that may interfere with the installation process. You can use a shovel or a sod cutter to make this task easier.
Once you’ve cleared the area, assess the ground for any uneven spots or dips that need attention. Soil removal is another vital aspect of preparing your yard for artificial grass installation.
Depending on the type of soil in your area, you may need to dig out several inches of soil to create a stable base for your new turf.
Typically, 3-4 inches of soil should be removed to ensure proper drainage and prevent any future issues with water pooling on your lawn.
As you remove soil from the area, take care not to disturb tree roots or underground utilities like pipes and cables.
After completing ground leveling and soil removal, it’s time to install a layer of crushed stone aggregate or decomposed granite on top of the excavated area.
This material serves as a sturdy foundation for your artificial grass while also promoting excellent drainage capabilities. Spread this material evenly across the entire space using rakes and shovels until you achieve a level surface about 2-3 inches deep.
Compact this layer using a plate compactor or hand tamper until it forms a solid base for your new lawn. With these steps complete, you’re now ready to move forward with installing your beautiful artificial grass landscape!
Selecting the Right Tools and Materials
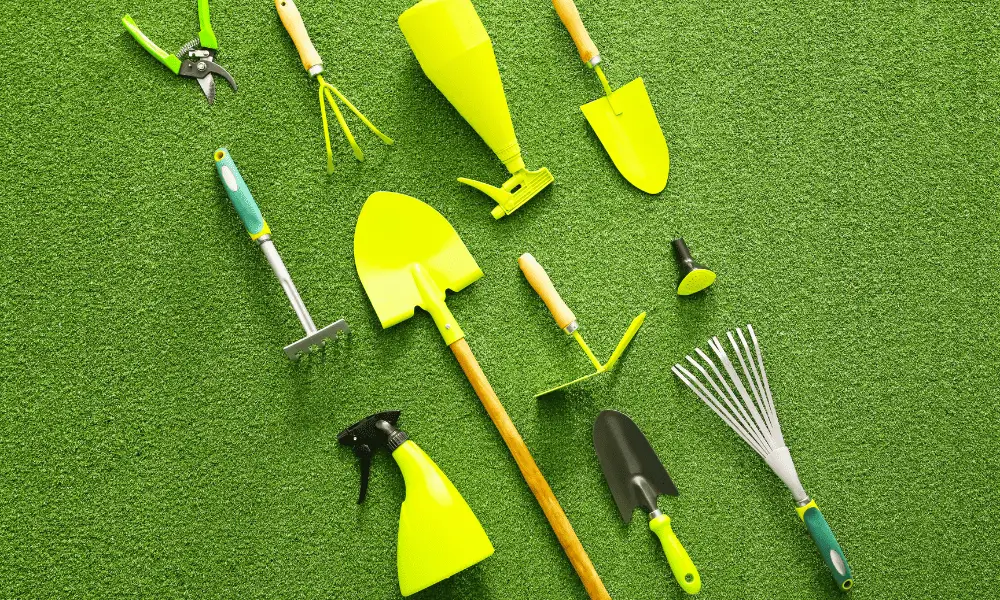
To get started on your synthetic lawn project, you’ll need to gather the proper tools and materials – to ensure a smooth, successful installation.
It’s essential to conduct a thorough tool comparison before diving into the project, as using high-quality tools can make all the difference in achieving professional results.
Some of the basic tools you’ll need include a shovel or turf cutter for ground preparation, a rake or power broom to level and groom the surface, a utility knife for cutting and trimming the artificial grass, and a carpet stretcher or knee kicker to secure the edges firmly.
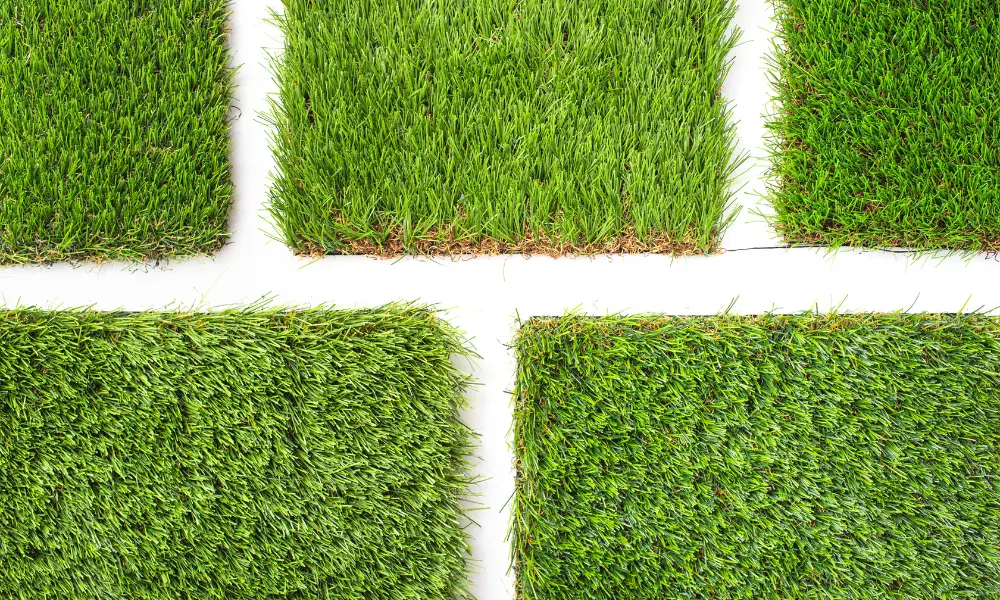
When it comes to material durability, selecting top-notch products is crucial for your synthetic lawn’s longevity and performance. The primary material you’ll need is quality artificial grass that suits your needs – whether it’s designed for pet-friendly spaces or sports activities.
Additionally, acquiring other essential materials such as weed barrier fabric, drainage membrane, infill sand or rubber granules, seaming tape, and strong outdoor adhesive will contribute significantly to your lawn’s overall durability.
As you proceed with your synthetic lawn project, remember that investing in reliable tools and robust materials will pay off in terms of appearance, functionality, and low maintenance requirements down the line.
Educate yourself on each aspect of artificial grass installation so that you’re well-equipped with knowledge when making decisions regarding product selection.
Taking these considerations into account will not only result in an aesthetically pleasing landscape but also provide long-lasting enjoyment for years to come without any regrets about cutting corners during installation.
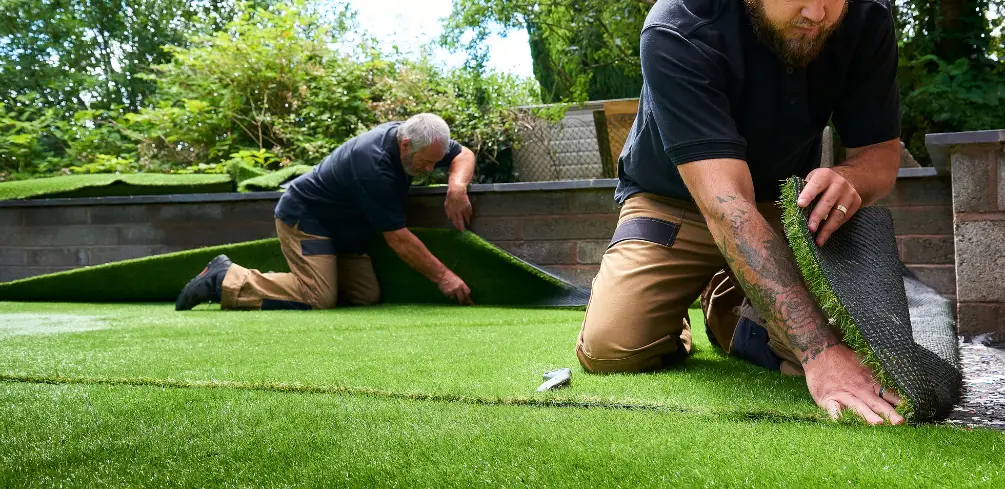
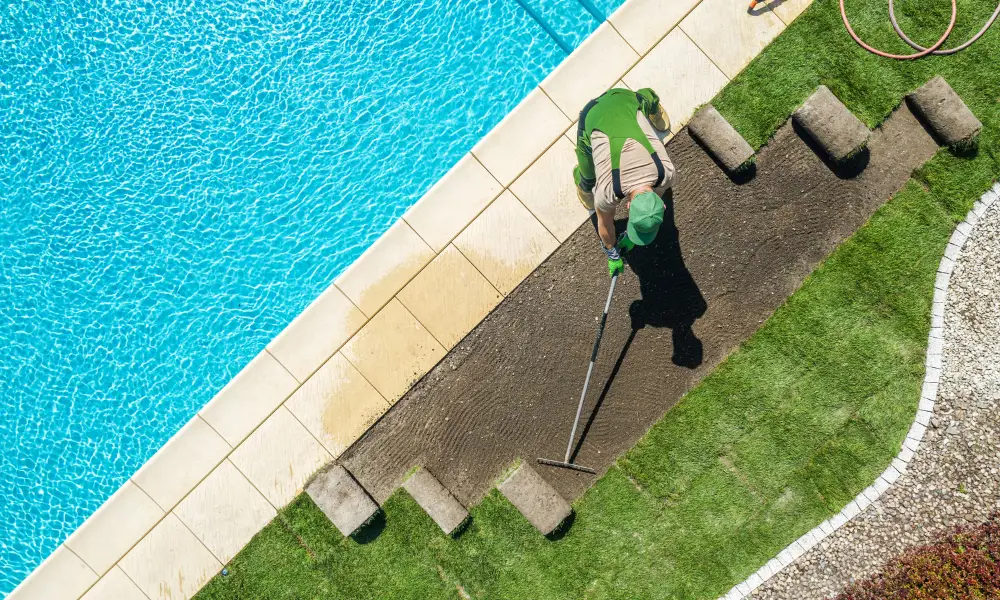
Laying the Artificial Turf
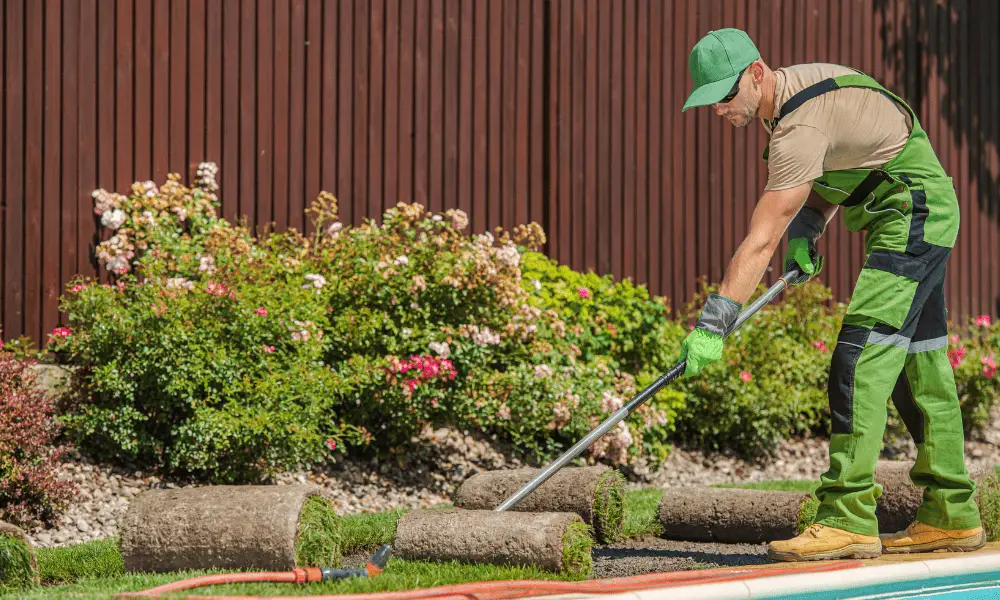
Once you’ve gathered all the right tools and materials, it’s time to lay your synthetic turf, and remember, a stitch in time saves nine – so take the necessary steps for proper installation.
Begin by preparing the ground surface where you’ll install the artificial grass. Remove any existing grass or vegetation, and then level the area by removing any bumps or dips.
It’s important to ensure that there is adequate drainage; consider incorporating drainage solutions such as installing a French drain system or using a permeable sub-base material like gravel.
When it comes to laying out your artificial turf, keep these key points in mind:
- Turf cutting techniques: Use a sharp utility knife or turf cutter to trim your synthetic grass into the desired shape, making sure to cut from the back side of the material.
- Securing edges: Securely anchor down the edges of your artificial turf with U-shaped nails or landscape staples placed approximately every 6 inches along each edge.
- Seaming: To join two pieces of artificial grass together seamlessly, use seaming tape and adhesive specifically designed for synthetic turf.
After laying out and securing your artificial grass, it’s essential to add infill material. This material helps weigh down your turf while also providing cushioning underfoot. There are several types of infill available on the market, including sand, crumb rubber, and acrylic-coated sand.
Spread infill evenly throughout your synthetic lawn using a drop spreader tool (or simply by hand), then use a power broom or stiff-bristled brush to work it into the fibers of your artificial grass.
Keep in mind that different types of infill may require specific application rates for optimal performance – be sure to follow manufacturer guidelines when applying this crucial component of your new lawn.
By following these steps carefully and using quality materials throughout each stage of the installation process, you’ll create an aesthetically pleasing outdoor space that not only looks great but feels comfortable and functional as well.
With proper installation and care, your artificial turf will remain beautiful and low maintenance for years to come.
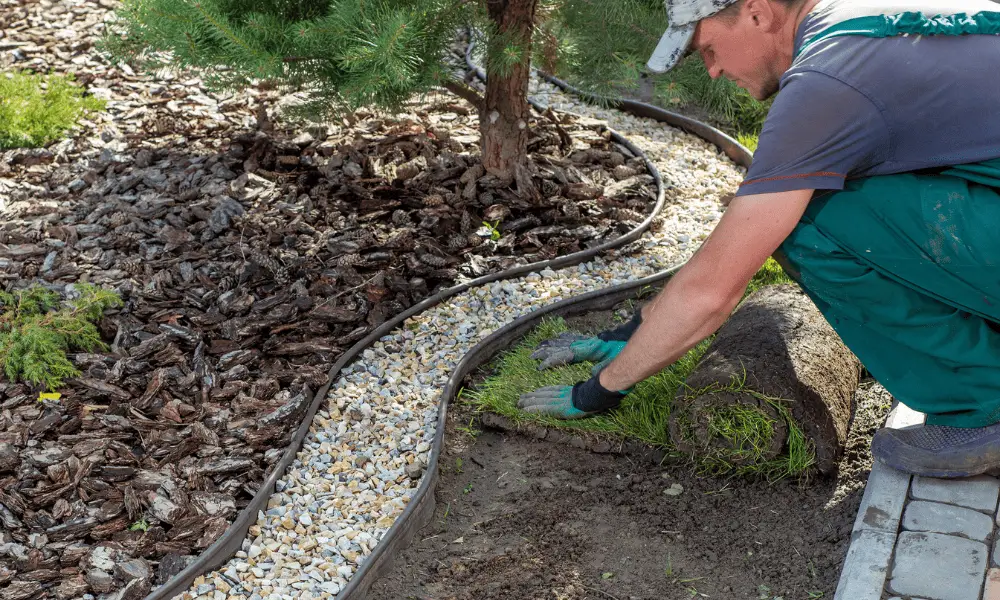
Securing and Seaming the Grass
Now that you’ve laid out your synthetic turf, it’s crucial to secure and seam it properly for a professional-looking finish and long-lasting durability.
Seam strength is vital to ensure that the grass stays in place and doesn’t shift or separate over time.
To achieve this, there are various anchor methods you can use during installation. Here’s a table detailing three common methods to secure your artificial grass:
| Method | Description | Pros |
|---|---|---|
| Nails | Long, non-corrosive nails driven through the turf into the ground every 1-2 feet | Easy to install; low cost |
| Staples | U-shaped metal staples fastened over the edge of the turf | More discrete than nails; holds edges securely |
| Glue & Seaming Tape | Specialized adhesive and tape used specifically for seaming artificial grass edges together | Creates an almost invisible seam; very durable |
To begin securing your artificial grass, start by aligning adjacent pieces of turf so that their edges match up perfectly. Trim any excess material from around the edges with a sharp utility knife if necessary.
Once aligned, fold back each piece about two feet along its edge to expose the base layer underneath. Apply adhesive glue onto seaming tape before pressing it onto the exposed base layer along both sides of each piece of turf.
Once all pieces adhere on one side, fold them back down onto their other half and press firmly down on the seams.
With your seams successfully secured, proceed with anchoring your grass using either nails or staples as chosen from the above table based on suitability and preference.
Space these anchors at approximately 1-2 foot intervals around the perimeter of each piece as well as any internal sections where additional support may be needed such as high-traffic areas or steep slopes.
By diligently securing and seaming your artificial grass, you’ll create a seamless, professional, and durable lawn that will be enjoyed for years to come.
Adding Finishing Touches and Maintenance Tips
With your synthetic lawn beautifully in place, it’s time to add those finishing touches and learn some essential maintenance tips to keep it looking pristine for years.
Finishing aesthetics are crucial to ensure that your artificial grass looks as natural and seamless as possible.
Start by trimming any excess grass around the edges with a sharp knife or scissors, ensuring that you follow the contours of your garden or landscape design.
Next, you can add a border made of pavers, bricks, or wood edging to frame the area and provide a clean transition between the artificial turf and other surfaces.
Maintenance frequency for your artificial grass depends on its usage and location.
Generally, regular maintenance tasks include removing debris such as leaves and twigs using a leaf blower or gentle rake; this will prevent organic matter from breaking down onto the surface, which could encourage weed growth.
If you have pets that use the lawn frequently, make sure to pick up any pet waste promptly and rinse off urine spots with water to reduce odors.
For high-traffic areas where there might be some flattening of the grass blades over time, simply brush them gently with a broom or specialized turf brush against their natural grain direction to help restore their upright position.
Keeping your synthetic lawn in top-notch condition doesn’t require too much effort but is essential for maintaining its appearance and longevity.
Make sure to keep an eye out for any small rips or tears in the turf that may need repair – catching these early will prevent further damage from spreading across the surface.
By following these simple tips on finishing aesthetics and routine maintenance, you’ll enjoy an attractive green space all year round without having to worry about mowing or watering!
Conclusion
So, you’ve successfully installed your artificial grass and transformed your once drab lawn into a lush, green oasis. No more mowing or watering to keep it looking perfect – just sit back and enjoy the fruits of your labor.
It’s like savoring that first sip of a well-earned cold drink after completing a marathon; pure satisfaction.
Remember, maintaining your new synthetic turf is just as important as the installation process. Keep it clean and well-groomed to prolong its lifespan, ensuring you’ll be able to enjoy this exceptional outdoor space for years to come.
Your lawn will remain the envy of the neighborhood – a beautiful testament to your hard work and dedication.