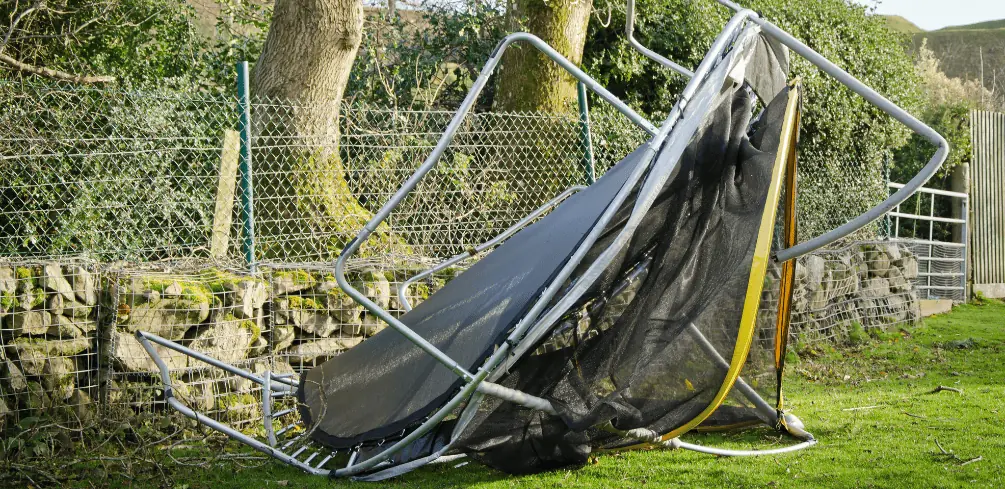
Are you ready to take on the challenge of disassembling a trampoline?
It might seem intimidating at first, but it’s not as difficult as you think.
In fact, with the right steps and tools, you can easily break down your trampoline and store it away safely. I’m here to walk you through the entire process and make sure all your safety concerns are addressed.
It’s important to know that disassembling a trampoline is not something to be taken lightly. You should always be aware of the risks associated with handling large pieces of equipment like this.
That’s why I’m going to provide detailed instructions on how to do it properly and safely. With my help, you can take apart your trampoline without any worries or mishaps.
Overview Of Taking Apart a Trampoline
“Time and tide wait for no man,” and the same can be said for disassembling a trampoline. Taking apart a trampoline is a labor-intensive task, but if done with caution, it can be done safely.
Knowing how to properly use the tools needed to take apart a trampoline is key to making sure that everyone involved remains safe.
In order to disassemble a trampoline safely, you will need a spring puller, spring tool, power drill, and safety net. With these tools in hand, you’ll have everything you need to start taking apart your trampoline.
Before taking it apart, the question comes up, do you have to?
If you are moving the trampoline, you can do this without taking it apart.
When disassembling a trampoline, it is vital to pay close attention to the instructions given by the manufacturer. This will ensure that all components are removed correctly, and there are no surprises during the process.
It’s also important to make sure that the area surrounding the trampoline is clear of any debris or sharp metal objects that could cause an injury. Once all these steps are taken care of, you can begin taking apart your trampoline!
Now that we’ve gone over what’s needed for the safe disassembly of a trampoline let’s look at what tools we’ll use to get started.
Tools Needed To Take Apart A Trampoline
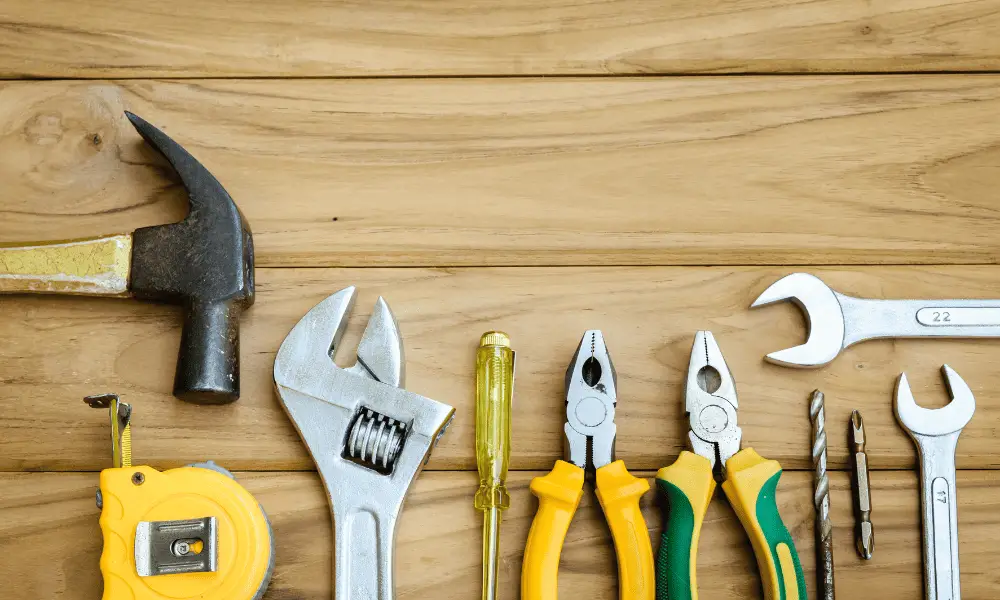
Before beginning to disassemble a trampoline, it is important to make sure you have the right tools. You will need an electric drill, a trampoline spring tool, a Phillips head screwdriver, and some spring pullers.
The electric drill is necessary for removing the screws that hold the frame together. A trampoline spring tool is used for compressing and releasing springs from the frame.
A Phillips head screwdriver will be needed to remove any of the smaller screws from the frame that are not removed with the drill. Finally, you will need spring pullers to help remove each individual trampoline spring from the frame.
Once all of your tools are gathered together, it is time to start preparing the trampoline for dismantling. Make sure all of your tools are within reach so that you do not have to stop midway through your trampoline disassembly.
It is also important to clear away any debris near where you plan on working so that nothing gets in the way when you begin taking apart your trampoline. With all these preparations taken care of, it is time to start taking apart your trampoline.
Preparing The Trampoline For Dismantling
It’s time to take the leap and start disassembling your trampoline. With a few simple steps, you can make dismantling your trampoline easy and safe.
You may want to clean your trampoline before starting depending on if you will be using it again in the future.
To prepare the trampoline for dismantling, follow these steps:
By following these steps, you can safely disassemble your trampoline without any difficulty. Now that you have prepared the outer ring of your trampoline for dismantling, it is time to move on to removing the enclosure poles and safety net.
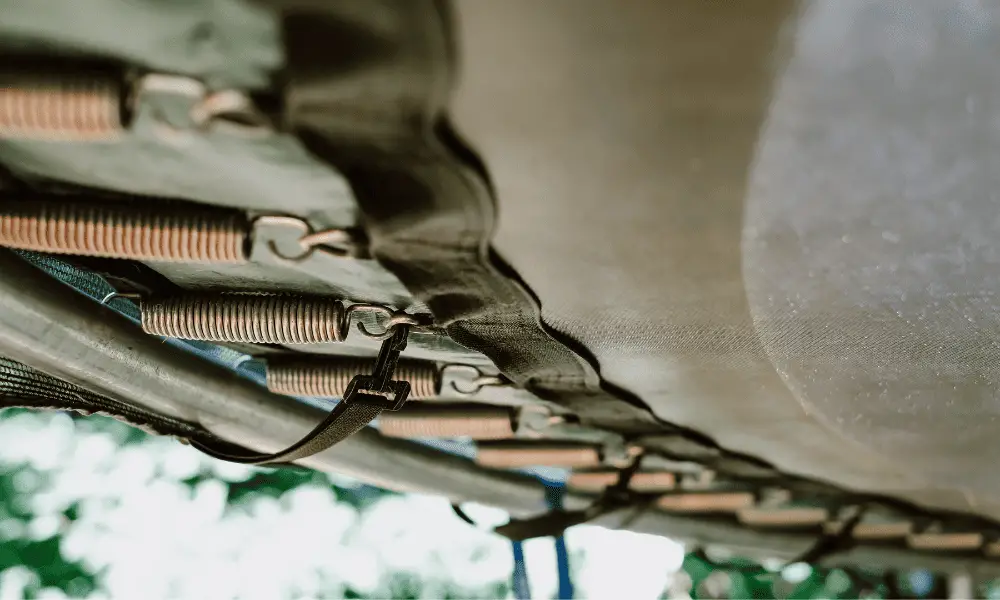
Removing The Enclosure Poles And Safety Net
The first step towards disassembling a trampoline is to remove the enclosure poles and safety net. This is important to do safely, as the net poles are connected to the outer rings of the trampoline.
| Poles | Safety Net | |
|---|---|---|
| 1. | Remove from the base and place in a safe area. | Remove from clips on the mat and place in a safe area. |
| 2. | Push down firmly on top of the pole with finger grooves. | Unzip the net at the zipper end, then pull off the clips one by one. |
| 3. | Pull out the pole straight, away from the base, and set it aside in a safe area. | Fold the net flat and place it in a safe area away from the trampoline frame. |
To remove all the poles, start by taking them out of their bases and setting them aside in a safe location away from the trampoline frame.
Push down firmly on each pole with your fingers, using the finger grooves for extra grip if needed, then pull the poles out straight away from the base and set them aside when finished.
Lastly, take off the safety net by unzipping it at one end and then removing it clip by clip until it is entirely detached from the trampoline mat. Once this is done, fold it up neatly and also set it aside in a safe location away from any moving parts of the trampoline frame.
By following these steps correctly, you will have removed both your trampoline safety net and poles safely! Now you can store the trampoline in a safe spot for the next time you are going to use it.
With that complete, we can now move on to taking apart a spring-free trampoline!
Taking Apart A Springfree Trampoline
Taking apart a spring-free trampoline is a task that requires proper tools, good hand-eye coordination, and patience.
It’s important to have all the necessary tools before beginning the trampoline disassembly tool process.
In addition, it’s recommended to wear hand gloves for safety when handling components of the trampoline.
First, begin by removing all the springs attached to the frame. Use pliers to remove them one at a time carefully. Once all of the springs have been removed, take off the circular rings that hold them in place. This can be done with either a wrench or a pair of pliers, depending on how tight they are attached.
Finally, use a screwdriver or wrench to remove all the screws holding together the frame sections and other components of your trampoline. Remove each piece carefully and set it aside for later assembly when needed.
Disassembling your trampoline may take some time, but it is not difficult if you have the right tools and patience! With careful dismantling, you’ll be ready to move on to disassembling the rings in no time!
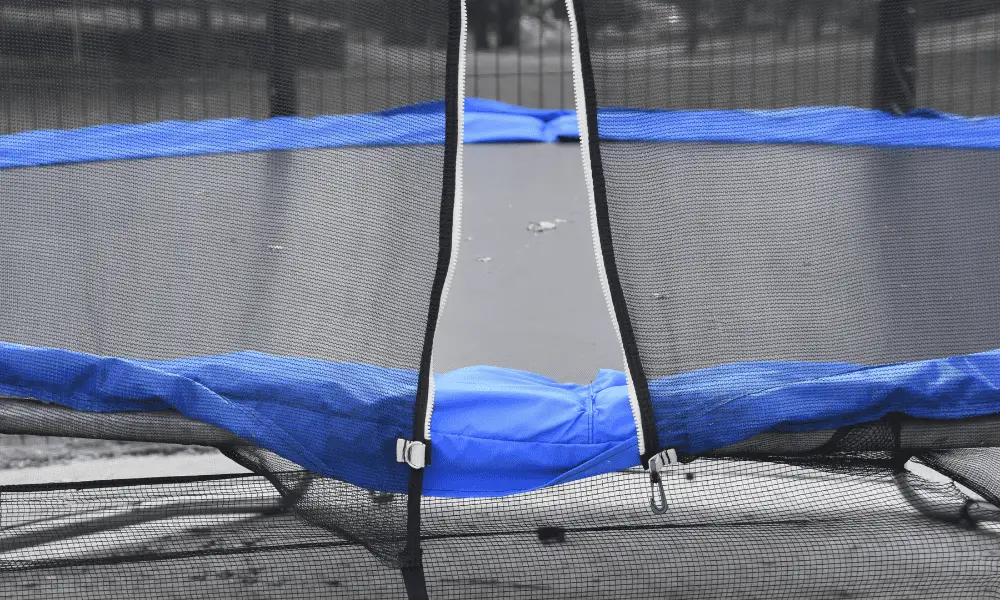
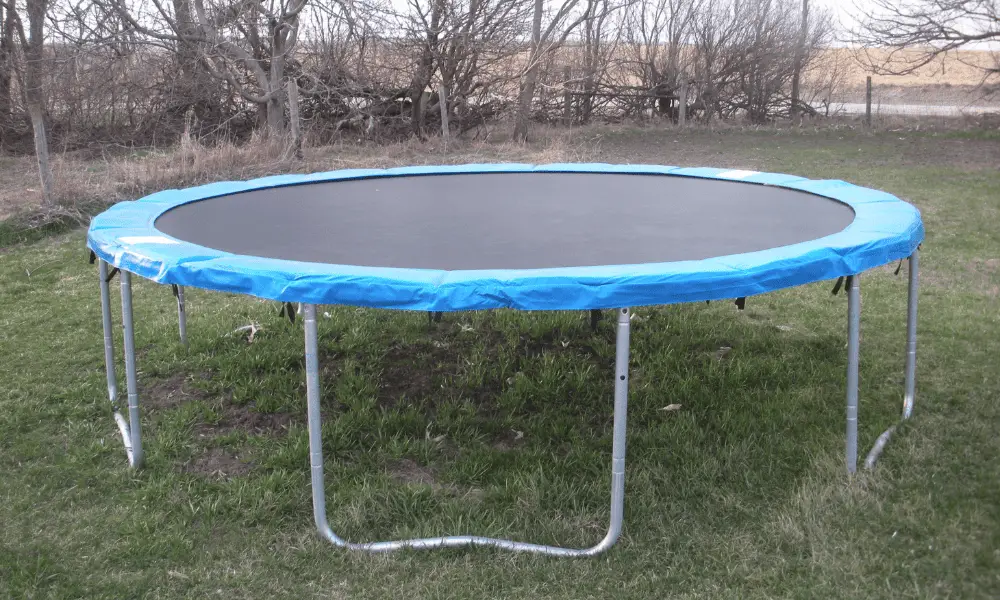
Removing The Safety Pad Or Cover Of A Trampoline

Next, we’ll move on to taking apart the trampoline by removing the safety pad or cover. Make sure you have plenty of space around the trampoline storage box to store the pieces as you take them apart.
Before getting started, inspect the trampoline frame to ensure that it is not stuck together. If it is, try using WD-40 or another lubricant to loosen it up before attempting to take it apart.
When removing the safety pad or cover, start by undoing all of the straps or ties and lifting off one side at a time. Inspect each piece for any signs of wear and tear, such as rust or tears in the material. If there’s any damage, consider replacing it with a new safety pad or safety cover before continuing with assembly.
Once you’ve removed both sides of the safety nets and padding, remove any remaining straps and check for any rusty parts on the trampoline frame that may need cleaning before reworking everything.
Before moving on to pulling out the springs, double-check that all pieces are accounted for and that nothing has been forgotten. When you’re done, your trampoline should look like an empty frame with no padding or cover!
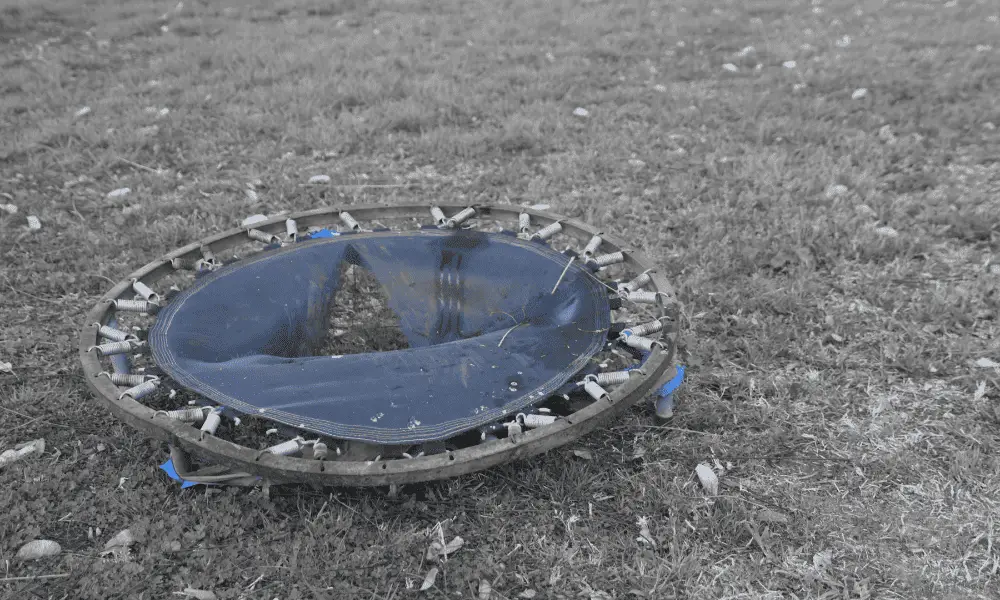
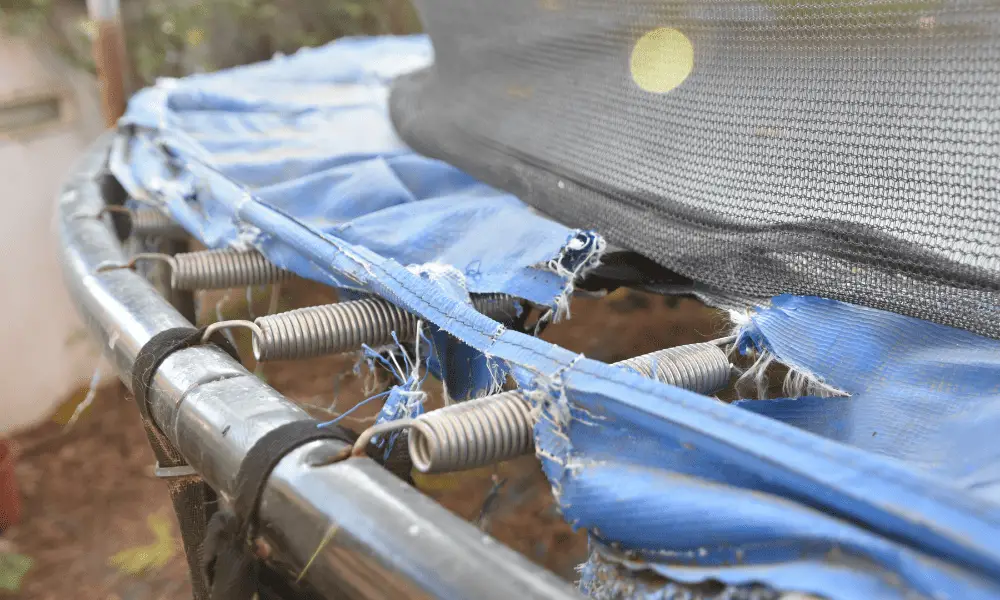
Pulling Out The Springs Of A Trampoline
Pulling out the springs is a crucial step in disassembling a trampoline. Before you begin, make sure to have the right tools and equipment. To get started, here’s what you’ll need:
Start by removing the spring’s hooks with the socket wrench. Make sure to pay attention to detail! If you’re dealing with a springless trampoline, then use a spring puller to remove each spring from the rusty trampoline at its anchor point.
Always wear protective hand gloves when working with springs; they are very sharp and can cause serious injury if handled incorrectly.
Once all of the springs are removed, set them aside for safekeeping. Now that all of the springs have been successfully pulled out, it’s time to move on to folding the mat and dismantling the frame.
How Long Does It Take To Disassemble A Springfree Trampoline?
Disassembling a spring-free trampoline is usually a fairly quick and simple process. All you need is the right tools and a bit of patience.
The first step is to remove the assembled ring from the top of the trampoline. To do this, you’ll need a Phillips head screwdriver and some bungee cords.
Once you have these two items, it should take no more than five minutes to remove the trampoline ring.
Next, you’ll want to start disconnecting the springs from the frame. This part can be a bit tricky, so it’s best to wear hand gloves for protection during this step. It should only take about fifteen minutes or so to get all of the springs off.
Lastly, all that’s left is to unscrew the legs and fold up the trampoline wheels and frame for storage. With some luck, this entire process should take no more than half an hour to complete.
So now you know- disassembling your Springfree trampoline doesn’t have to be an intimidating task!
Conclusion
The process of disassembling a trampoline can be daunting, but it doesn’t have to be. With the right tools and knowledge, you can break down your trampoline in no time! It’s important to remember to take safety precautions throughout the process, including wearing gloves and goggles if necessary.
Taking apart your trampoline is like taking apart a puzzle – each piece fits together perfectly and must be taken out in the correct order for everything to go smoothly. Once you start the process, you’ll find that it’s easier than it looks.
As long as you know what you’re doing, you can dismantle your trampoline quickly and efficiently.
So if you’re ready to take apart your trampoline, don’t hesitate! With the right instructions and tools at hand, disassembly is a breeze. And once everything is taken apart, feel free to give yourself a pat on the back – you just completed an impressive feat!


