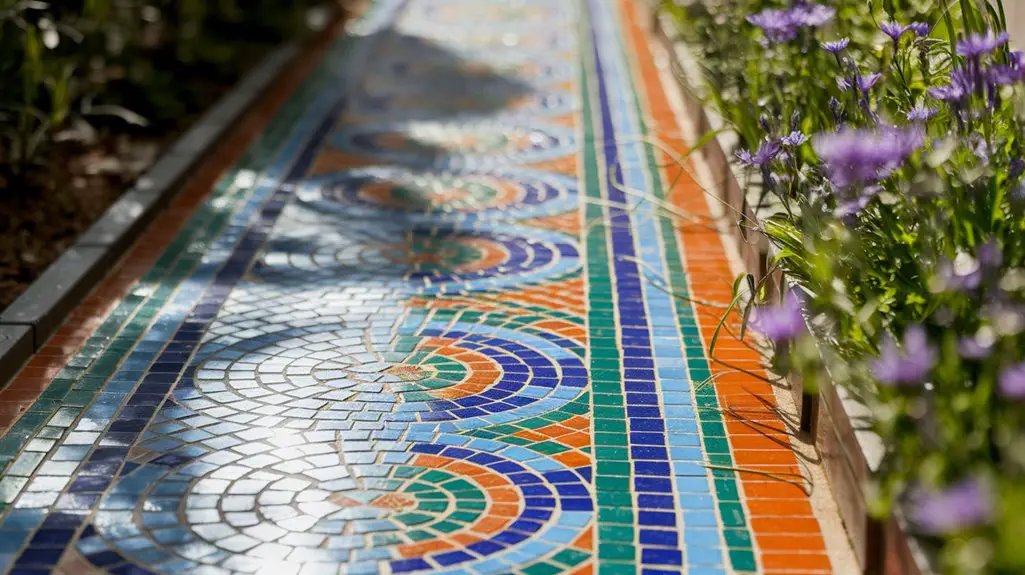
The notion that mosaic pathways are merely decorative features doesn’t hold up under scrutiny. You’ll find these artful installations serve dual purposes—enhancing your garden’s aesthetic while providing functional walking surfaces that guide movement throughout your outdoor space. When designed thoughtfully, your mosaics can reflect seasonal light changes, complement surrounding plantings, and showcase your personal artistic expression. The secret lies in balancing visual impact with practical considerations for weather resistance and foot traffic demands.
Selecting the Right Mosaic Materials for Outdoor Use
When creating outdoor mosaic pathways, material selection becomes your most critical design decision, as it determines both aesthetic appeal and longevity.
Opt for frost-resistant ceramic tiles, natural stone, or vitrified glass specifically manufactured for exterior applications. These materials resist water absorption, preventing freeze-thaw damage in colder climates.
Consider porcelain tiles (rated for outdoor use) and unglazed quarry tiles for their exceptional durability against foot traffic and weather exposure.
Avoid standard mirror glass, which shatters easily, and interior-grade ceramics that deteriorate rapidly outdoors.
For binding components, use polymer-modified thinset mortar and exterior-grade grout with added sealant. These products contain elasticizers that accommodate slight ground movement and temperature fluctuations.
Your substrate should be reinforced concrete for maximum stability, preventing cracks that would compromise your mosaic’s integrity.
Planning Your Pathway Layout and Design
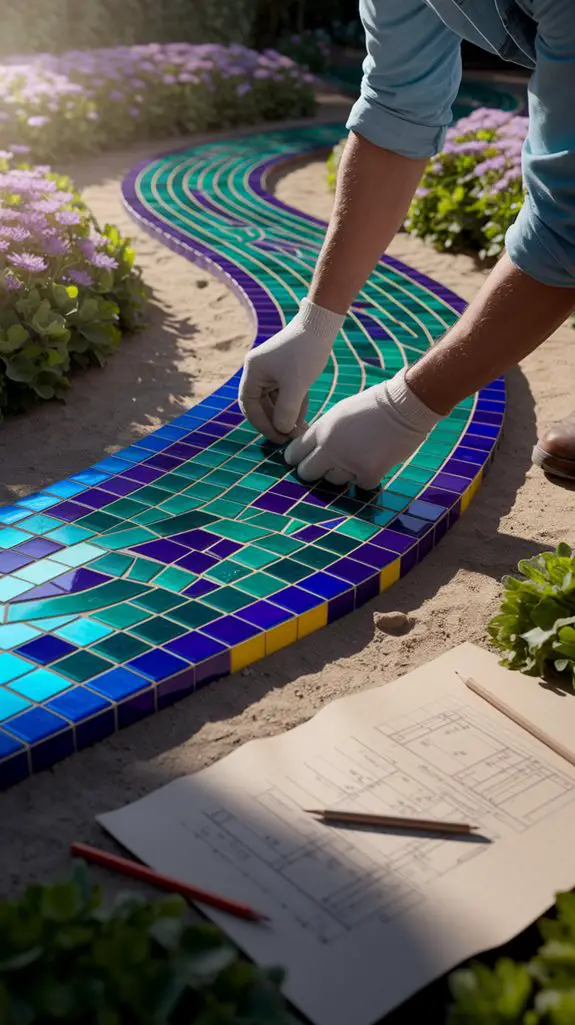
Before laying a single tile, you’ll need to develop a thorough pathway design that harmonizes with your garden’s existing landscape and architecture.
Sketch your layout on graph paper using a 1:20 scale, indicating precise measurements and curve radii. Consider traffic flow patterns and establish a minimum width of 36 inches for comfortable passage.
Map focal points where more intricate mosaic details can draw attention—typically at path intersections or near garden features.
Select a cohesive color palette that complements your plantings while providing sufficient contrast to define the pathway’s edges. For complex patterns, create full-sized templates on builder’s paper to test positioning before installation.
Document sun patterns across seasons to anticipate how light will interact with glossy or reflective tesserae, enhancing your design’s visual impact throughout the day. Incorporating creative garden pathway design ideas can elevate your overall landscape aesthetic and functionality.
Step-by-Step Mosaic Creation Techniques
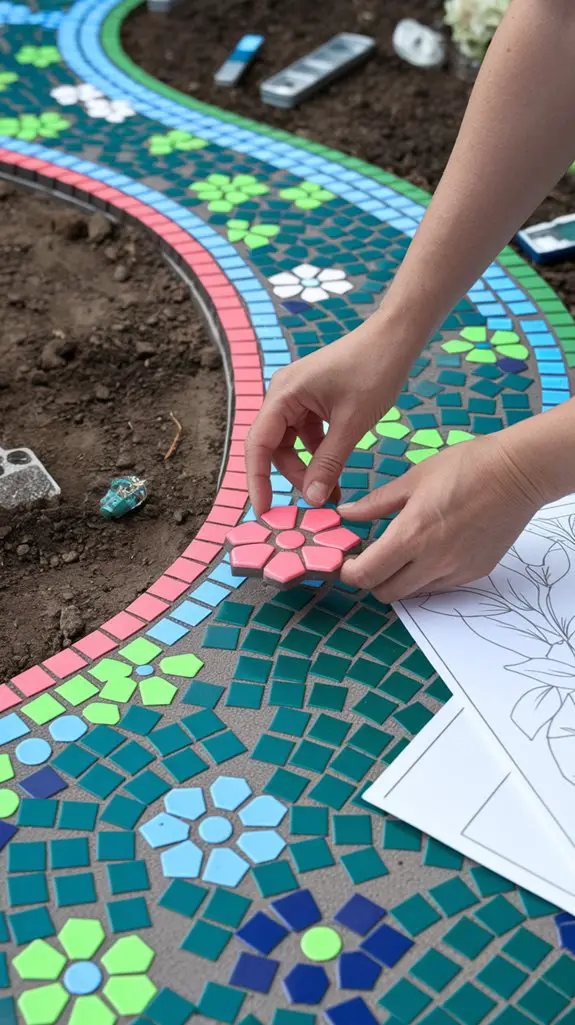
With your pathway design finalized, the hands-on process of creating your mosaic begins. The technique requires precision and patience as you transform individual tesserae into a cohesive pathway that will withstand foot traffic and weather exposure.
- Prepare your base – Apply a 2-inch layer of mortar over your compacted substrate, ensuring it’s perfectly level before proceeding.
- Position your tesserae – Following your template, press each piece into the mortar, maintaining consistent 1/8-inch spacing.
- Apply grout – After 24 hours of curing, push weather-resistant grout between pieces, removing excess with a damp sponge.
- Seal your mosaic – Once the grout has cured for 72 hours, apply two thin coats of penetrating sealer to protect against moisture and staining.
Color Schemes and Pattern Inspiration
The selection of color schemes and patterns serves as the foundation for your mosaic pathway’s visual impact. Choose complementary hues that harmonize with your garden’s existing palette or create dramatic contrast for visual interest. Consider how light interacts with different materials—glass tessarae will reflect sunlight, while stone offers subtle depth. Incorporating low-maintenance landscaping ideas can enhance your pathway’s appeal while reducing upkeep.
| Pattern Style | Best Applications | Color Impact | Material Suggestions |
|---|---|---|---|
| Geometric | Modern gardens | Bold, precise | Glass, ceramic tile |
| Naturalistic | Cottage settings | Organic flow | River stones, slate |
| Classical | Formal landscapes | Elegant, refined | Marble, porcelain |
| Abstract | Artistic spaces | Expressive, unique | Mixed media, recycled materials |
Draw inspiration from cultural motifs like Celtic knots, Mediterranean waves, or Islamic geometric patterns. Scale your design appropriately—intricate patterns work better in walkways where visitors pause to appreciate details.
Practical Considerations for Weather and Foot Traffic
Creating durable mosaic pathways requires careful consideration of regional weather patterns and anticipated foot traffic intensity.
Select materials that withstand your climate’s freeze-thaw cycles, UV exposure, and moisture levels. For high-traffic areas, prioritize smooth, level surfaces with properly secured tesserae to prevent tripping hazards.
- Base preparation – Install a 4-6″ compacted gravel base topped with 1-2″ of sand for proper drainage and stability.
- Grout selection – Choose polymer-modified grout for exterior applications to resist cracking and moisture penetration.
- Edge reinforcement – Install metal, stone, or concrete edging to prevent lateral movement and erosion.
- Sealing regimen – Apply penetrating sealers annually in harsh climates to protect against water damage and staining. Additionally, consider using low-impact materials that can enhance sustainability in your backyard projects.
Incorporating Lighting to Showcase Your Mosaic Pathway
Strategic lighting transforms your mosaic pathway from a daytime feature into a mesmerizing nighttime focal point. Install low-voltage LED path lights along the edges, positioned 6-8 feet apart to create balanced illumination without overwhelming the design.
Consider recessed ground lights with directional beams to highlight specific mosaic elements, particularly colorful glass pieces that capture and refract light.
For dramatic effect, position uplights at 45-degree angles beneath plants flanking the path, creating shadow play across the mosaic surface.
Solar-powered options eliminate wiring complexities but deliver less consistent brightness. Wire-in systems with dimmers offer precise control.
Install waterproof strip lighting beneath raised pathway edges for a floating effect. Select fixtures with color temperatures between 2700K-3000K to enhance mosaic hues while maintaining natural coloration. Additionally, solar-powered lights can enhance the aesthetic of your garden while being environmentally friendly.
Maintenance and Preservation of Outdoor Mosaic Art
Proper maintenance guarantees your outdoor mosaic pathway retains its visual appeal and structural integrity through changing seasons and weather conditions.
Regular care prevents deterioration and extends the lifespan of your artistic investment.
- Apply a high-quality penetrating sealer annually to protect tesserae and grout from moisture infiltration, using silicone-based products for ideal weather resistance.
- Inspect quarterly for loose pieces, applying epoxy to reattach displaced tesserae before damage worsens.
- Clean surfaces with pH-neutral solutions and soft bristle brushes to remove dirt without eroding grout or scratching delicate materials.
- Remove organic debris promptly to prevent staining and inhibit moss growth in shaded areas, using gentle pressure washing techniques for stubborn discoloration.
Conclusion
As you finalize your garden mosaic pathway, remember that “the devil’s in the details.” You’ll want to seal your work professionally using UV-resistant products, ensuring proper drainage angles of 1-2%, and integrating edge restraints to prevent shifting. Your pathway isn’t just decorative—it’s a technical integration of aesthetics and engineering that transforms your garden’s circulation pattern while showcasing your artistic vision through durable, weather-resistant craftsmanship.


