Are you tired of dealing with unsightly concrete surfaces in your yard, patio, or balcony?
Transforming these lifeless areas into lush, green oases is easier than you might think.
By installing synthetic grass on concrete, not only will you be adding a touch of natural beauty to your space, but also creating a low-maintenance and eco-friendly alternative to traditional lawns.
In this guide, we’ll walk you through the process step by step, ensuring that by the end of it all, you’ll be well-equipped to turn that drab slab into an inviting and verdant retreat.
Before diving into the installation process itself, let’s first explore the different considerations when selecting the right artificial turf for your needs.
This includes understanding various factors such as material quality, pile height, and density – all essential elements in achieving both a visually appealing and comfortable surface for your family and friends to enjoy.
Selecting the Right Artificial Turf
Before diving into the installation process, let’s make sure you’ve picked the perfect artificial turf for your concrete space. Turf customization is essential to ensure that your synthetic grass not only looks great but also performs well over time.
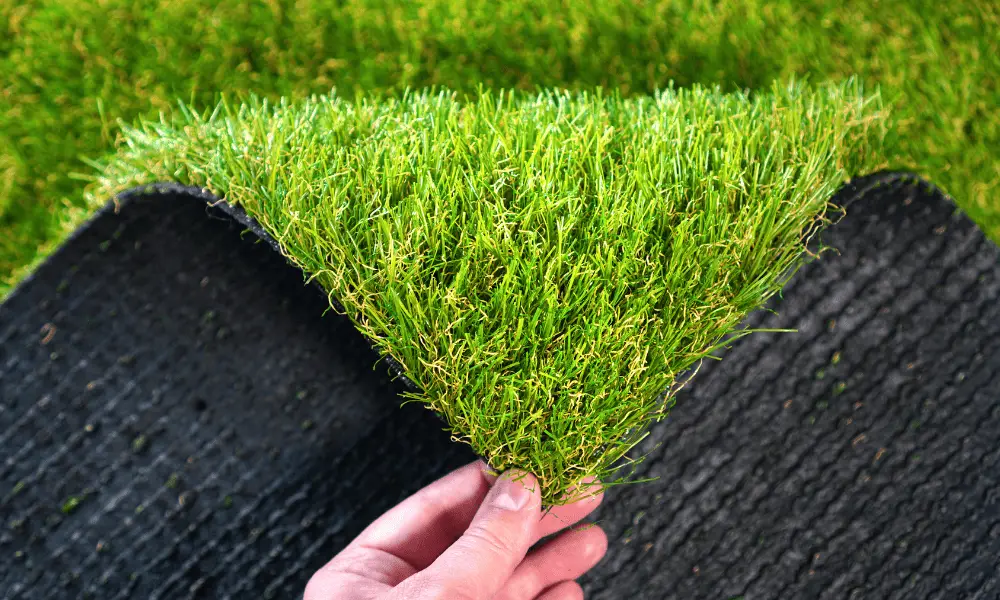
Start by considering factors such as pile height, density, and color to achieve a realistic appearance and functionality that suits your needs. For instance, if you’re looking to install artificial grass in a high-traffic area or pet-friendly zone, opt for a more durable and dense turf with a shorter pile height.
When selecting your synthetic grass, don’t forget to consider drainage solutions. Since concrete is not permeable like soil, you’ll need artificial turf with efficient drainage capabilities to prevent water from pooling on the surface.
Look for products designed specifically for use on hard surfaces like concrete; these typically feature built-in drainage systems or perforations that allow water to pass through easily.
This will not only improve the overall performance of your synthetic grass but also help maintain its aesthetic appeal by preventing mold and mildew growth caused by excess moisture.
As you narrow down your options for artificial turf, remember that quality matters too. Invest in a product made from high-quality materials that are UV-resistant and designed to withstand wear and tear from weather conditions or heavy foot traffic.
A good-quality synthetic grass will retain its color and texture longer than cheaper alternatives – ultimately saving you money on replacement costs in the long run.
By carefully considering each aspect of turf customization and addressing potential drainage issues upfront, you’ll be well-prepared when it comes time to install your new artificial lawn on concrete.
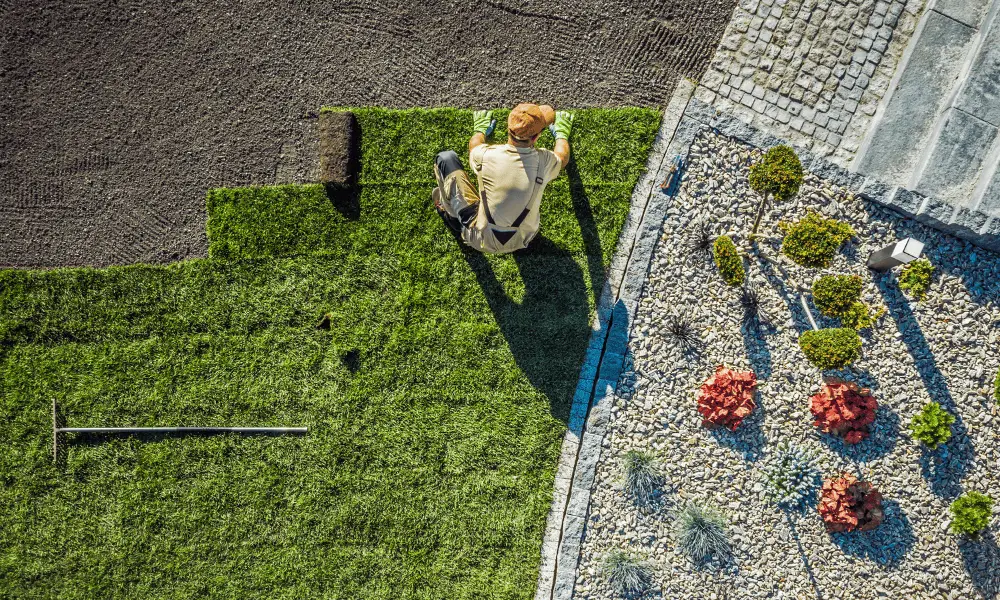
Preparing the Concrete Surface
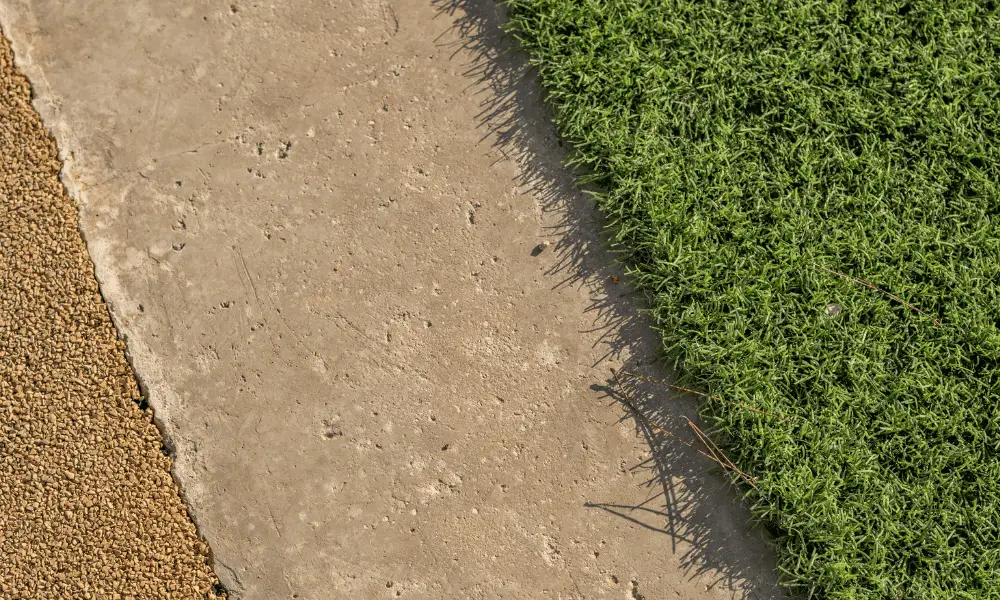
It’s essential to properly prepare the surface of your concrete, ensuring a smooth and clean base for the artificial turf. A well-prepared surface will not only help your synthetic grass look great but also ensure its longevity and performance.
To start with, inspect your concrete for any cracks, chips, or uneven areas that may cause issues during installation. Concrete cleaning tips include using a pressure washer or a stiff-bristled broom to remove dirt, debris, and any loose particles from the surface.
For stubborn stains or algae growth, use a mild detergent mixed with water to scrub away grime.
Surface leveling solutions are crucial for addressing any uneven spots on your concrete. If you find minor dips or undulations in the surface, use a self-leveling compound following the manufacturer’s instructions to create an even base.
For larger cracks or imperfections in the concrete, consider filling them with a suitable repair mortar or caulk before applying the self-leveling compound. This step ensures that your artificial turf lays flat and looks natural once installed.
Additionally, if there are significant slope or drainage concerns present on the surface, consult with an expert to determine whether further grading work is necessary.
After cleaning and leveling your concrete surface thoroughly, it’s time to apply a weed barrier membrane over it. This layer prevents unwanted growth beneath your synthetic grass while allowing water drainage at the same time.
Make sure you overlap each section of the weed barrier by about 2 inches (5cm) and secure it firmly using adhesive tape along seams or nails around edges as needed.
This extra effort during preparation will ensure that you achieve superb results when installing synthetic grass on concrete surfaces. It will provide a comfortable space that requires minimal maintenance all year round!
Laying the Synthetic Lawn
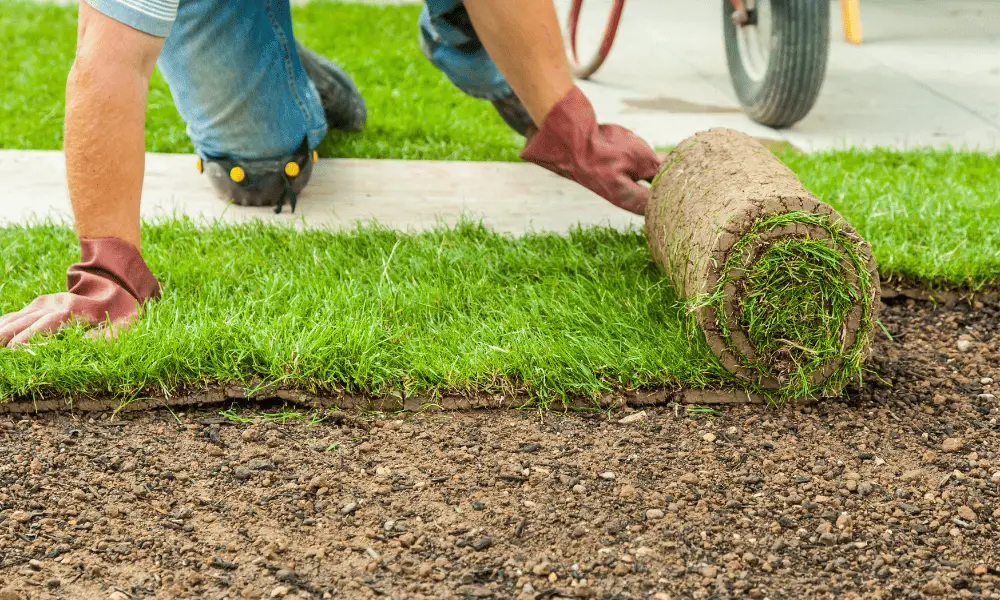
Now that you’ve prepped the surface, laying your artificial lawn becomes a breeze, ensuring a stunning and low-maintenance outdoor space.
The first step is to roll out the synthetic grass onto the prepared concrete surface. Carefully unroll it over the area, making sure there are no wrinkles or folds in the material.
If needed, use a utility knife to trim any excess turf from the edges so that it fits snugly against walls or borders.
During this process, be mindful of concrete leveling and check for any unevenness in your surface – minor issues can often be resolved by using sand or a self-leveling compound.
Next, focus on securing your synthetic grass to ensure it remains firmly in place for years to come. Start at one corner of the area and work your way around, using either specialized adhesive specifically designed for artificial turf installations or strong double-sided tape as an alternative option.
Apply adhesive evenly along each edge of your artificial lawn as well as at regular intervals throughout its surface; this will provide optimal adhesion and help prevent future issues with lifting or bubbling.
Don’t forget to consider drainage solutions when installing your turf – weep holes can be added if necessary so water doesn’t pool on top of your new lawn.
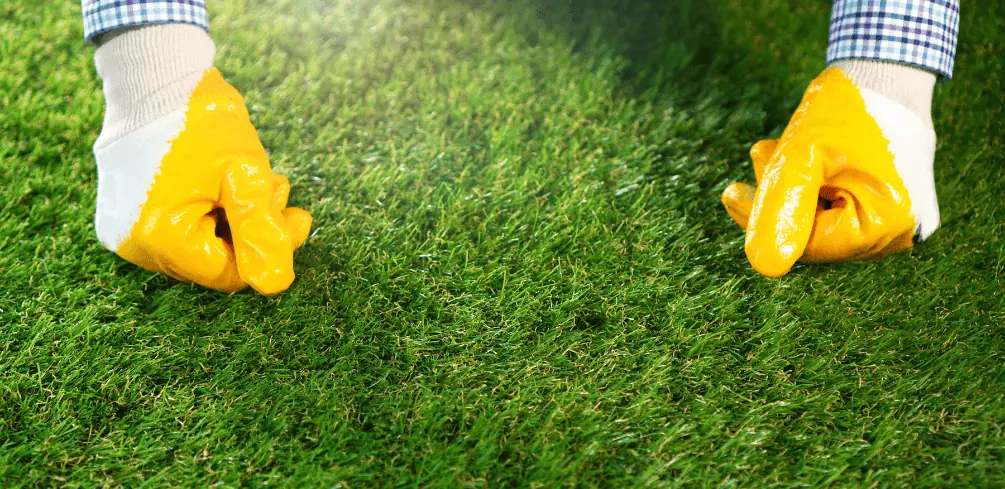
Once you’ve secured your synthetic grass in place, take some time to add finishing touches that will enhance its appearance and longevity.
Use a power broom or stiff bristle brush to gently fluff up and separate individual fibers within the turf; this gives it a more natural look while also helping improve overall drainage capabilities.
Additionally, infill materials such as silica sand or rubber granules can be spread across the surface of your new lawn – these not only help weigh down the turf but also offer extra cushioning underfoot and protect against wear from foot traffic.
By taking care during installation and considering details like concrete leveling and drainage solutions, you’re sure to create an attractive outdoor space that’s both functional and beautiful.
Securing the Turf in Place
Once you’ve carefully laid out the artificial lawn, securing it in place becomes a crucial step to ensure its longevity and appearance. One of the primary methods used for this purpose is applying turf adhesive options such as glue or seam tape.
To use these adhesives, carefully lift the edges of your synthetic grass, apply an even layer of glue or seam tape along the concrete surface, and press down firmly on the grass to create a strong bond between the turf and concrete.
Allow ample time for the adhesive to dry before walking or placing any objects on your new lawn.
Anchor placement plays a significant role in ensuring that your synthetic grass remains taut and secure against strong winds or other disturbances. Begin by marking spots around the perimeter of your installation area where anchors will be placed at regular intervals – typically every 3-4 feet.
Using a hammer drill with a masonry bit, create holes in the concrete at each marked spot to install anchor bolts or U-pins specifically designed for artificial turf installations.
Once all anchors are installed, fasten them securely into their corresponding eyelets located on the edge of your synthetic grass. Remember that diligently securing your artificial turf is essential not only for enhancing its overall aesthetic appeal but also for preserving its durability over time.
By utilizing appropriate turf adhesive options and strategically placing anchors throughout your installation area, you can rest assured that your new lawn will maintain its pristine look while remaining firmly grounded despite any environmental challenges it may face.
Invest time in these critical steps during installation so you can enjoy unblemished beauty and long-lasting functionality from your synthetic grass oasis.
Maintaining Your New Artificial Green Oasis
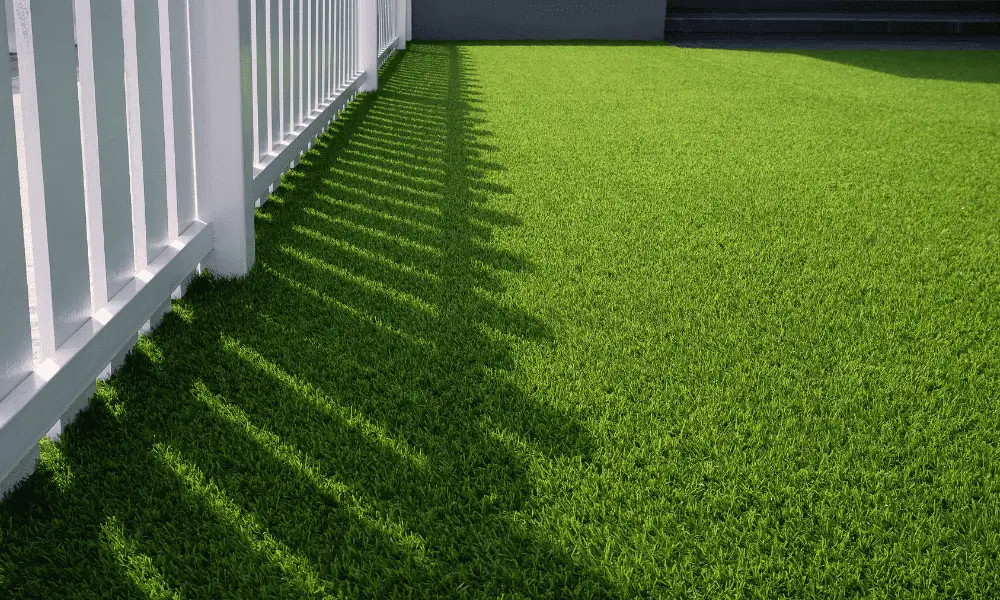
You’ve successfully created your artificial green oasis, but did you know that proper maintenance can extend its lifespan by up to 25%?
Not only will you enjoy the green oasis benefits of a low-maintenance lawn, but you’ll also save money in the long run.
To keep your synthetic grass looking fresh and inviting, follow these artificial maintenance tips:
Regular cleaning:
Proper grooming:
Maintaining your new artificial green oasis is as simple as following these recommendations. By performing regular cleanings and groomings, you’ll ensure that your synthetic lawn remains in top condition for years to come.
Plus, keeping it well-maintained will make it more enjoyable for you and others who appreciate its pristine appearance—satisfying that subconscious desire for understanding while enjoying an aesthetically pleasing outdoor space.
So go ahead and revel in the beauty of your low-maintenance sanctuary; after all, it’s there for you to enjoy!
Conclusion
So, you’ve successfully transformed your concrete space into a lush green oasis by installing synthetic grass.
Remember, ‘a stitch in time saves nine,’ so be sure to keep up with regular maintenance to ensure your artificial turf remains in tip-top condition for years to come.
Now, it’s time to sit back and enjoy the fruits of your labor!
Your new synthetic lawn not only looks amazing but also requires minimal upkeep – perfect for enjoying outdoor living without breaking a sweat.


