Building your playground ladder can be a fun and rewarding DIY project for both you and your kids
Not only does it add an exciting element to your backyard play area, but it also encourages physical activity and fosters a sense of accomplishment in children.
In this article, you’ll learn how to choose the right materials, gather the necessary tools, measure and cut components, assemble the ladder, and ensure safety and durability.
By following these steps, you’ll create a sturdy and enjoyable addition to your playground that will provide endless entertainment for years to come.
As you embark on this project, remember that safety is paramount when it comes to constructing play equipment for children. Throughout each step of the process, we’ll discuss crucial safety considerations so that your finished product meets all necessary standards.
Selecting The Right Materials To Build A Playground Ladder
When you’re envisioning the perfect playground ladder, it’s crucial to pick materials that’ll not only be sturdy and safe but also blend seamlessly with your overall design.
Material longevity is a top priority when selecting your ladder components, as you want to ensure that it can withstand constant use and changing weather conditions.
Additionally, consider eco-friendly options that have minimal impact on the environment while maintaining their durability and safety features. As you explore various materials for your playground ladder, consider using wood or metal.
Wooden ladders are a classic choice that can give a warm, natural feel to your playground. To guarantee its sturdiness and safety over time, choose hardwoods like cedar or redwood that resist rotting and decay.
Metal ladders made from galvanized steel or aluminum provide excellent strength and durability while requiring little maintenance.
Both wood and metal ladders can be coated with protective finishes to prevent splinters or rust. Now that you’re familiar with both wooden and metal ladders’ pros and cons, think about which material best aligns with your playground’s aesthetic and maintenance needs.
If going green is important to you, evaluate eco-friendly solutions like sustainably harvested wood or recycled metals — these choices contribute positively towards preserving our planet without compromising safety standards.
By thoughtfully selecting the right materials for your playground ladder construction, you’ll achieve an attractive result while prioritizing longevity, sustainability, and user safety in equal measure.
Gathering the Necessary Tools To Build A Playground Ladder
It’s essential to gather the right tools for constructing a safe and enjoyable play area.
Did you know that well-designed playgrounds can reduce children’s risk of injury by 50%?
Having the proper tools on hand not only ensures a sturdy ladder but also allows for ladder customization to fit your specific playground needs. With the right equipment, you can create a fun and secure environment where kids can develop their physical, social, and cognitive skills.
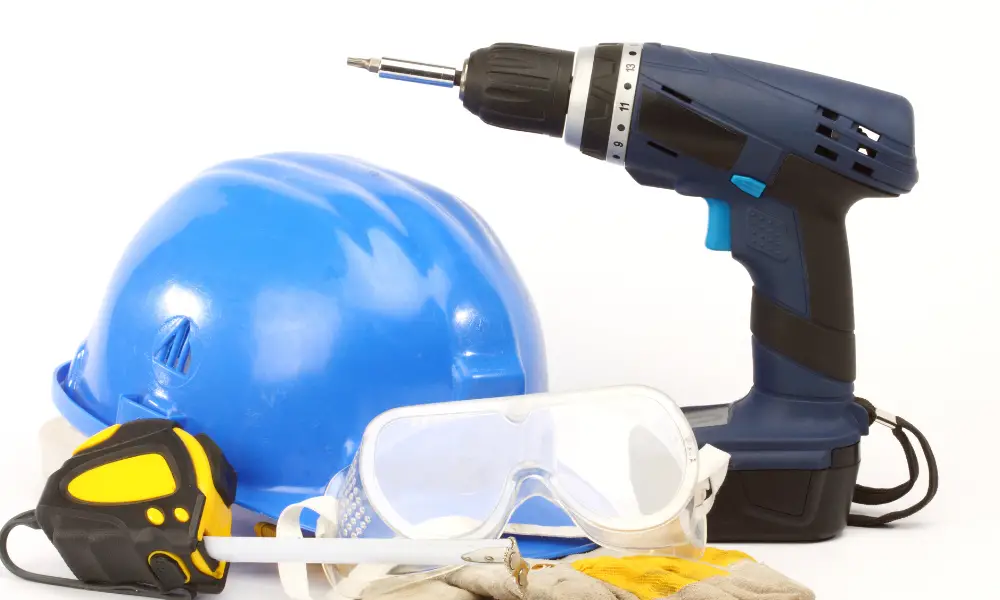
To get started on building your playground ladder, be sure to have these four essential tools:
- Measuring tape: To accurately measure the dimensions of your ladder and ensure it fits perfectly within your playground structure.
- Power drill: For drilling holes into the wooden or metal ladder rungs and attaching them securely to the side rails.
- Level: To guarantee that each rung is evenly spaced and properly aligned during installation.
- Safety gear: Include gloves, goggles, and a dust mask to protect yourself during construction.
Tool maintenance is crucial when working on any project, especially when creating something as vital as a play area for children.
Regularly inspect your equipment for signs of wear or damage before use – this will help extend its life span while also ensuring safety throughout construction. If needed, sharpen saw blades or replace drill bits so they continue working efficiently.
As you assemble your playground ladder with care and precision using these essential tools, remember that investing time in gathering high-quality materials was just as important!
A well-constructed play space encourages healthy development in children while reducing potential risks associated with poorly designed equipment.
By taking these steps seriously, you’re contributing positively towards shaping young lives through engaging play experiences in safe environments.
Measuring and Cutting the Components
Measuring and cutting the components accurately is crucial for creating a sturdy and safe play area that’ll keep kids engaged while minimizing potential hazards.
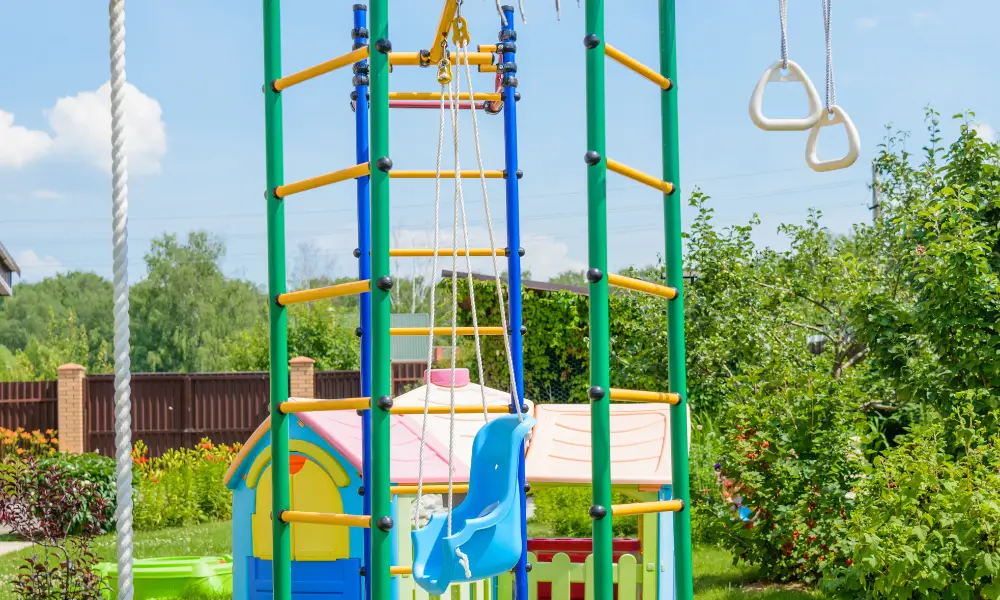
Ladder customization allows you to design a playground ladder that suits the specific needs of your space, whether it’s for a backyard playset or a larger community park.
Begin by determining the height of your ladder and deciding on the number of steps you’d like to include. Keep in mind that angled steps can provide additional support and stability for children as they climb.
Once you’ve decided on your ladder’s design, gather all necessary materials, such as wood planks or metal bars for the sides, rungs, and steps.
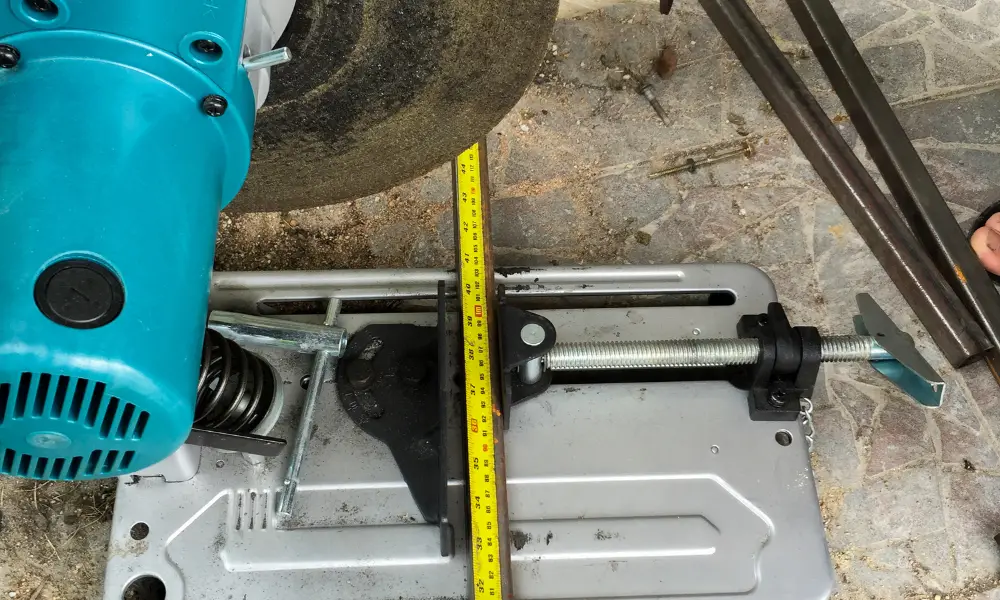
Measure each component carefully using a measuring tape or ruler, ensuring they are consistent lengths to avoid any imbalance in weight distribution when assembled.
When cutting these pieces, use appropriate tools like saws for wood or metal cutters if working with metal components. Always double-check measurements before making any cuts to avoid wasting materials or creating unsafe conditions due to uneven parts.
Assembling your playground ladder should be done with care and attention to detail. Make sure each step is secured tightly and evenly spaced apart according to safety guidelines.
Use strong hardware such as bolts or screws along with washers for added reinforcement in connecting each rung securely to the side supports of your ladder structure.
Check every connection point during assembly, adjusting any pieces if necessary before moving on to ensure optimal safety measures have been met throughout construction.
By following these proper measuring, cutting, and assembling techniques, you’ll create a durable playground ladder designed specifically for its intended space – providing endless fun while maintaining utmost security measures in place for all climbers involved!
Assembling the Playground Ladder
You’ll be amazed to know that according to a study, well-designed play spaces can enhance children’s cognitive, emotional, and social development by up to 50%.
So, as you assemble your customized ladder, take pride in knowing that you’re contributing significantly towards nurturing young minds and creating lasting memories.
Ladder positioning is crucial for safety and playground aesthetics. Begin by laying out the ladder components on a flat surface with the side rails parallel to each other and the rungs evenly spaced between them.
| Component | Quantity | Description |
|---|---|---|
| Side Rails | 2 | Long, vertical pieces to support the ladder |
| Rungs | 5 | Horizontal steps for climbing |
| Screws | 10 | For securing rungs to side rails |
| Washers | 10 | To distribute pressure from screws |
| Playground Frame | 1 | Structure where the ladder will be attached |
Once your components are laid out, attach each rung using two screws per end—ensuring they are level—and washers placed between the screw head and wood surface. Tighten each screw firmly but avoid over-tightening, which may cause damage or split the wood.
As you work through this process, double-check that your spacing remains consistent between all rungs.
With your ladder now assembled, it’s time to attach it securely to the playground frame. Align one end of each side rail with its appropriate attachment points on the frame; make sure both sides of your ladder are level before proceeding.
Using additional screws and washers as needed (refer back to our table), secure each side rail firmly into place—check for stability once completed.
Congratulations! You have successfully built a playground ladder that will provide endless fun while promoting healthy growth in children who use it. Remember always to supervise playtime activities for added safety and enjoy the satisfaction of your DIY accomplishment.
Ensuring Safety and Durability

To guarantee your child’s safety and the ladder’s longevity, there are a few key steps you’ll want to follow. First and foremost, choose the right location for your playground ladder.
Ladder placement is crucial in ensuring that the surrounding area is free from obstacles that could cause injury or damage to the equipment.
Consider these factors when selecting a spot for your ladder:
- Make sure there’s sufficient space around the ladder for children to climb up and down safely.
- Ensure the ground beneath the ladder is flat, stable, and preferably covered with a soft material like rubber mulch or wood chips.
- Keep it away from any potential hazards such as tree branches, fences, or other playground equipment.
Another essential aspect of maintaining safety on playground ladders is understanding supervision’s importance. While children may seem confident climbing up and down ladders on their own, accidents can happen in an instant.
As a parent or guardian, keep an eye on them while they play to ensure they’re using the ladder properly and following safety guidelines. Encourage them to take turns if multiple kids are using it at once so everyone has ample time to enjoy the fun without overcrowding.
Lastly, inspecting your playground ladder regularly will help ensure its durability and continued safety for all who use it. Check for any signs of wear and tear, like loose bolts or cracked rungs; if you notice anything concerning, address it immediately by repairing or replacing damaged parts as needed.
By putting in some effort towards maintenance now and again, you can be confident that your playground ladder remains sturdy and safe—allowing peace of mind as you watch your little ones explore new heights!
Conclusion
In conclusion, building a playground ladder is a piece of cake when you’ve got the right materials and tools on hand. Just remember the adage, “measure twice, cut once,” to ensure your ladder is safe and durable for kids to enjoy.
So, go ahead and put those skills to work! You’ll not only create something fun for children but also make lasting memories in the process.
Happy building!


