Are you looking for a fun and engaging way to help your kids develop their balance and coordination skills while also promoting physical activity? Look no further!
In this article, we will guide you through the process of creating your very own DIY balance beam – a simple, inexpensive, and safe play activity that is perfect for both indoor and outdoor use.
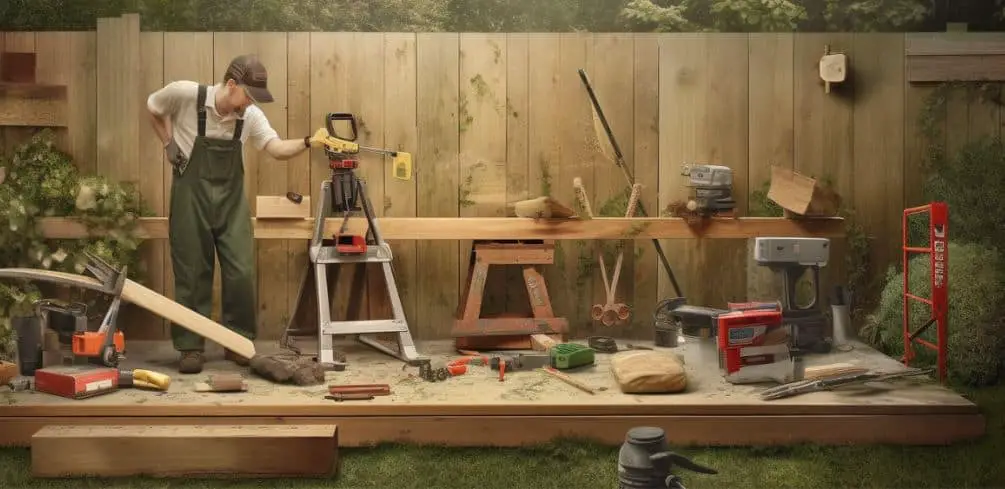
You’ll be amazed at how easily you can construct this low-to-the-ground balance beam using common tools like a circular saw, cordless drill, and Kreg Pocket Hole Jig XL.
We’ve designed this project with safety in mind so that children of all ages – from those just starting to develop their basic balance and gymnastics skills to older kids who are more advanced – can enjoy the benefits of practicing on a DIY balance beam.
Key Takeaways
- Building a DIY balance beam is a fun and educational project for both children and adults and can provide a safe and engaging outdoor activity for kids to develop balance and coordination skills.
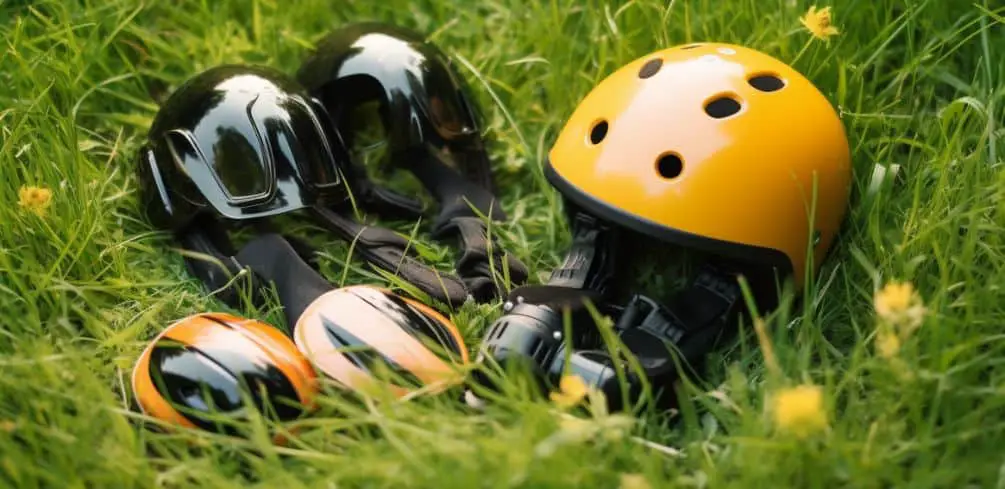
- Safety considerations are crucial when building a balance beam, including using pressure-treated wood for outdoor use, proper sanding technique, adding padding for extra safety, and considering height requirements and surface materials beneath the beam.
- Complementary activities like Nugget couches, toddler splash table, Pikler-inspired triangle, and The Little Gym classes can enhance children’s development and make for a more engaging outdoor space.
- Outdoor play can be a great way for families to bond and spend time together, and providing a variety of activities can cater to different interests and abilities.
Project Materials and Tools For a Balance Beam
To kick off your DIY balance beam project, you’ll need some essential tools and materials. Gather ’em up, and let’s get started on this fun and inexpensive activity for the kiddos!
When selecting your lumber, keep in mind that pressure-treated wood is best for outdoor use as it can withstand the elements.
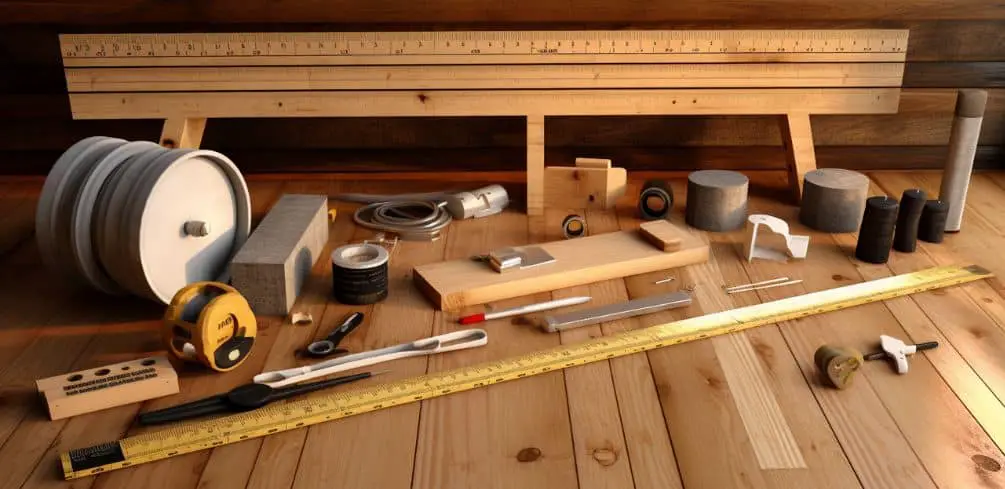
Here is a quick list of the tools needed:
- 4 x 6 x 10 pressure-treated board
- Circular saw
- Cordless drill
- Kreg Pocket Hole Jig XL
- Sander
- 4 pocket hole screws
- Treated lumber for outdoor use, non-treated for indoor use
- Optional padding for the beam
However, if you plan to have this balance beam indoors, opt for non-treated wood.
As for the other tools mentioned above, they’ll help ensure precision cuts and secure connections. The Kreg Pocket Hole Jig XL is an excellent choice for drilling pocket holes because it allows you to create strong joints with ease. This jig is particularly useful when attaching the legs of your balance beam using those four XL pocket hole screws.
Before assembling everything together, make sure to sand all surfaces thoroughly. Sanding is crucial not only for safety purposes but also to give your balance beam project a polished look. Be sure to smooth out any rough edges or splinters that could potentially harm little users.
When choosing screws for this project, take into account their size and type.
We recommend using four pocket hole screws specifically designed for use with the Kreg Jig system since they provide optimum strength in securing the legs of your balance beam.
Additionally, don’t forget that padding can be added if desired. While it may not be necessary due to its low-to-the-ground design or if placed outdoors where dirt might accumulate over time (and mold concerns arise), adding padding would certainly increase safety levels even more!
With these tutorial tips in hand along with proper lumber options consideration plus meticulous jig usage & sanding techniques followed by suitable screw selection, your DIY balance beam will surely be a hit with the kids and provide endless opportunities for developing their balance and coordination skills.
Assembly and Construction for Backyard Balance Beam

Ready to assemble and construct your very own low-to-the-ground beam for some backyard fun? This DIY balance beam project is perfect for helping kids develop their basic balance and gymnastics skills while being a safe and simple addition to your outdoor play area.
Before you start assembling, make sure you’ve got all the necessary materials and tools on hand. You’ll need a 4 x 6 x 10 pressure-treated board (for outdoor use) or a non-treated equivalent (for indoor use), a circular saw, a cordless drill, and Kreg Pocket Hole Jig XL. You’ll also need a sander.
First, cut your board to the desired length for the beam using a circular saw. The width of beam should be approximately 4 inches wide, making it an ideal size for little feet to practice balancing on.
Next, prepare the legs by cutting four pieces of lumber according to your desired beam height. Remember that keeping the beam low to the ground is important for safety reasons, especially when used by younger children or beginners. Once you’ve cut your legs and prepared them with pocket holes using the Kreg Pocket Hole Jig XL, attach them securely to each corner of the beam using 4 XL pocket hole screws.
Now that your balance beam structure is assembled, it’s time to focus on safety and aesthetics by sanding down any rough edges or splinters with a sander. The proper sanding technique will ensure not only a smooth surface but also eliminate potential hazards when in use. Keep in mind whether you plan on using this balance beam indoors or outdoors.
If outdoors, consider leaving off any padding due to dirt and mold concerns. However, if indoors, adding some padding could provide extra comfort during playtime.
With these steps completed, you’ll have created an engaging yet safe DIY balance beam perfect for developing young athletes’ coordination and confidence!
Pair this newfound play equipment with other outdoor activities like toddler splash tables or Pikler-inspired triangles for an even more diverse and dynamic play environment. Enjoy watching your little one’s balance and gymnastics skills grow as they explore their new backyard creation!
Safety Considerations For a DIY Balance Beam
As you embark on this exciting project, keep in mind the importance of safety precautions and measures to ensure your little ones can enjoy their new play equipment without worry.
One aspect to consider is padding options for the balance beam. While not necessary for a low-to-the-ground beam, adding a padded surface can provide an extra layer of protection against falls and injuries.
Consider the environment where the beam will be placed; if it’s outdoors, you may want to skip padding due to potential dirt and mold concerns.
Height requirements are another critical factor in ensuring safe playtime on your DIY balance beam. For young children under two years old or those just starting with basic gymnastics skills, a 4 x 6 post works well as it provides ample width for practicing balance and coordination.
However, older or more advanced children might require a narrower 4 x 4 post for added challenge and skill development.
Along with height considerations, don’t forget about surface materials beneath the beam – installing softer surfaces like rubber mats or grass can help cushion any falls and prevent injury.
Lastly, make sure your outdoor balance beam is properly weatherproofed to maintain its integrity over time. If using pressure-treated lumber for outdoor use, apply a water-resistant sealant that protects against moisture damage while providing UV protection from sun exposure.
Regularly inspect your balance beam for signs of wear or damage, such as cracks or loose screws that could pose hazards during playtime.
By keeping these safety considerations in mind – padding options, height requirements, surface materials beneath the beam, and weatherproofing tips – you’ll create an enjoyable backyard play area that encourages both fun and injury prevention for years to come.
Additional Play Activities
Incorporating additional play activities into your backyard setup can offer even more fun and developmental opportunities for your kids.
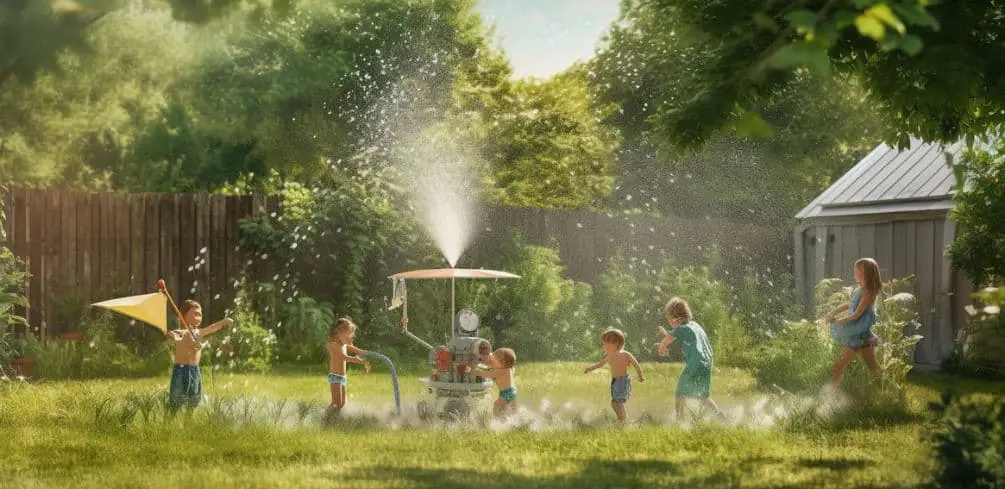
One popular option is Nugget couches, which are versatile foam pieces that can be used to create different courses and setups for imaginative play. A toddler splash table is another great addition, providing a way for little ones to cool off while developing fine motor skills through water play.
For children who enjoy climbing and exploring, consider adding a Pikler-inspired triangle, which encourages gross motor skill development in a safe and age-appropriate manner.
| Activity | Benefits | Age Range |
|---|---|---|
| Nugget Couches | Encourages creativity & problem-solving; develops fine motor skills | 2 years & up |
| Splash Table | Enhances sensory exploration; improves fine motor skills | 1 year & up |
| Pikler Triangle | Promotes gross motor development; builds strength & coordination | 6 months & up |
| The Little Gym | Fosters social skills; teaches basic balance & gymnastics | Varies by class |
| Outdoor Exploration | Stimulates curiosity; nurtures connection with nature | All ages |
While these activities provide plenty of entertainment on their own, combining them with the DIY balance beam project creates an engaging outdoor space where your children can develop essential physical and cognitive skills.
You may also want to look into local programs like The Little Gym that offer classes focused on building socialization as well as basic balance and gymnastics techniques. Remember that morning is often an ideal time for outdoor play as it allows your kids to burn off energy before the day gets too hot or busy.
By incorporating various activities into your backyard setup, you’ll be creating an enriching environment where your little ones will love spending time outdoors while learning important life skills along the way.
Conclusion
So, there you have it! You’ve just created a symbol of growth and development for your little ones – the mighty DIY balance beam.
This sturdy, low-to-the-ground play equipment represents their journey toward mastering balance and coordination while providing hours of fun.
Now that you’ve built this fantastic addition to your backyard or playroom watch as your kids confidently tread upon the path of skill development.
With safety in mind and endless play possibilities at their fingertips, they’ll conquer new heights with every step.


