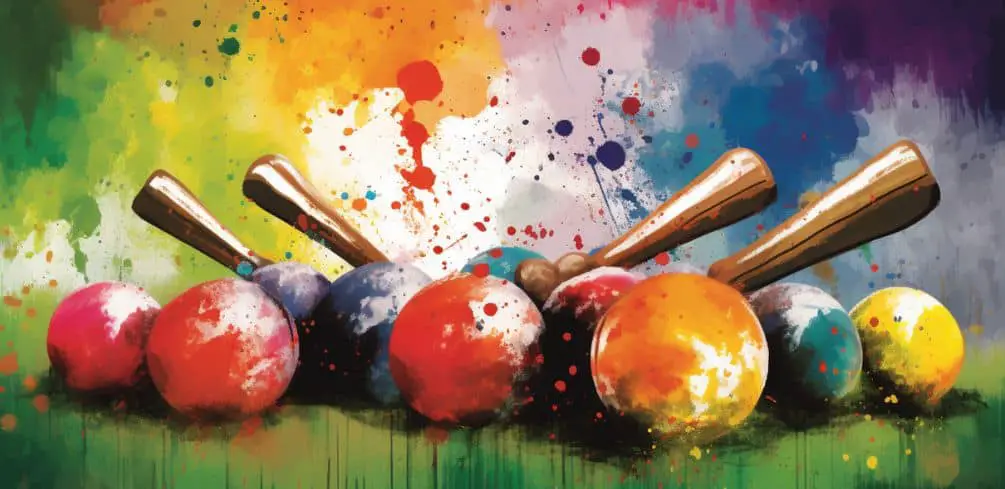
Are you tired of looking at your old, worn-out croquet set and wondering if there’s a way to breathe new life into it? Well, you’re in luck! Not only can you paint croquet balls, but with the right tools and techniques, you can give them a fresh, vibrant appearance that will make them stand out on the playing field.
In this comprehensive guide, we’ll walk you through the entire process of repainting your croquet balls—from selecting the perfect type of paint to adding those final personalized touches. So why not roll up your sleeves and let’s get started?
With our step-by-step instructions, you’ll soon have a beautifully restored croquet set that will be the envy of your friends and family. Whether you’re an experienced DIYer or brand-new to painting projects, we’ve got all the information and tips you need to ensure a successful outcome.
Plus, think of all the fun memories waiting to be made once your revamped croquet set is ready for action! If you don’t have a set, here are the croquet sets we recommend.
Selecting the Right Type of Paint for Croquet Balls
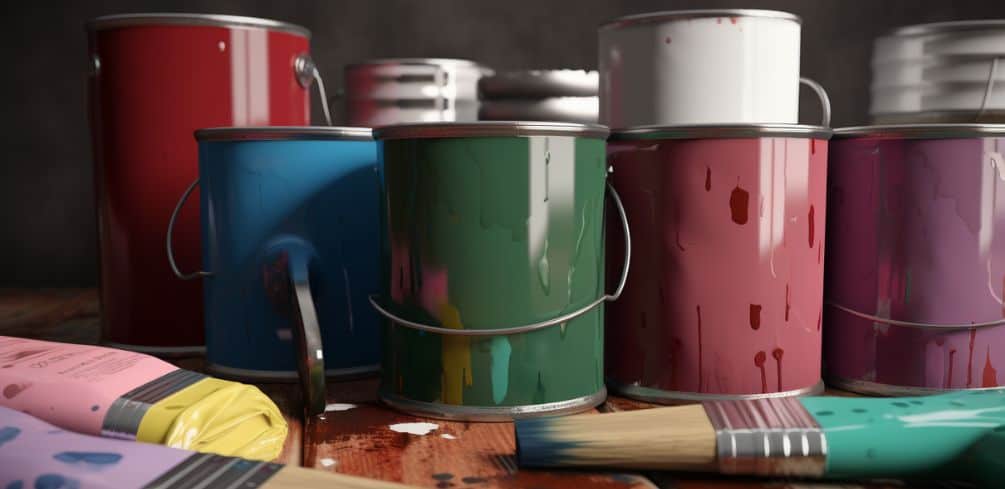
Choosing the right paint is essential for a stunning and durable croquet set makeover! When selecting colors, consider the traditional hues of red, yellow, blue, and black for easy identification during gameplay. However, feel free to get creative with your color choices; after all, this is your opportunity to personalize your croquet set.
To avoid common mistakes like peeling or chipping paint, opt for high-quality enamel paints that are specifically designed for wood surfaces. The best brands of paint will provide long-lasting protection and vibrant colors.
When it comes to painting techniques, start by applying a thin coat of primer on each ball to ensure proper adhesion of the paint. Apply multiple thin coats of paint instead of one thick layer – this helps prevent drips and creates an even finish. Allow ample drying time between layers so that the paint adheres properly to each surface.
You can also use stencils or masking tape to create patterns or designs on your croquet balls if you want to add some extra flair. Alternative ways to decorate croquet balls include decoupage using printed images or decorative paper cutouts sealed with varnish or clear polyurethane spray. This technique allows you to customize your croquet balls with unique designs while still providing a protective coating against wear and tear from outdoor play.
Another option is wood burning – etching intricate designs into the surface of the wooden ball using a heated tool – followed by staining or sealing with clear varnish for added durability. Whichever method you choose, be sure to take your time and enjoy the process as you transform your old croquet set into a beautiful work of art that reflects your personal style!
Preparing the Croquet Balls for Painting
Before diving into the painting process, it’s essential to properly prep those wooden spheres. Imagine transforming a worn-out set into a vibrant, eye-catching centerpiece for your next garden party!
The cleaning process is crucial in ensuring that your croquet balls are ready for their new paint job. Start by wiping down each ball with a damp cloth to remove any dirt or debris. If necessary, use a mild soap and water solution to clean stubborn stains or grime. Once clean, allow the balls to dry completely before moving on to the sanding technique.
The sanding technique you choose will depend on the condition of your croquet balls and how much of the old paint needs to be removed.
First, use medium-grit sandpaper (around 120 grit) to remove any loose paint or rough spots from the surface of each ball. Be sure not to press too hard, as this may cause damage to the wood underneath. Next, switch over to fine-grit sandpaper (around 220 grit) for a smoother finish that will help your new paint adhere better.
After you’ve sanded all sides of each ball evenly, take a tack cloth and wipe them down one last time – this will ensure that they’re free from dust and ready for painting.
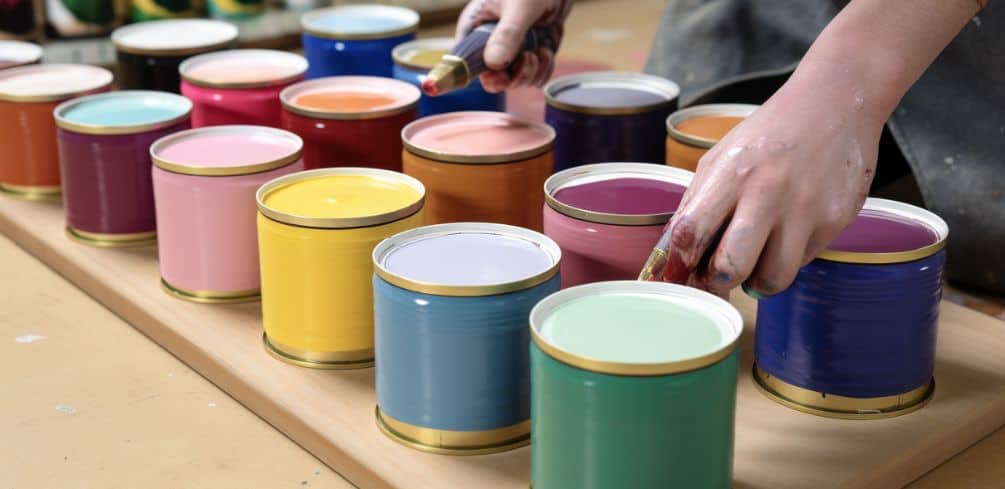
Now that your croquet balls are prepped and primed, it’s time for the fun part: choosing paint colors and brush selection!
There’s no limit when it comes to color options; feel free to get creative with bright shades or keep things classic with more traditional hues like reds, blues, yellows, greens, or even black-and-white stripes if you want something simple yet elegant.
When selecting brushes for this project, opt for high-quality synthetic bristle brushes in various sizes – smaller ones work best around edges, while larger brushes cover broad surfaces more efficiently. Remember not to skimp on drying time between coats; patience is key here since multiple thin layers will give you a better finish than one thick coat.
Once your croquet balls are painted and fully dry, you can proudly display them at your next gathering and enjoy the fruits of your labor!
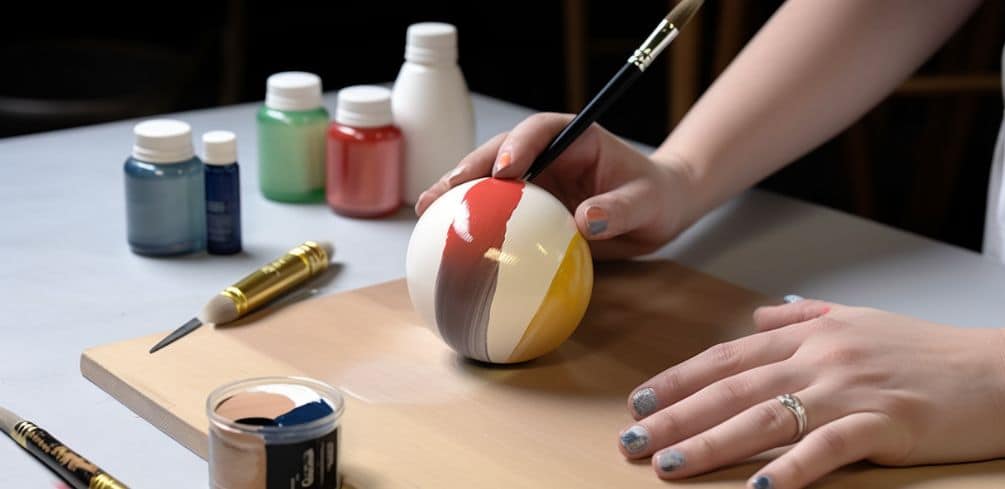
Applying the Paint for a Durable Finish
Now that the prep work is done, it’s time to dive into applying those vibrant colors for a long-lasting and eye-catching finish on your set. One key element to ensure a durable finish is employing proper painting techniques.
Start by using high-quality enamel paint, as it provides a hard and glossy finish that withstands outdoor conditions well. When applying the paint, use thin coats and a small brush for better control and even coverage.
This will help prevent drips or uneven layers that can detract from the overall appearance of your croquet balls. Be patient; allow each coat to dry completely before adding another layer. It may take several coats to achieve full coverage, but this attention to detail will pay off in the end.
Color options are another important factor in creating an attractive croquet set. Traditionally, croquet balls are painted in bright primary or secondary colors (red, blue, yellow, green) with white stripes for easy visibility during play.
However, you have creative freedom when it comes to choosing colors for your set – just make sure they’re easily distinguishable from one another!
Consider contemporary color trends or personal preferences when selecting shades for each ball; just keep in mind that darker colors might absorb more heat from sunlight and could cause warping over time.
Drying time and maintenance tips are crucial for maintaining your newly-painted croquet balls’ durability and longevity. After applying the final coat of paint on each ball, let them dry undisturbed in a well-ventilated area for at least 24 hours (longer if humidity levels are high).
Once fully cured, store your croquet set away from direct sunlight or extreme temperatures when not in use – this will help preserve their vibrancy and structural integrity. In terms of upkeep, occasionally check for any chips or wear on the surface; touch up with matching paint as needed to maintain their fresh appearance.
Alternative finishes like wood stain or varnish can also be considered for a more natural look, but always ensure proper surface preparation and application techniques are followed to achieve the best results.
Whether you choose traditional paint or another finish, your attention to detail and care throughout the process will result in a beautiful croquet set that lasts for years of outdoor fun.
Adding Personalized Designs and Finishing Touches
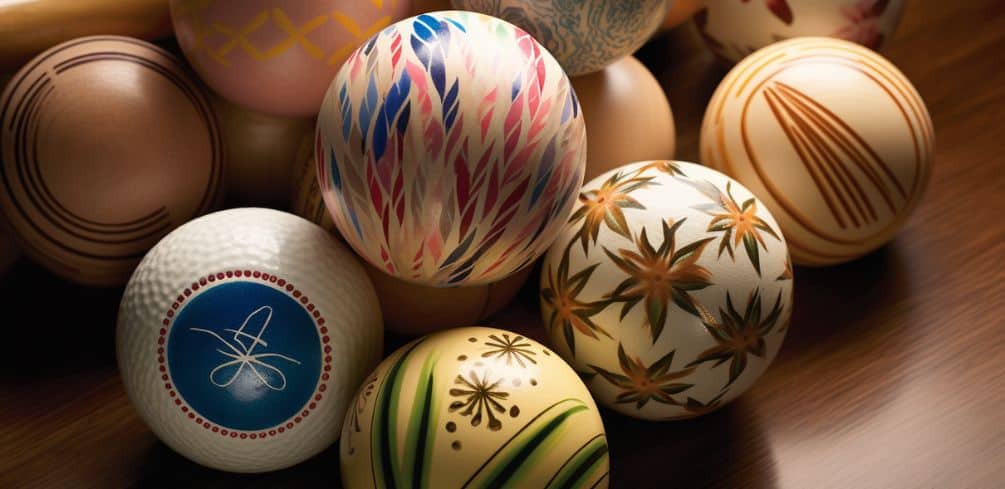
It’s time to let your creativity run wild and add those personalized designs that’ll make your set truly one-of-a-kind. With a variety of color choices, hand painting techniques, and decorative accents at your disposal, there’s plenty of room for creative inspiration when customizing your croquet balls.
Whether you choose to paint intricate patterns or showcase your favorite team colors, adding personal touches to the balls will not only make them uniquely yours but also spark excitement among players during those summer games.
Personalized Designs:
- Monograms or initials: Paint each player’s initials on their respective ball for easy identification.
- Team logos: Show off your team spirit by painting the logo of your favorite sports team on the balls.
- Geometric patterns: Create a modern look with clean lines and bold shapes, such as stripes, circles, or chevrons.
Decorative Accents:
- Glitter or metallic paint: Add a touch of glamour by incorporating shimmering details into your design.
- Textured paint: Experiment with textured paints for a tactile dimension that’s visually intriguing and fun to touch.
- Hand-painted scenes: Showcase picturesque landscapes or whimsical illustrations as conversation starters during gameplay.
As you put the finishing touches on your freshly painted croquet set, remember that it’s more than just an outdoor game; it’s an expression of artistry and personality.
By incorporating personalized designs and decorative accents using various color choices and hand painting techniques, you’re transforming ordinary wooden pieces into cherished heirlooms that’ll be enjoyed by friends and family for years to come.
So go ahead – unleash your inner artist and breathe new life into those well-loved croquet balls!
Conclusion
So, go ahead and give your croquet set a much-needed facelift! Did you know that croquet has been around since the 19th century and is still enjoyed by millions of people worldwide? It’s no wonder this timeless game holds a special place in our hearts.
With these tips, you’ll not only revive the look of your set but also create lasting memories with friends and family. A well-maintained croquet set can provide years of outdoor entertainment for all ages. Remember, don’t hesitate to paint your croquet balls and make them look like new!


