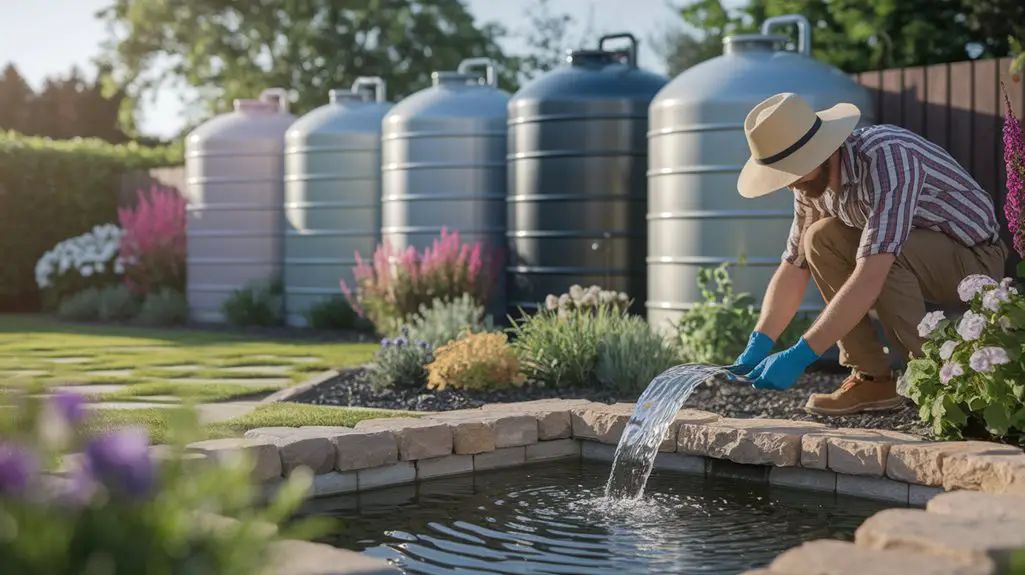
As urban water availability becomes increasingly unpredictable, you’ve likely considered embracing a more self-sufficient approach to your household water needs. Installing a rainwater collection system requires careful planning but offers impressive returns on your investment. You’ll need to address vital factors including tank sizing, positioning, filtration, and local regulations before you begin. The difference between a properly installed system and a hasty setup can determine whether you’re harvesting clean water for years or dealing with frustrating maintenance issues.
Choose the Right Size and Type of Tank for Your Space
Three key factors determine the ideal rainwater tank for your property: available space, water needs, and local rainfall patterns.
Measure your installation area carefully, allowing for maintenance access and overflow management. Rectangular slimline tanks suit narrow spaces, while round polyethylene tanks offer cost-effective storage for open areas.
Calculate your water requirements by evaluating garden size, household usage, and whether you’re supplementing or replacing mains water. For gardens only, a 1,000-2,000 liter tank may suffice, while household use requires 5,000+ liters.
Check your region’s average monthly rainfall and dry periods. Areas with consistent precipitation need less capacity than regions with concentrated rainy seasons. Creative ways to collect rainwater can also enhance your overall water harvesting strategy.
Most urban properties benefit from a 2,000-5,000 liter system, while rural properties may require 10,000+ liters to maximize harvesting potential.
Select the Optimal Location for Maximum Collection
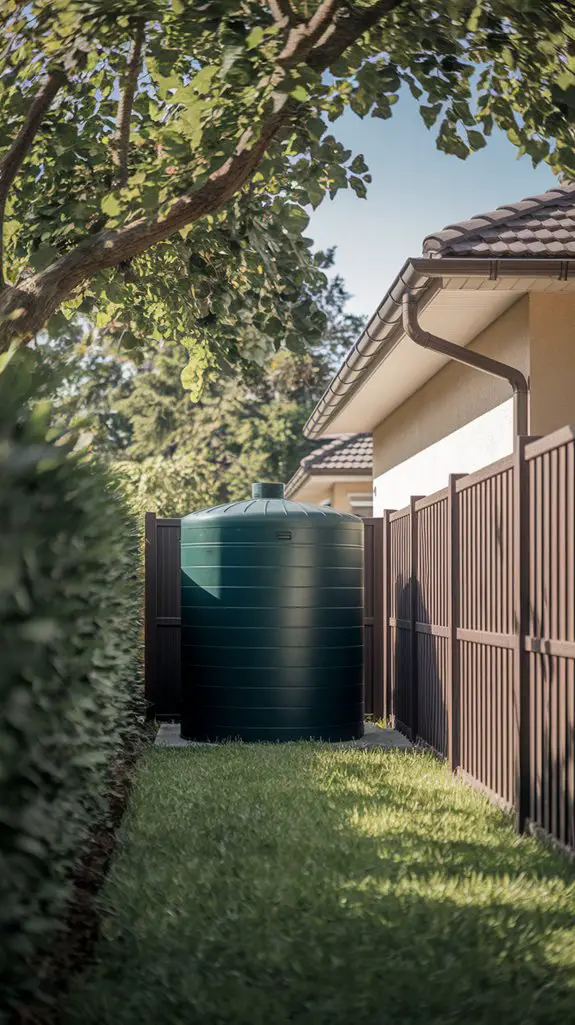
Strategic positioning of your rainwater tank directly impacts collection efficiency and system functionality. Place tanks on level, stable ground close to your downspouts and primary usage areas. Consider proximity to foundations—keep tanks at least 5 feet away to prevent potential water damage.
| Location Factor | Benefit | Consideration |
|---|---|---|
| North side | Less sun exposure | Cooler water temperature |
| Near garden | Convenient access | Gravity feed potential |
| Under eaves | Direct collection | Needs overflow management |
Evaluate your roof catchment area when positioning tanks. A typical 1,000 square foot roof section can collect approximately 600 gallons of water from a 1-inch rainfall. Position the tank where your gutters naturally concentrate water flow, typically at roof valleys or corners, to maximize harvesting potential without requiring extensive gutter modifications. Additionally, choosing the right rainwater tank can significantly enhance your collection efficiency.
Prepare a Stable Foundation for Your Tank
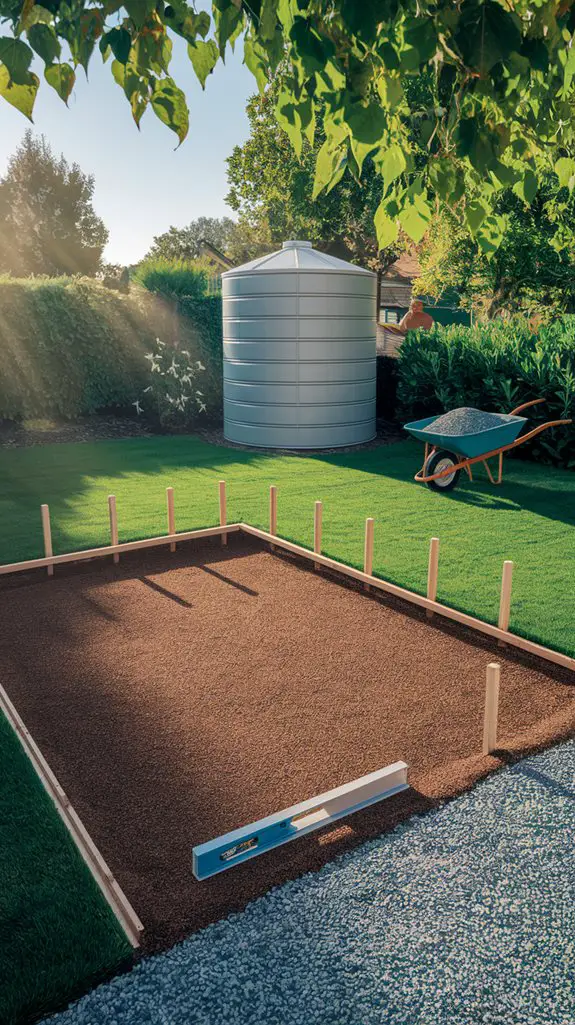
A proper foundation forms the critical support structure for your rainwater tank, preventing costly damage and system failures.
For ideal stability, create a level base using compacted sand, crushed rock, or a concrete pad that extends 30cm beyond your tank’s perimeter.
Ensure the foundation can support your tank’s full water weight—approximately 1kg per liter.
Remove all roots, stones, and debris from the site before construction to prevent future settling or punctures.
For larger tanks, consider engaging a structural engineer to determine appropriate reinforcement requirements.
If you’re placing your tank on a slope, install retaining walls to distribute pressure evenly and prevent soil erosion beneath the foundation.
Always check local building codes before constructing your base, as specific requirements may vary depending on tank size and regional soil conditions. Additionally, consider the benefits of rainwater harvesting techniques to optimize your system’s efficiency.
Connect Proper Filtration and First-Flush Diverters
Ensuring your rainwater remains clean and usable requires installation of effective filtration systems and first-flush diverters before it enters your storage tank. These components prevent debris, contaminants, and initial pollutants from compromising water quality.
Install a mesh gutter guard with 4-6mm apertures to block leaves and large debris. Follow this with a finer inline filter (1-2mm) at the tank inlet pipe.
Position your first-flush diverter vertically between the filtration system and tank to automatically discard the initial rainfall that carries roof contaminants.
Size your diverter to divert 0.5-1L per square meter of roof area. Check and clean filters monthly during rainy seasons. Replace filter screens annually to maintain peak performance.
This filtration sequence considerably improves stored water quality and extends the life of your system components.
Install Secure Gutters and Downspouts for Efficient Flow
While filtration systems guard your water quality, robust gutter and downspout installation forms the critical collection infrastructure of your rainwater harvesting system.
Verify gutters maintain a minimum slope of 1/16 inch per foot toward downspouts to prevent standing water that breeds mosquitoes and causes corrosion.
Select gutters sized appropriately for your roof area and local rainfall intensity—typically 5″ or 6″ for residential applications.
Install gutter guards to prevent leaf buildup and reduce maintenance. Position downspouts strategically at roof valleys where water flow concentrates.
Secure downspouts with wall-mounted brackets every 6 feet, and direct them toward your tank using properly sealed connections.
For ideal performance, install 45° elbows rather than 90° ones to minimize flow restrictions and prevent debris accumulation at turns.
Consider Local Regulations and Permits Before Installation
Before installing your rainwater harvesting system, you’ll need to navigate the complex array of local regulations that govern residential water collection. Many municipalities require permits for tanks exceeding specific capacities, typically ranging from 1,000 to 5,000 gallons.
Contact your local water authority or building department to determine applicable codes, which may include setback requirements from property lines and foundations. Some jurisdictions restrict rainwater use to non-potable purposes only, while others mandate backflow prevention devices when connecting to municipal systems.
Health departments often impose specific guidelines for mosquito prevention, including mesh screens on all openings.
HOA restrictions might also limit tank visibility or placement. Don’t overlook state-level incentives like tax credits or rebates for water conservation installations, which can offset your initial investment considerably.
Plan for Maintenance Access and Overflow Management
Once you’ve secured the necessary permits and satisfied regulatory requirements, you’ll need to incorporate thoughtful accessibility features into your rainwater tank design. Confirm maintenance access points remain unobstructed for regular inspections, cleaning, and repairs.
Proper overflow management prevents property damage and soil erosion during heavy rainfall events. Direct overflow away from your home’s foundation and toward appropriate drainage areas.
| Maintenance Component | Frequency | Tools Required | Access Needs |
|---|---|---|---|
| Filter cleaning | Quarterly | Hose, brush | Top inlet |
| Tank inspection | Annually | Flashlight, camera | Access hatch |
| Gutter clearing | Bi-annually | Ladder, scoop | Roof edge |
| Valve testing | Quarterly | Wrench, pliers | Plumbing connections |
Install a first-flush diverter to prevent initial roof contaminants from entering your tank. You’ll reduce sediment buildup and maintain higher water quality while extending the time between major cleanings.
Conclusion
You’ve meticulously planned your rainwater harvesting system, yet ironically, most homeowners overlook the simplest step: testing. You’ll spend weeks perfecting your installation only to find your carefully collected rainwater isn’t being utilized efficiently. Don’t fall into this technical oversight. Regularly monitor pH levels, verify flow rates, and document collection efficiency. Your sustainable water management system isn’t complete until you’ve quantified its performance.


