As an aspiring home ice rink constructor, you might have spent countless hours wondering about how long it really takes for a backyard ice rink to freeze. We’re here to answer your questions and guide you through the ins and outs of this topic.
In this article, we will delve deep into the factors that determine the freezing time, such as weather conditions, rink size, and different freezing methods.
By understanding these elements, you’ll be able to create your personal winter wonderland with more precision and less guesswork.
We understand that safety is paramount when dealing with large quantities of water turning into ice in your backyard
Therefore, we won’t shy away from discussing safety precautions during the freezing process. From initial construction steps to monitoring temperature fluctuations – we’ve got it all covered for you in detail.
Our aim is not just to satisfy your curiosity but also to equip you with the knowledge that makes your homemade ice rink project both safe and successful. So let’s lace up those skates and delve into the nitty-gritty of backyard ice rinks!
Understanding the Basics of Rink Construction
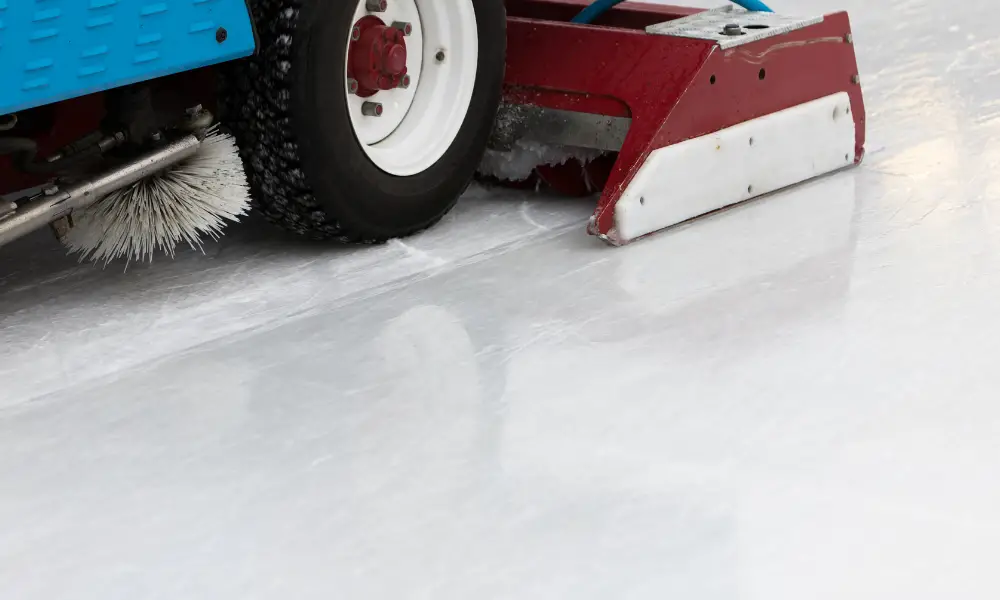
When you’re building a backyard ice rink, it’s not just about filling a space with water and letting it freeze; understanding the basics of rink construction can make all the difference in creating that perfect skating surface.
It starts with choosing the right materials for your rink. You need a sturdy liner that will hold up against the weight and pressure of the freezing water, as well as resist punctures from ice skates or other sharp objects.
The sideboards should be made of something durable yet flexible, like plywood or thick plastic sheets. And don’t forget about stakes to secure these boards into the ground.
Your construction timeline plays an equally important role in ensuring a smooth finish on your icy playground. Start by leveling out your chosen area; this minimizes uneven freezing, which could lead to bumpy surfaces or weak spots in your ice.
Once you have your liner laid out and your sideboards securely staked into place, begin filling it with water — but not all at once! Aim for layers approximately 2 inches thick and give each one ample time to freeze solid before adding another one on top.
Ice rinks aren’t built in a day – or even two! Patience is key here, especially during this layering process. Each layer needs sufficient time to freeze completely before you add more water to it.
This method ensures proper bonding between layers which contributes to the overall stability and durability of your ice sheet.
Keep an eye on the temperature, too: ideally, it should stay consistently below freezing throughout this phase of construction.
So take off those gloves, grab that hose, and get ready to bring winter fun right into your backyard!
The Role of Weather Conditions
Don’t be fooled; Mother Nature plays a crucial role in your frosty endeavor, holding the power to speed up or slow down the process.
The weather conditions have an undeniable impact on how long it takes for your backyard ice rink to freeze.
Temperature fluctuations are a key factor here; ideally, you want consistently cold temperatures before laying down your first layer of water. If temperatures fluctuate between freezing and thawing, this could cause problems with your ice consistency and may prolong the freezing time.
Now let’s talk about the wind effect, which often gets overlooked but can be equally as influential as temperature. Wind can either be your ally or adversary when freezing on an outdoor rink.
A light breeze might work in your favor by accelerating the cooling process and thus quickening the freeze; however, strong winds can create uneven surfaces by pushing the water before it has had a chance to solidify properly.
Moreover, windy conditions increase evaporation rates which could lead to a drier surface that hinders optimal ice formation.
Remember that patience is key when constructing a backyard ice rink. Monitor local weather forecasts regularly and try to initiate the freezing process on a calm day with low temperatures forecasted for several consecutive days.
Also, keep in mind that overnight temperatures tend to drop significantly lower than daytime highs – this is actually when most of your freezing will occur.
While these factors may seem minor initially, understanding them will drastically improve both the quality of your rink and your overall experience during its creation.
The Impact of Rink Size
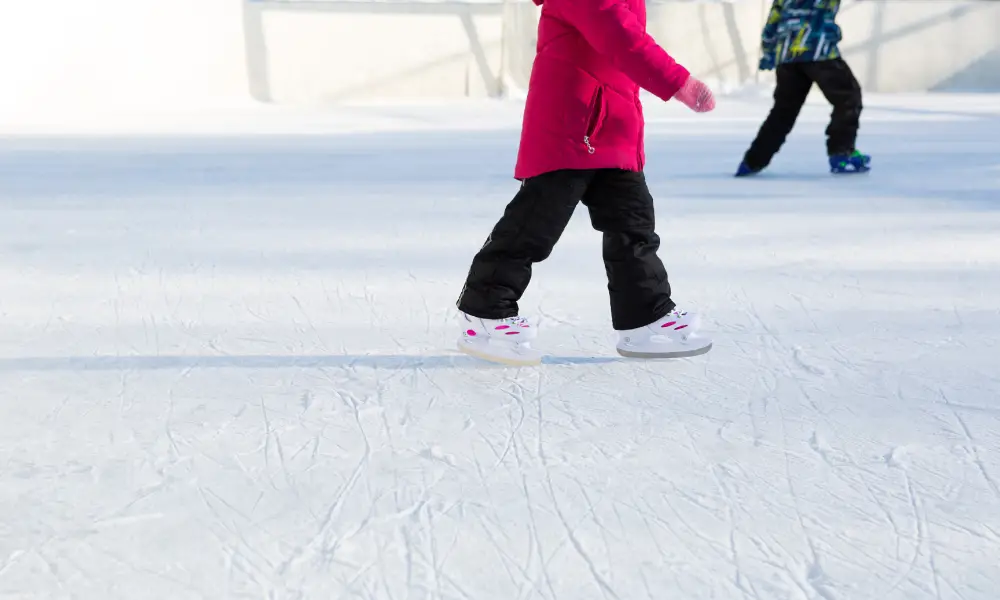
Assessing the dimensions of your outdoor skating domain is a critical step, as its size directly affects the duration and complexity of the freezing process.
Larger rinks will require more time to fully freeze compared to smaller ones due to sheer volume. However, don’t just consider surface area; depth also plays a significant role in this equation.
A deeper rink not only holds more water but also offers greater insulation against ground heat, which can speed up freezing under proper conditions. The Rink dimensions effect isn’t something you can overlook if you’re serious about setting up an efficient backyard ice rink.
When contemplating your rink size, bear in mind these key points:
Now let’s delve into Freezing duration variability. It’s important to understand that creating a backyard ice rink is not an exact science.
There are numerous variables at play – from fluctuating ambient temperatures and sunlight exposure during daytime hours to wind chill effects during colder nights – all altering how quickly your water will transform into firm ice suitable for skating activities.
Your patience will be tested; it might take anywhere from several days for small-sized shallow setups under ideal conditions up to weeks for larger deep configurations in less favorable weather patterns.
Remember that even once frozen solidly; maintenance is needed – periodic flooding helps keep rough spots smooth and replenishes lost ice due to usage or warm spells.
Embrace this process, knowing each layer added contributes towards better quality ice providing optimal skating experiences over time.
Different Methods for Freezing
Now, let’s tackle the various ways you can convert your outdoor space into a winter wonderland.
First and foremost, there are two general freezing techniques that you can employ: the cold weather method and the use of an ice rink chiller.
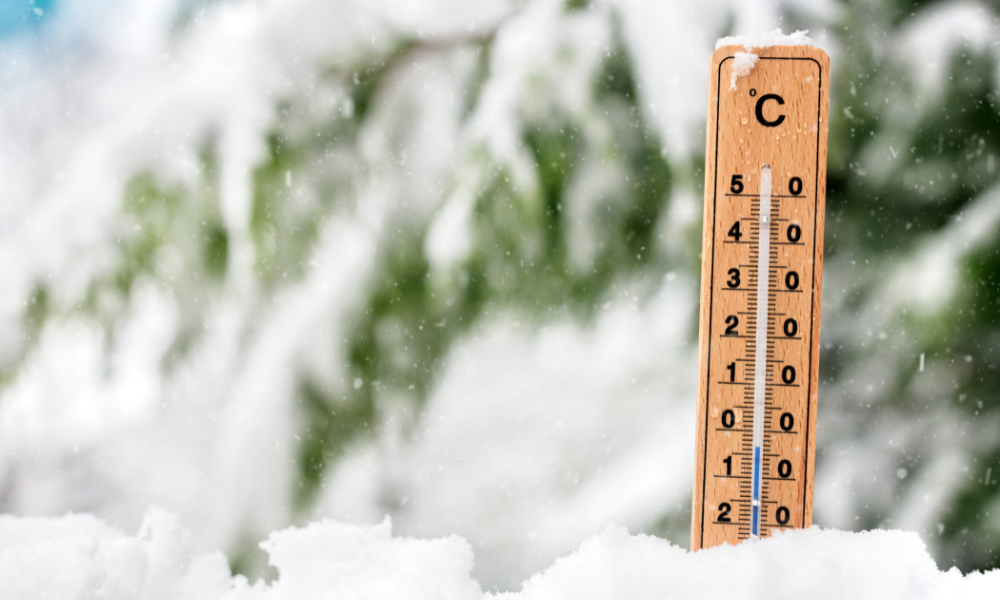
The cold weather method is perhaps the most common technique used by backyard enthusiasts. It relies on consistently low temperatures (preferably below 32°F/0°C) over several days or weeks to freeze water naturally.
Layering is crucial here; start by spraying a thin layer of water on your marked-out area and allow it to solidify before adding more layers gradually for desired ice thickness.
The use of an ice rink chiller, on the other hand, provides greater control over the freezing process regardless of fluctuating temperatures. This mechanical device lowers the temperature of a mixture of saltwater or glycol, which is then circulated through pipes installed beneath your rink surface.
As this cooled mixture travels through these pipes, it absorbs heat from above, causing any water placed upon your rink to freeze rapidly.
While this method offers predictable results and quicker setup times compared to natural freezing, take note that it also demands higher costs in terms of equipment purchase and energy consumption.
So now you know how different methods influence how long it takes for your backyard ice rink to freeze up perfectly.
Remember that while waiting for Mother Nature’s cooperation might be more cost-efficient, investing in a chiller could give you more certainty and less waiting time depending on local climate conditions.
Keep track of weather forecasts, as sudden temperature changes can affect ice quality significantly! And always consider safety first – ensure that your ice has reached proper thickness before stepping onto it because no skating experience is worth risking injury over inadequate preparation.
Ensuring Safety during the Freezing Process
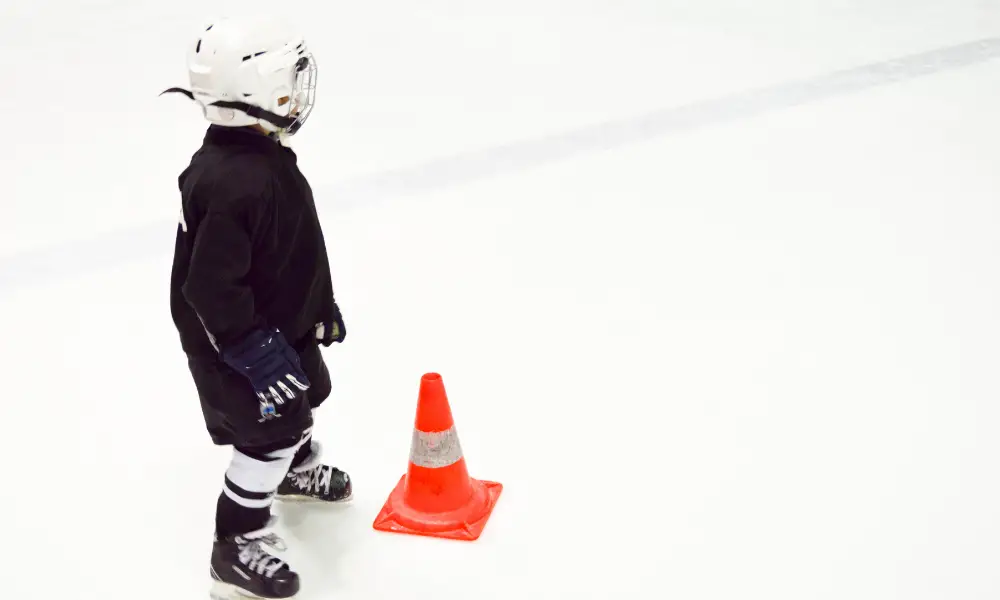
It’s crucial that you prioritize safety while your winter wonderland takes shape, ensuring the solidification process is complete before making the first glide.
There are several freezing precautions to keep in mind during this stage.
Remember, water expands when it freezes, and it can exert a lot of pressure on any container or enclosure, including your backyard ice rink boundaries.
Monitor the freezing process closely; if there’s too much water added at once, it may cause bulging or breaking of the rink walls. Therefore, applying water in layers and allowing each one to freeze completely is a safer approach.
Wearing protective gear while working on your ice rink is another vital aspect of safety protocol. No matter how experienced you might be in setting up an ice rink or how well you know your backyard landscape, accidents can happen.
Slips and falls are common mishaps during this icy endeavor due to the slippery surface. Hence, wearing non-slip boots will help maintain balance and prevent falls; gloves will protect your hands from frostbite as temperatures dip; and using shovels with ergonomic design can prevent muscle strain.
As you make progress with building your icy paradise, don’t forget to periodically check for uneven surfaces or weak spots in the ice layer – these could potentially lead to injuries while skating later on.
This check should be conducted visually by inspecting the clearness of ice (cloudy spots might indicate incomplete freezing) and physically by tapping gently with a broom handle or similar tool for hollow sounds which reveal unfrozen areas underneath.
Safety must never be compromised for speed during setup nor for fun afterward – remember that patience is key when crafting a perfectly safe backyard ice rink!
Conclusion
In conclusion, don’t underestimate the importance of understanding your rink’s size, construction basics, and weather conditions. They influence how long it’ll take to freeze your backyard ice rink.
Experiment with different freezing methods to figure out what works best for you.
Always prioritize safety during the process. It may seem complex, but once you’ve mastered these factors, you can enjoy a perfect homemade ice playground.
Theory turns into thrilling reality when approached with knowledge and caution.

